2.Inspect the Mounting Screws on all safety covers, and the Arbor Nut on the Cutting Wheel Shaft. Tighten any that appear loose.
3.Protect the Motor and electrical components from prolonged or excessive exposure to water or wet conditions. Wipe the unit dry as needed.
4.Periodically apply a light lubricant to the Rail Cover.
5.Note: The Pump is
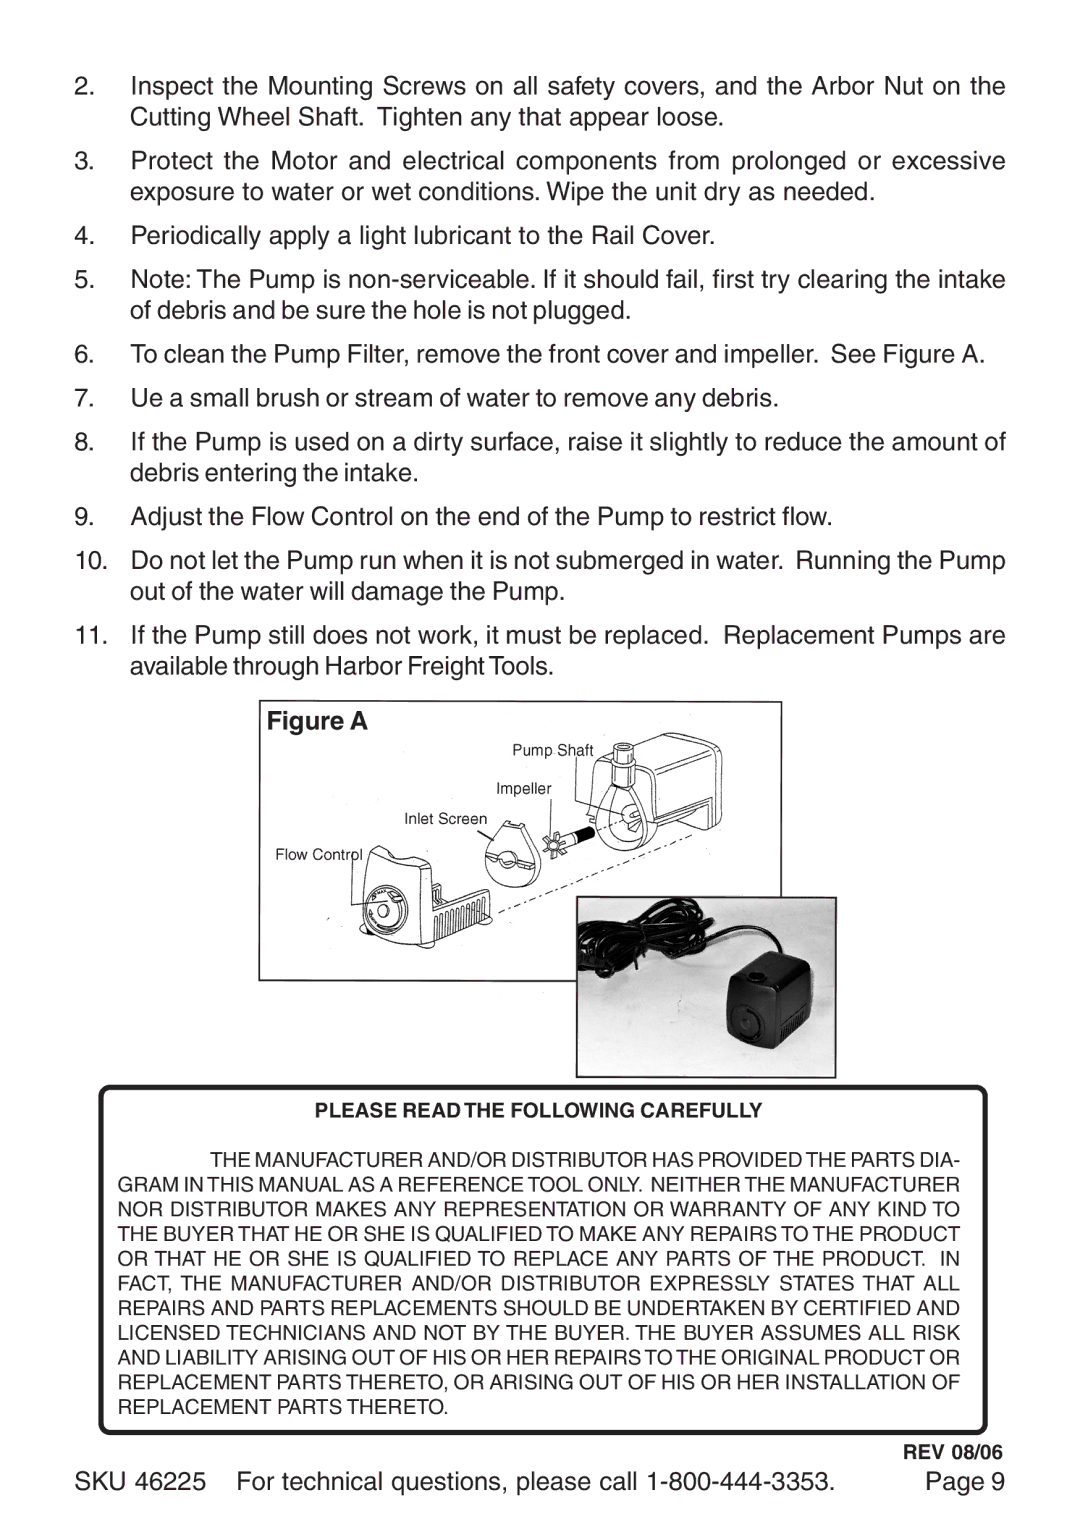
6.To clean the Pump Filter, remove the front cover and impeller. See Figure A.
7.Ue a small brush or stream of water to remove any debris.
8.If the Pump is used on a dirty surface, raise it slightly to reduce the amount of debris entering the intake.
9.Adjust the Flow Control on the end of the Pump to restrict flow.
10.Do not let the Pump run when it is not submerged in water. Running the Pump out of the water will damage the Pump.
11.If the Pump still does not work, it must be replaced. Replacement Pumps are available through Harbor Freight Tools.
Figure A
PLEASE READ THE FOLLOWING CAREFULLY
THE MANUFACTURER AND/OR DISTRIBUTOR HAS PROVIDED THE PARTS DIA- GRAM IN THIS MANUAL AS A REFERENCE TOOL ONLY. NEITHER THE MANUFACTURER NOR DISTRIBUTOR MAKES ANY REPRESENTATION OR WARRANTY OF ANY KIND TO THE BUYER THAT HE OR SHE IS QUALIFIED TO MAKE ANY REPAIRS TO THE PRODUCT OR THAT HE OR SHE IS QUALIFIED TO REPLACE ANY PARTS OF THE PRODUCT. IN FACT, THE MANUFACTURER AND/OR DISTRIBUTOR EXPRESSLY STATES THAT ALL REPAIRS AND PARTS REPLACEMENTS SHOULD BE UNDERTAKEN BY CERTIFIED AND LICENSED TECHNICIANS AND NOT BY THE BUYER. THE BUYER ASSUMES ALL RISK AND LIABILITY ARISING OUT OF HIS OR HER REPAIRS TO THE ORIGINAL PRODUCT OR REPLACEMENT PARTS THERETO, OR ARISING OUT OF HIS OR HER INSTALLATION OF REPLACEMENT PARTS THERETO.
REV 08/06
SKU 46225 For technical questions, please call | Page 9 |