INSPECTION, MAINTENANCE, AND CLEANING
1.WARNING! Always disconnect the Rotary Hammer from its electrical power supply source before performing any inspection, maintenance, or cleaning procedure.
2.Before each use, inspect the general condition of the Rotary Hammer. Inspect switch, power plug and cord assembly, and extension cord (if used) for damage. Check for loose screws, misalignment, binding of moving parts, broken, cracked, or improper mounting of the chisels. If abnormal noise or vibration occurs, turn off the Rotary Hammer immediately and have the problem corrected before further use. Do not use damaged equipment!
Replacing the Carbon Brushes (105) Replacing the Carbon Brushes (105)
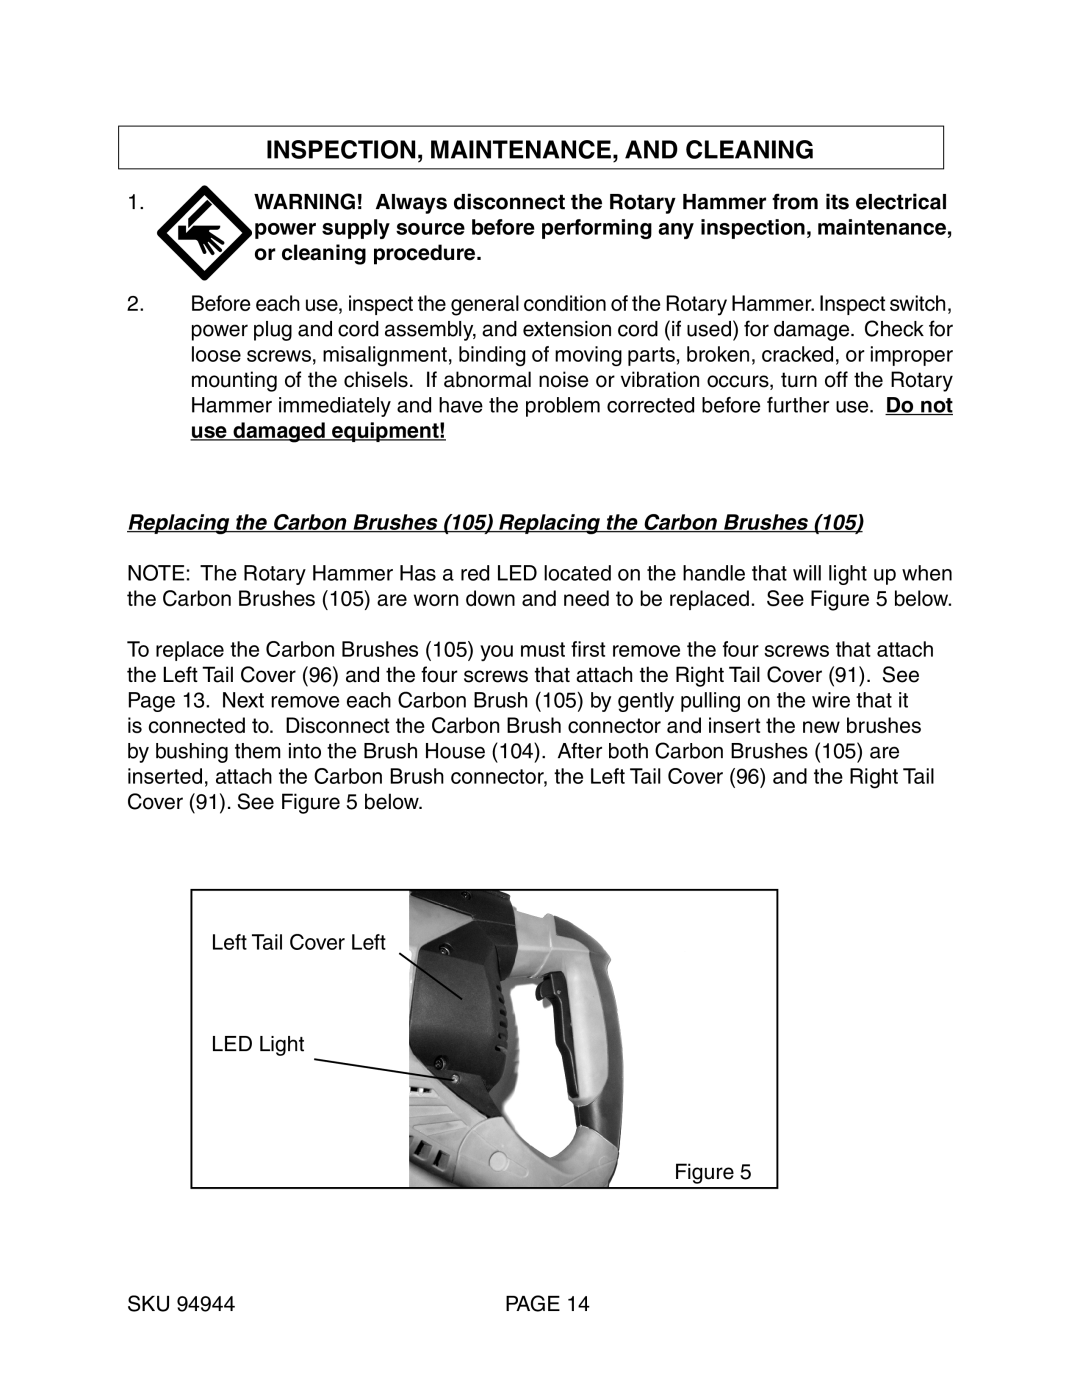
NOTE: The Rotary Hammer Has a red LED located on the handle that will light up when the Carbon Brushes (105) are worn down and need to be replaced. See Figure 5 below.
To replace the Carbon Brushes (105) you must first remove the four screws that attach the Left Tail Cover (96) and the four screws that attach the Right Tail Cover (91). See Page 13. Next remove each Carbon Brush (105) by gently pulling on the wire that it is connected to. Disconnect the Carbon Brush connector and insert the new brushes by bushing them into the Brush House (104). After both Carbon Brushes (105) are inserted, attach the Carbon Brush connector, the Left Tail Cover (96) and the Right Tail Cover (91). See Figure 5 below.
Left Tail Cover Left
LED Light
Figure 5
SKU 94944 | PAGE 14 |