INITIAL SETUP

NOTE: The AVR 2600 will automatically set its master volume to – 25dB.

STEP FOUR – After you select “Continue”, the screen shown in Figure 23 will appear. Select the number of speakers in your system. Select 5.1 if no surround back speakers are present or if the surround back channels will be used for multizone operation.

Set Up Sources

The Info Settings menu is used to assign the correct physical audio and video connections to each source.

The following settings are not optional and must be adjusted now to enable playback of each source: Video Input From Source, Audio Input From Source and Resolution to Display. The other settings may be adjusted later.

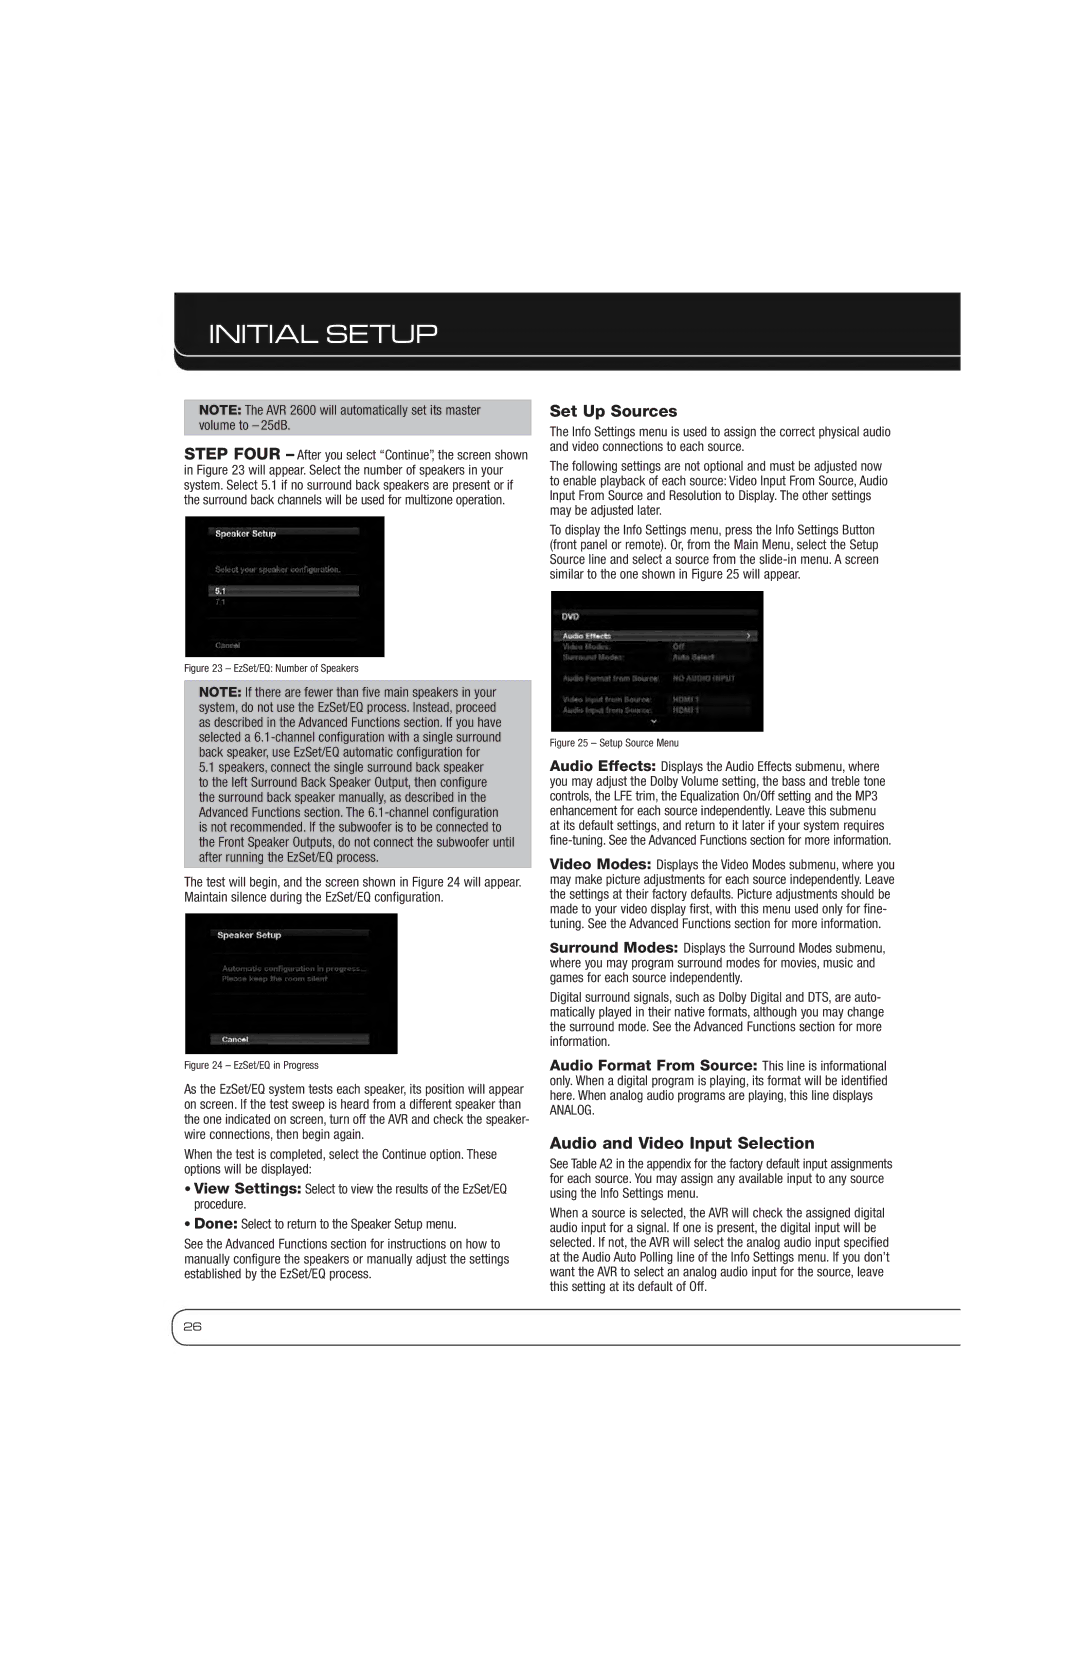
To display the Info Settings menu, press the Info Settings Button (front panel or remote). Or, from the Main Menu, select the Setup Source line and select a source from the slide-in menu. A screen similar to the one shown in Figure 25 will appear.

Figure 23 – EzSet/EQ: Number of Speakers

NOTE: If there are fewer than five main speakers in your system, do not use the EzSet/EQ process. Instead, proceed as described in the Advanced Functions section. If you have selected a 6.1-channel configuration with a single surround back speaker, use EzSet/EQ automatic configuration for

5.1speakers, connect the single surround back speaker to the left Surround Back Speaker Output, then configure the surround back speaker manually, as described in the Advanced Functions section. The 6.1-channel configuration is not recommended. If the subwoofer is to be connected to the Front Speaker Outputs, do not connect the subwoofer until after running the EzSet/EQ process.

The test will begin, and the screen shown in Figure 24 will appear. Maintain silence during the EzSet/EQ configuration.

Figure 24 – EzSet/EQ in Progress

As the EzSet/EQ system tests each speaker, its position will appear on screen. If the test sweep is heard from a different speaker than the one indicated on screen, turn off the AVR and check the speaker- wire connections, then begin again.

When the test is completed, select the Continue option. These options will be displayed:

View Settings: Select to view the results of the EzSet/EQ procedure.

Done: Select to return to the Speaker Setup menu.

See the Advanced Functions section for instructions on how to manually configure the speakers or manually adjust the settings established by the EzSet/EQ process.

Figure 25 – Setup Source Menu

Audio Effects: Displays the Audio Effects submenu, where you may adjust the Dolby Volume setting, the bass and treble tone controls, the LFE trim, the Equalization On/Off setting and the MP3 enhancement for each source independently. Leave this submenu at its default settings, and return to it later if your system requires fine-tuning. See the Advanced Functions section for more information.

Video Modes: Displays the Video Modes submenu, where you may make picture adjustments for each source independently. Leave the settings at their factory defaults. Picture adjustments should be made to your video display first, with this menu used only for fine- tuning. See the Advanced Functions section for more information.

Surround Modes: Displays the Surround Modes submenu, where you may program surround modes for movies, music and games for each source independently.

Digital surround signals, such as Dolby Digital and DTS, are auto- matically played in their native formats, although you may change the surround mode. See the Advanced Functions section for more information.

Audio Format From Source: This line is informational only. When a digital program is playing, its format will be identified here. When analog audio programs are playing, this line displays

ANALOG.

Audio and Video Input Selection

See Table A2 in the appendix for the factory default input assignments for each source. You may assign any available input to any source using the Info Settings menu.

When a source is selected, the AVR will check the assigned digital audio input for a signal. If one is present, the digital input will be selected. If not, the AVR will select the analog audio input specified at the Audio Auto Polling line of the Info Settings menu. If you don’t want the AVR to select an analog audio input for the source, leave this setting at its default of Off.

26

Page 26
Image 26
Harman AVR 2600 owner manual Set Up Sources, Audio and Video Input Selection

AVR 2600 specifications

The Harman AVR 2600 is a feature-rich audio-video receiver designed to elevate your home entertainment experience. As part of Harman's renowned line of audio products, the AVR 2600 seamlessly combines advanced technology with user-friendly design, making it a popular choice for audiophiles and casual listeners alike.

One of the standout features of the AVR 2600 is its robust power output. With a rated 7.1 channel amplifier, it delivers a powerful and immersive sound experience. Each channel produces a significant amount of wattage, ensuring that your movies, music, and games sound spectacular and enveloping. This power enables the AVR 2600 to drive a variety of speaker configurations, allowing users to customize their sound setup according to their preferences.

In terms of connectivity, the Harman AVR 2600 boasts multiple HDMI inputs and outputs, supporting the latest video formats, including 4K. This allows users to connect multiple devices, such as gaming consoles, Blu-ray players, and streaming devices, all while maintaining a simple and clutter-free setup. The receiver also features built-in Bluetooth technology, enabling wireless streaming of music from smartphones, tablets, and other compatible devices. This versatility enhances the overall user experience, making it easy to access your favorite content.

The AVR 2600 also incorporates advanced audio processing technologies. With support for popular surround sound formats like Dolby Atmos and DTS:X, users can experience cinematic sound quality right in their living rooms. These technologies provide a three-dimensional audio experience, enhancing the immersion when watching movies or playing video games.

Another significant characteristic of the AVR 2600 is its user-friendly interface. Navigating the receiver is straightforward, thanks to the on-screen setup and intuitive remote control. The built-in setup assistant guides users through the calibration process, allowing for optimal speaker placement and sound adjustment based on the room's acoustics.

In conclusion, the Harman AVR 2600 is a powerful and versatile audio-video receiver that combines high-quality sound, advanced connectivity options, and user-friendly features. Whether you're looking to create the ultimate home theater experience or simply elevate your music listening, the AVR 2600 is an excellent choice that meets a wide range of entertainment needs.