Harman-Kardon 13828 owner manual NSkip Up/Down Buttons DVD

Models: 13828

1 50
Download 50 pages 30 Kb
Page 6
Image 6
NSkip Up/Down Buttons (DVD):

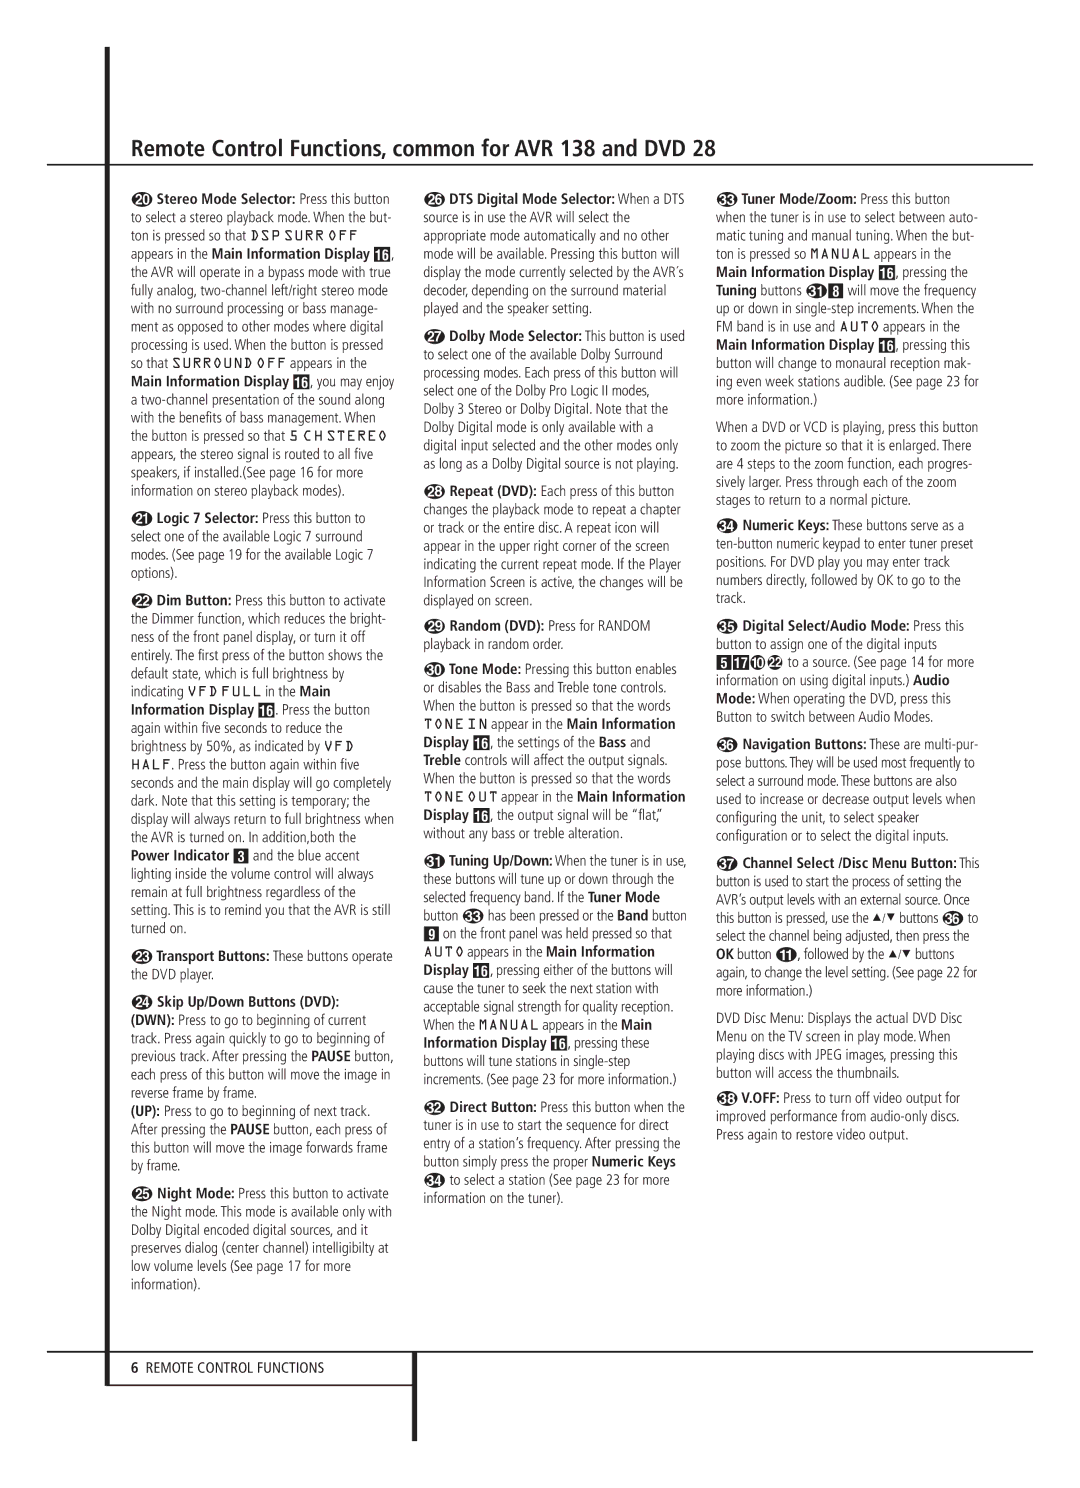
Remote Control Functions, common for AVR 138 and DVD 28

JStereo Mode Selector: Press this button to select a stereo playback mode. When the but- ton is pressed so that DSP SURR OFF appears in the Main Information Display F, the AVR will operate in a bypass mode with true fully analog, two-channel left/right stereo mode with no surround processing or bass manage- ment as opposed to other modes where digital processing is used. When the button is pressed so that SURROUND OFF appears in the Main Information Display F, you may enjoy a two-channel presentation of the sound along with the benefits of bass management. When the button is pressed so that 5 CH STEREO appears, the stereo signal is routed to all five speakers, if installed.(See page 16 for more information on stereo playback modes).

KLogic 7 Selector: Press this button to select one of the available Logic 7 surround modes. (See page 19 for the available Logic 7 options).

LDim Button: Press this button to activate the Dimmer function, which reduces the bright- ness of the front panel display, or turn it off entirely. The first press of the button shows the default state, which is full brightness by indicating VFD FULL in the Main Information Display F. Press the button again within five seconds to reduce the brightness by 50%, as indicated by VFD HALF. Press the button again within five seconds and the main display will go completely dark. Note that this setting is temporary; the display will always return to full brightness when the AVR is turned on. In addition,both the Power Indicator 2 and the blue accent lighting inside the volume control will always remain at full brightness regardless of the setting. This is to remind you that the AVR is still turned on.

MTransport Buttons: These buttons operate the DVD player.

NSkip Up/Down Buttons (DVD):

(DWN): Press to go to beginning of current track. Press again quickly to go to beginning of previous track. After pressing the PAUSE button, each press of this button will move the image in reverse frame by frame.

(UP): Press to go to beginning of next track. After pressing the PAUSE button, each press of this button will move the image forwards frame by frame.

ONight Mode: Press this button to activate the Night mode. This mode is available only with Dolby Digital encoded digital sources, and it preserves dialog (center channel) intelligibilty at low volume levels (See page 17 for more information).

PDTS Digital Mode Selector: When a DTS source is in use the AVR will select the appropriate mode automatically and no other mode will be available. Pressing this button will display the mode currently selected by the AVR´s decoder, depending on the surround material played and the speaker setting.

QDolby Mode Selector: This button is used to select one of the available Dolby Surround processing modes. Each press of this button will select one of the Dolby Pro Logic II modes, Dolby 3 Stereo or Dolby Digital. Note that the Dolby Digital mode is only available with a digital input selected and the other modes only as long as a Dolby Digital source is not playing.

Repeat (DVD): Each press of this button changes the playback mode to repeat a chapter or track or the entire disc. A repeat icon will appear in the upper right corner of the screen indicating the current repeat mode. If the Player Information Screen is active, the changes will be displayed on screen.

Random (DVD): Press for RANDOM playback in random order.

Tone Mode: Pressing this button enables or disables the Bass and Treble tone controls. When the button is pressed so that the words TONE IN appear in the Main Information Display F, the settings of the Bass and Treble controls will affect the output signals. When the button is pressed so that the words TONE OUT appear in the Main Information Display F, the output signal will be “flat,” without any bass or treble alteration.

Tuning Up/Down: When the tuner is in use, these buttons will tune up or down through the selected frequency band. If the Tuner Mode

button

has been pressed or the Band button

8on the front panel was held pressed so that AUTO appears in the Main Information Display F, pressing either of the buttons will cause the tuner to seek the next station with acceptable signal strength for quality reception. When the MANUAL appears in the Main Information Display F, pressing these buttons will tune stations in single-step increments. (See page 23 for more information.)

Direct Button: Press this button when the tuner is in use to start the sequence for direct entry of a station’s frequency. After pressing the button simply press the proper Numeric Keys

to select a station (See page 23 for more information on the tuner).

Tuner Mode/Zoom: Press this button when the tuner is in use to select between auto- matic tuning and manual tuning. When the but- ton is pressed so MANUAL appears in the Main Information Display F, pressing the Tuning buttons 7 will move the frequency up or down in single-step increments. When the FM band is in use and AUTO appears in the Main Information Display F, pressing this button will change to monaural reception mak- ing even week stations audible. (See page 23 for more information.)

When a DVD or VCD is playing, press this button to zoom the picture so that it is enlarged. There are 4 steps to the zoom function, each progres- sively larger. Press through each of the zoom stages to return to a normal picture.

Numeric Keys: These buttons serve as a ten-button numeric keypad to enter tuner preset positions. For DVD play you may enter track numbers directly, followed by OK to go to the track.

Digital Select/Audio Mode: Press this button to assign one of the digital inputs

4G to a source. (See page 14 for more information on using digital inputs.) Audio Mode: When operating the DVD, press this Button to switch between Audio Modes.

Navigation Buttons: These are multi-pur- pose buttons. They will be used most frequently to select a surround mode. These buttons are also used to increase or decrease output levels when configuring the unit, to select speaker configuration or to select the digital inputs.

Channel Select /Disc Menu Button: This button is used to start the process of setting the AVR’s output levels with an external source. Once

this button is pressed, use the K/L buttons to select the channel being adjusted, then press the OK button A, followed by the K/L buttons again, to change the level setting. (See page 22 for more information.)

DVD Disc Menu: Displays the actual DVD Disc Menu on the TV screen in play mode. When playing discs with JPEG images, pressing this button will access the thumbnails.

V.OFF: Press to turn off video output for improved performance from audio-only discs. Press again to restore video output.

6REMOTE CONTROL FUNCTIONS

Page 6
Image 6
Harman-Kardon 13828 owner manual NSkip Up/Down Buttons DVD