Operation
Basic Operation
Once you have completed the setup and configu- ration of the AVR, it is simple to operate and enjoy. The following instructions should be followed for you to maximize your enjoyment of your new receiver:
Turning the AVR On or Off
•When using the AVR for the first time, you must press the Main Power Switch 1 on the front panel to turn the unit on. This places the unit in a Standby mode, as indicated by the amber color of the Power Indicator 3. Once the unit is in Standby, you may begin a listening session by pressing the System Power Control 2 or the Source button % on the front panel or the AVR Selector 5. Note that the Power Indicator 3 will turn blue. This will turn the unit on and return it to the input source that was last used. The unit may also be turned on from Standby by pressing any of the Source Selector buttons on the remote 4567CD I or the Source button % on the front panel.
NOTE: After pressing one of the Input Selector buttons 4 (except VID3) to turn the unit on, press the AVR Selector 5 to have the remote control the AVR functions.
To turn the unit off at the end of a listening ses- sion, simply press the System Power Control
2on the front panel or the Power Off Button 3A on the remote. Power will be shut off to any equipment plugged into the rear panel Switched AC Outlets and the Power Indicator 3 will turn orange.
When the remote is used to turn the unit “off” it is actually placing the system in a Standby mode, as indicated by the orange color of the Power Indicator 3.
When you will be away from home for an extended period of time it is always a good idea to completely turn the unit off with the front panel Main Power Switch 1.
NOTE: All preset memories may be lost if the unit is left turned off with the Main Power Switch 1 for more than two weeks.
Using the Sleep Timer
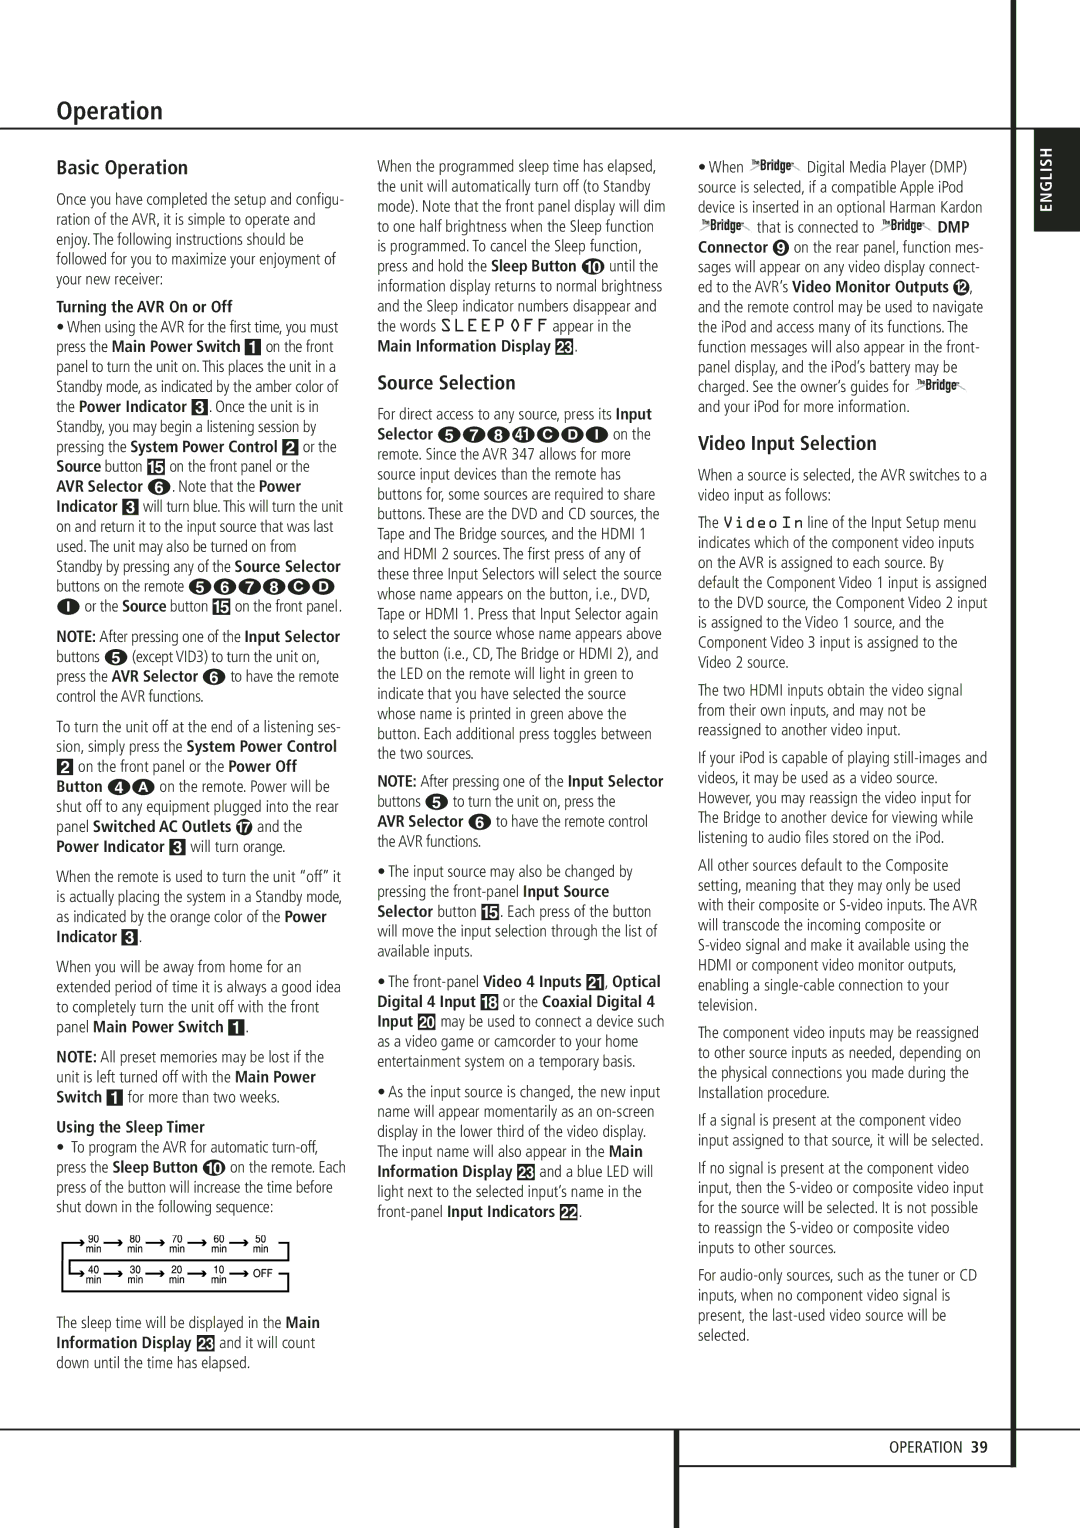
•To program the AVR for automatic turn-off, press the Sleep Button 9 on the remote. Each press of the button will increase the time before shut down in the following sequence:
The sleep time will be displayed in the Main Information Display Ò and it will count down until the time has elapsed.
When the programmed sleep time has elapsed, the unit will automatically turn off (to Standby mode). Note that the front panel display will dim to one half brightness when the Sleep function is programmed. To cancel the Sleep function, press and hold the Sleep Button 9 until the information display returns to normal brightness and the Sleep indicator numbers disappear and the words SLEEP OFF appear in the Main Information Display Ò.
Source Selection
For direct access to any source, press its Input Selector 467 CDI on the remote. Since the AVR 347 allows for more source input devices than the remote has buttons for, some sources are required to share buttons. These are the DVD and CD sources, the Tape and The Bridge sources, and the HDMI 1 and HDMI 2 sources. The first press of any of these three Input Selectors will select the source whose name appears on the button, i.e., DVD, Tape or HDMI 1. Press that Input Selector again to select the source whose name appears above the button (i.e., CD, The Bridge or HDMI 2), and the LED on the remote will light in green to indicate that you have selected the source whose name is printed in green above the button. Each additional press toggles between the two sources.
NOTE: After pressing one of the Input Selector buttons 4 to turn the unit on, press the
AVR Selector 5 to have the remote control the AVR functions.
•The input source may also be changed by pressing the front-panel Input Source Selector button %. Each press of the button will move the input selection through the list of available inputs.
•The front-panelVideo 4 Inputs Ô, Optical Digital 4 Input * or the Coaxial Digital 4 Input Ó may be used to connect a device such as a video game or camcorder to your home entertainment system on a temporary basis.
•As the input source is changed, the new input name will appear momentarily as an on-screen display in the lower third of the video display.
The input name will also appear in the Main Information Display Ò and a blue LED will light next to the selected input’s name in the front-panelInput Indicators .
•When  Digital Media Player (DMP) source is selected, if a compatible Apple iPod device is inserted in an optional Harman Kardon
  that is connected to
  DMP Connector on the rear panel, function mes- sages will appear on any video display connect- ed to the AVR’s Video Monitor Outputs , and the remote control may be used to navigate the iPod and access many of its functions. The function messages will also appear in the front- panel display, and the iPod’s battery may be charged. See the owner’s guides for
  and your iPod for more information.
Video Input Selection
When a source is selected, the AVR switches to a video input as follows:
The Video In line of the Input Setup menu indicates which of the component video inputs on the AVR is assigned to each source. By default the Component Video 1 input is assigned to the DVD source, the Component Video 2 input is assigned to the Video 1 source, and the Component Video 3 input is assigned to the Video 2 source.
The two HDMI inputs obtain the video signal from their own inputs, and may not be reassigned to another video input.
If your iPod is capable of playing still-images and videos, it may be used as a video source. However, you may reassign the video input for The Bridge to another device for viewing while listening to audio files stored on the iPod.
All other sources default to the Composite setting, meaning that they may only be used with their composite or S-video inputs. The AVR will transcode the incoming composite or S-video signal and make it available using the HDMI or component video monitor outputs, enabling a single-cable connection to your television.
The component video inputs may be reassigned to other source inputs as needed, depending on the physical connections you made during the Installation procedure.
If a signal is present at the component video input assigned to that source, it will be selected.
If no signal is present at the component video input, then the S-video or composite video input for the source will be selected. It is not possible to reassign the S-video or composite video inputs to other sources.
For audio-only sources, such as the tuner or CD inputs, when no component video signal is present, the last-used video source will be selected.