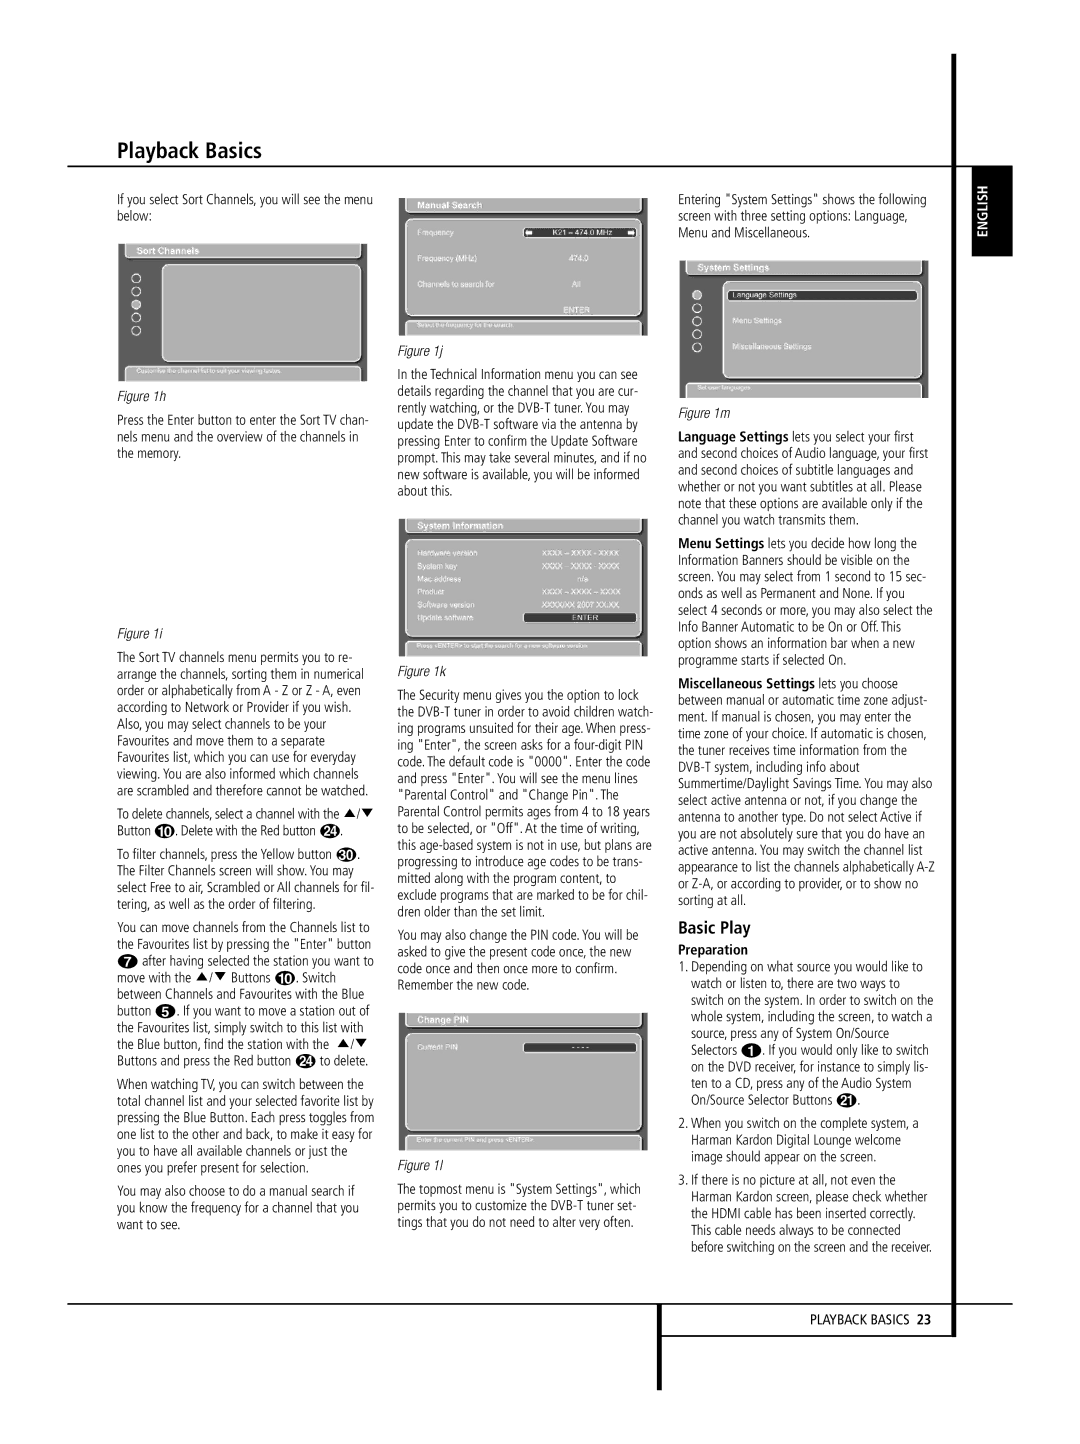
Figure 1h
Press the Enter button to enter the Sort TV chan- nels menu and the overview of the channels in the memory.
Figure 1i
The Sort TV channels menu permits you to re- arrange the channels, sorting them in numerical order or alphabetically from A - Z or Z - A, even according to Network or Provider if you wish. Also, you may select channels to be your Favourites and move them to a separate Favourites list, which you can use for everyday viewing. You are also informed which channels are scrambled and therefore cannot be watched.
To delete channels, select a channel with the K/L Button 9. Delete with the Red button N.
To filter channels, press the Yellow button | . |
The Filter Channels screen will show. You may | |
select Free to air, Scrambled or All channels for fil- tering, as well as the order of filtering.
You can move channels from the Channels list to the Favourites list by pressing the "Enter" button
6after having selected the station you want to move with the K/L Buttons 9. Switch between Channels and Favourites with the Blue button 4. If you want to move a station out of the Favourites list, simply switch to this list with the Blue button, find the station with the K/L Buttons and press the Red button N to delete.
When watching TV, you can switch between the total channel list and your selected favorite list by pressing the Blue Button. Each press toggles from one list to the other and back, to make it easy for you to have all available channels or just the ones you prefer present for selection.
You may also choose to do a manual search if you know the frequency for a channel that you want to see.
Figure 1j
In the Technical Information menu you can see details regarding the channel that you are cur- rently watching, or the DVB-T tuner. You may update the DVB-T software via the antenna by pressing Enter to confirm the Update Software prompt. This may take several minutes, and if no new software is available, you will be informed about this.
Figure 1k
The Security menu gives you the option to lock the DVB-T tuner in order to avoid children watch- ing programs unsuited for their age. When press- ing "Enter", the screen asks for a four-digit PIN code. The default code is "0000". Enter the code and press "Enter". You will see the menu lines "Parental Control" and "Change Pin". The Parental Control permits ages from 4 to 18 years to be selected, or "Off". At the time of writing, this age-based system is not in use, but plans are progressing to introduce age codes to be trans- mitted along with the program content, to exclude programs that are marked to be for chil- dren older than the set limit.
You may also change the PIN code. You will be asked to give the present code once, the new code once and then once more to confirm. Remember the new code.
Figure 1l
The topmost menu is "System Settings", which permits you to customize the DVB-T tuner set- tings that you do not need to alter very often.
Figure 1m
Language Settings lets you select your first and second choices of Audio language, your first and second choices of subtitle languages and whether or not you want subtitles at all. Please note that these options are available only if the channel you watch transmits them.
Menu Settings lets you decide how long the Information Banners should be visible on the screen. You may select from 1 second to 15 sec- onds as well as Permanent and None. If you select 4 seconds or more, you may also select the Info Banner Automatic to be On or Off. This option shows an information bar when a new programme starts if selected On.
Miscellaneous Settings lets you choose between manual or automatic time zone adjust- ment. If manual is chosen, you may enter the time zone of your choice. If automatic is chosen, the tuner receives time information from the DVB-T system, including info about Summertime/Daylight Savings Time. You may also select active antenna or not, if you change the antenna to another type. Do not select Active if you are not absolutely sure that you do have an active antenna. You may switch the channel list appearance to list the channels alphabetically A-Z or Z-A, or according to provider, or to show no sorting at all.
Basic Play
Preparation
1.Depending on what source you would like to watch or listen to, there are two ways to switch on the system. In order to switch on the whole system, including the screen, to watch a source, press any of System On/Source Selectors 0. If you would only like to switch on the DVD receiver, for instance to simply lis- ten to a CD, press any of the Audio System On/Source Selector Buttons K.
2.When you switch on the complete system, a Harman Kardon Digital Lounge welcome image should appear on the screen.
3.If there is no picture at all, not even the Harman Kardon screen, please check whether the HDMI cable has been inserted correctly. This cable needs always to be connected before switching on the screen and the receiver.