Status Bar / OSD Menus / Disc Player Menu

Using the Status Bar Menu

The on-screen Status Bar contains many playback features. To see the Status Banner Menu, press STATUS D on the remote control while a disc is playing. Use the ARROW 9 buttons on the remote to move through the different features in the Status Bar. When a feature is highlighted, press ENTER 6 on the remote to select it and to change it with the help of the options listed on the screen. Press ENTER 6 to activate the change.

Title: The number shown indicates the number of the title that is currently playing.

Chapter: The number shown indicates the num- ber of the chapter that is currently playing on a disc.

Time: This item displays the time in DVD mode. To change the Time mode, first move the cursor to the TIME. The current mode will be highlighted. Press ENTER and the ARROW button to activate the following time modes: Title Elapsed, Title Remaining, Chapter Elapsed, Chapter Remaining. Depending on the choice made, the bar will show a graphic view on where the disc is currently playing.

On Screen Display Menus

When all settings in both the Set Up Menu of the Screen and in the Set Up Menu of the DVD receiver have been made, the Digital Lounge system is ready to play.

These Set Up settings normally only have to be made once. Day-to-day operation of the screen and the DVD receiver is done by two On Screen Displays (OSD).

On Screen Display Menu for the Screen The On Screen Display of the screen allows you to select the video source to be watched. Press the TV Button 0 followed by the OSD Button

to call the OSD Menu for the screen on the display.

requested video input is highlighted. Press the Enter Button 6 to confirm. Once this button is pressed, the OSD Menu will disappear, and the selected video input will show on the screen.

One of the tabs, the TV tab, will not only select the TV as video input, but will also allow you to select the TV channel you would like to watch. With the TV tab highlighted in dark blue, press the L Button 9 followed by the N Button

9to access the Channel List. If the TV tab is not already highlighted, press the arrow N M Buttons to select. Use the KLN M Buttons 9 to the TV channel you would like to watch. Press the Enter Button 6 to confirm. The OSD Menu will disappear, and the selected TV channel will show on the screen.

NOTE: This direct station select is only available if you have chosen the analog TV tuner. If you want to perform direct station select when you have chosen the digital DVB-T tuner, just press the Enter Button 6 while watching TV to call up the TV Channel menu or Favorite Channel menu (press blue button), from which you can choose channels directly.

On Screen Display Menu for the DVD receiver

The On Screen Display of DVD receiver allows you to select any of the audio or audio/video sources connected to the DVD receiver. Press the DVD Button 0 followed by the OSD Button

to call the OSD Menu for the DVD receiver on the display.

The OSD contains different tabs for each individ- ual audio or audio/video input. These are visible on the top of the screen. The input currently active will be highlighted in dark blue. In order to select another audio or audio/video input, move the cursor on the screen using the N M Buttons

9until the requested input is highlighted. Press the Enter Button 6 to confirm. Once this button is pressed, the OSD Menu will disappear, and the selected input will show on the screen.

shown on the left side of the screen. As in the SET-UP Menu, settings can be highlighted with the ARROW 9 buttons and selected with the ENTER 6 button on the remote control.

Options for the settings are shown in the Lower Menu Line on the bottom of the screen.

Disc: Shows the type of the disc.

Audio: Shows the audio track that is currently playing. Options are shown on both Menu Lines on the bottom of the screen.

Playlist: Sets the order in which the current disc is played back.

Repeat: Sets the repeat mode.

Random: Activates Random Playback when pos- sible.

Subtitle: Shows the subtitle of the disc currently playing.

With JPEG files, when the THUMBNAIL icon on the left side of the menu is activated, you will be able to use the Thumbnail function to quickly and easily search for image files. Any JPEG image file that has been created on the computer with a thumbnail image included will show up on the right top of the screen when scrolling though the contents list.

In the DISC PLAYER Menu, the chapter, track or picture currently playing will be marked with an arrow symbol in front of the Chapter (DVD), Track (CD, MP3, WMA) or Picture (JPEG). Chapters, tracks and pictures can be selected from this list at any time by moving the cursor to the desired chapter or track and pressing ENTER 6 to con- firm.

The top part of this screen can be de-activated to show the complete Track list on the screen. To de-activate, move the cursor to the upper SETTINGS (DVDs) or INFO (CDs) Submenu on the left side of the screen. Press ENTER 6 until the icon is highlighted in dark blue and the full Track list is visible on the screen. In the same way the Disc list can be opened or removed from the screen by activating or de-activating the PRO-

ENGLISH

DISC PLAYER Menu

GRAM LIST Submenu showing the number of each track on disc (if none is programmed) or the program number of all tracks programmed (see next page).

When the DVD Receiver is in play mode, pressing the PLAY button on the remote control will high- light the track being played.

Figure 8

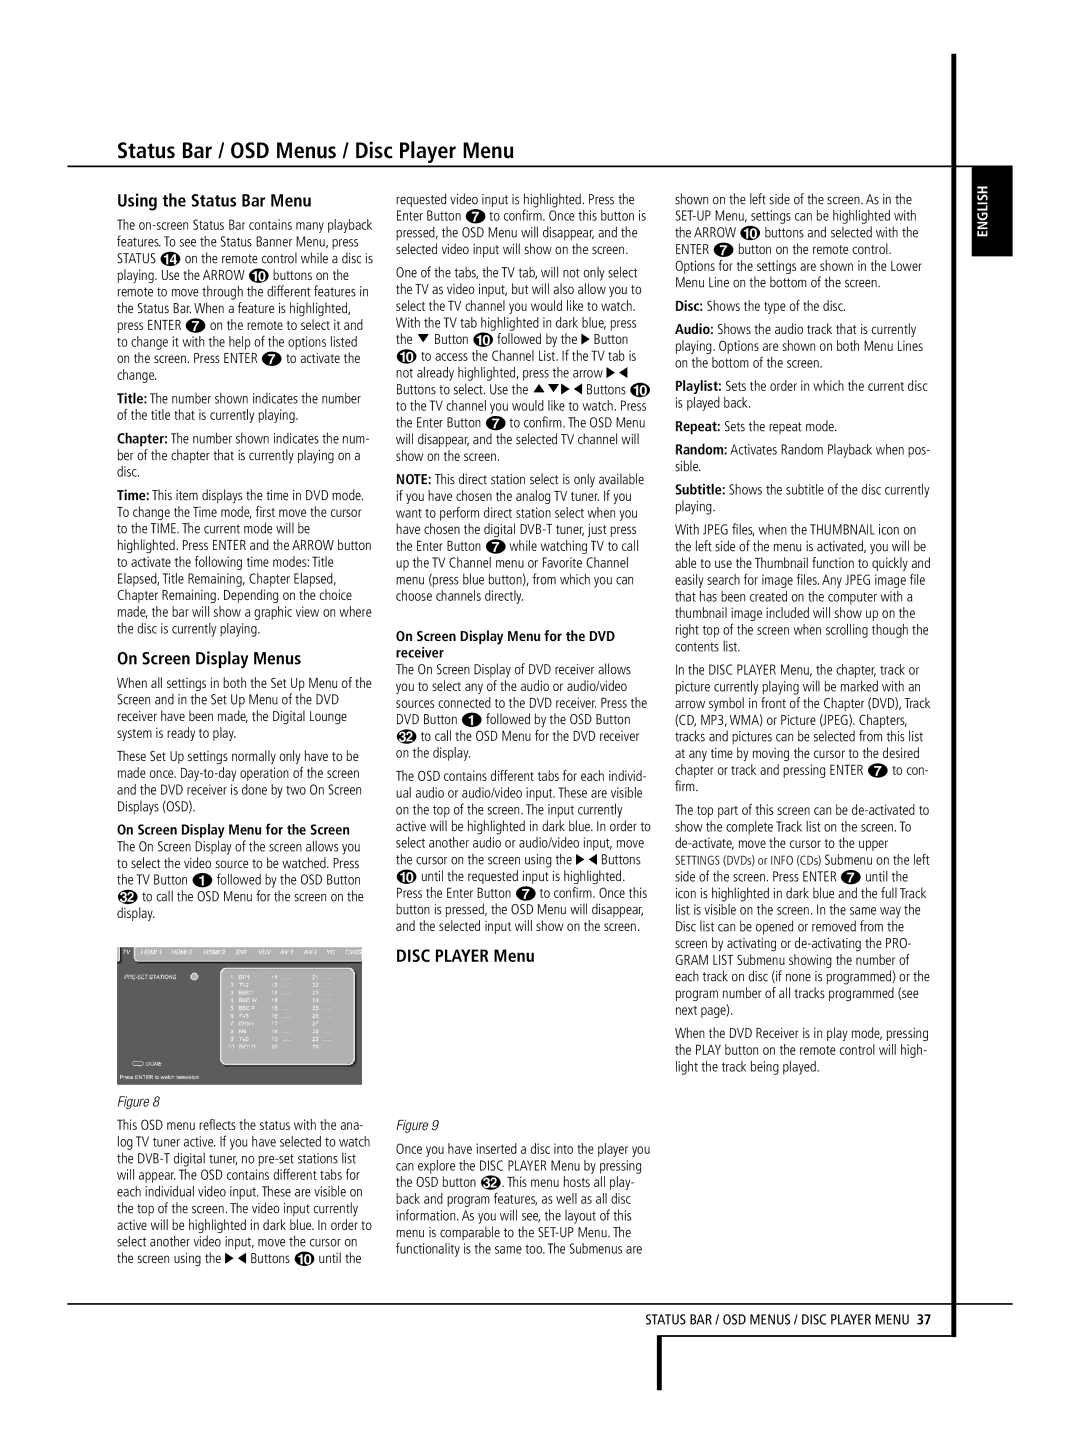
This OSD menu reflects the status with the ana- log TV tuner active. If you have selected to watch the DVB-T digital tuner, no pre-set stations list will appear. The OSD contains different tabs for each individual video input. These are visible on the top of the screen. The video input currently active will be highlighted in dark blue. In order to select another video input, move the cursor on the screen using the N M Buttons 9 until the

Figure 9

Once you have inserted a disc into the player you can explore the DISC PLAYER Menu by pressing the OSD button . This menu hosts all play- back and program features, as well as all disc information. As you will see, the layout of this menu is comparable to the SET-UP Menu. The functionality is the same too. The Submenus are

STATUS BAR / OSD MENUS / DISC PLAYER MENU 37

Page 37
Image 37
Harman-Kardon 632, 646, 640 Status Bar / OSD Menus / Disc Player Menu, Using the Status Bar Menu, On Screen Display Menus

640, 646, 632 specifications

Harman Kardon is a renowned name in the world of high-fidelity audio, consistently delivering products that merge technology with stunning design. Among its notable offerings are the models 632, 646, and 640, each catering to audiophiles and casual listeners alike, with features that elevate the listening experience.

The Harman Kardon 632 is celebrated for its robust build quality and sleek aesthetics. This model combines a powerful amplifier with high-performance speakers, ensuring rich, clear sound reproduction. One of its main features is the inclusion of advanced Dolby Digital decoding, which enables users to enjoy cinema-like audio quality at home. The 632 also boasts a wide frequency response, allowing for crisp highs and deep lows, making it perfect for music, movies, and games alike.

On the other hand, the 646 model takes the performance a step further. It is designed with multiple connectivity options, including Bluetooth, HDMI, and USB inputs, ensuring seamless integration with various devices. The 646 incorporates Harman Kardon's proprietary signal processing technology, which optimizes sound output based on the specific acoustics of the environment. This model also features multi-room audio capabilities, allowing users to enjoy their favorite tunes in different spaces without any hassle. The intuitive user interface enhances the overall experience, making it easy to switch between sources and adjust settings.

Lastly, the Harman Kardon 640 model distinguishes itself with its compact size without compromising sound quality. It is equipped with a powerful built-in amplifier and high-efficiency speakers that deliver impressive audio output. The 640 is engineered with cutting-edge wireless streaming capabilities, letting users access their favorite music platforms with ease. Additionally, it supports voice control integration, making it compatible with smart home ecosystems.

All three models share common characteristics synonymous with Harman Kardon: exceptional audio clarity, innovative design, and versatility in usage. Whether it’s for enjoying a quiet evening of music, an immersive movie night, or hosting a party, the 632, 646, and 640 stand out as excellent choices for anyone looking to enhance their auditory experience. Each model reflects the brand’s commitment to quality, technology, and satisfaction, making them worthy contenders in the competitive audio market.