System Setup

Edit Channel List (For analog TV only)

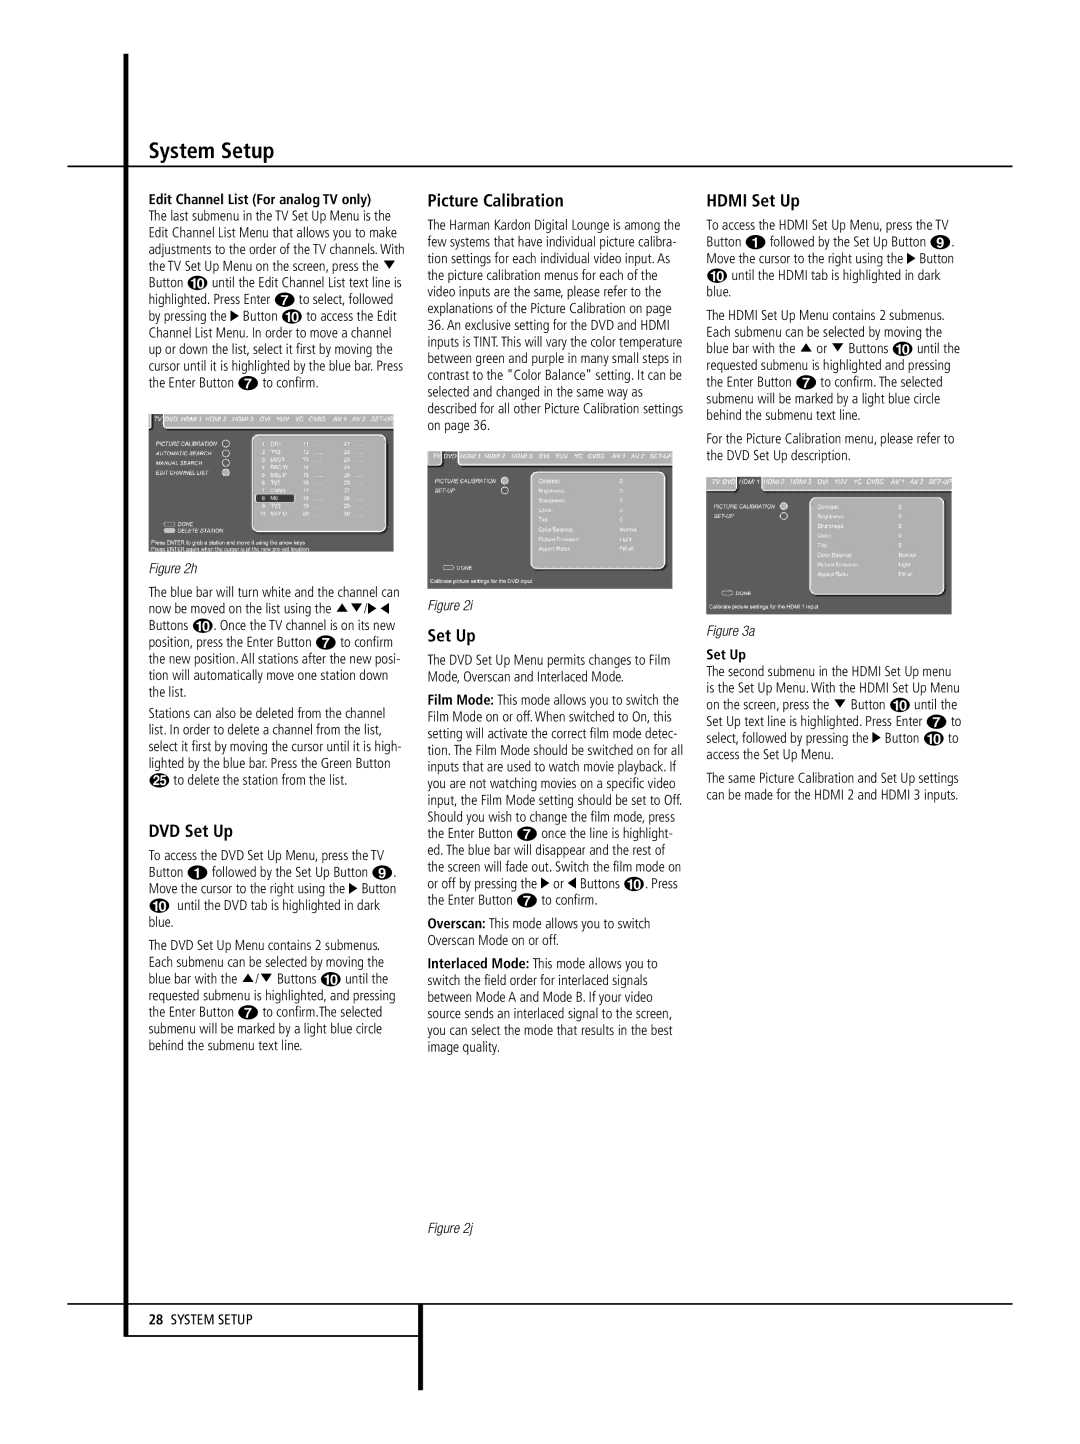
The last submenu in the TV Set Up Menu is the Edit Channel List Menu that allows you to make adjustments to the order of the TV channels. With the TV Set Up Menu on the screen, press the L Button 9 until the Edit Channel List text line is highlighted. Press Enter 6 to select, followed by pressing the N Button 9 to access the Edit Channel List Menu. In order to move a channel up or down the list, select it first by moving the cursor until it is highlighted by the blue bar. Press the Enter Button 6 to confirm.

Picture Calibration

The Harman Kardon Digital Lounge is among the few systems that have individual picture calibra- tion settings for each individual video input. As the picture calibration menus for each of the video inputs are the same, please refer to the explanations of the Picture Calibration on page

36.An exclusive setting for the DVD and HDMI inputs is TINT. This will vary the color temperature between green and purple in many small steps in contrast to the "Color Balance" setting. It can be selected and changed in the same way as described for all other Picture Calibration settings on page 36.

HDMI Set Up

To access the HDMI Set Up Menu, press the TV Button 0 followed by the Set Up Button 8. Move the cursor to the right using the N Button

9until the HDMI tab is highlighted in dark blue.

The HDMI Set Up Menu contains 2 submenus. Each submenu can be selected by moving the blue bar with the K or L Buttons 9 until the requested submenu is highlighted and pressing the Enter Button 6 to confirm. The selected submenu will be marked by a light blue circle behind the submenu text line.

For the Picture Calibration menu, please refer to the DVD Set Up description.

Figure 2h

The blue bar will turn white and the channel can now be moved on the list using the KL/N M Buttons 9. Once the TV channel is on its new position, press the Enter Button 6 to confirm the new position. All stations after the new posi- tion will automatically move one station down the list.

Stations can also be deleted from the channel list. In order to delete a channel from the list, select it first by moving the cursor until it is high- lighted by the blue bar. Press the Green Button

Oto delete the station from the list.

DVD Set Up

To access the DVD Set Up Menu, press the TV Button 0 followed by the Set Up Button 8. Move the cursor to the right using the N Button

9until the DVD tab is highlighted in dark

blue.

The DVD Set Up Menu contains 2 submenus. Each submenu can be selected by moving the blue bar with the K/L Buttons 9 until the requested submenu is highlighted, and pressing the Enter Button 6 to confirm.The selected submenu will be marked by a light blue circle behind the submenu text line.

Figure 2i

Set Up

The DVD Set Up Menu permits changes to Film Mode, Overscan and Interlaced Mode.

Film Mode: This mode allows you to switch the Film Mode on or off. When switched to On, this setting will activate the correct film mode detec- tion. The Film Mode should be switched on for all inputs that are used to watch movie playback. If you are not watching movies on a specific video input, the Film Mode setting should be set to Off. Should you wish to change the film mode, press the Enter Button 6 once the line is highlight- ed. The blue bar will disappear and the rest of the screen will fade out. Switch the film mode on or off by pressing the N or M Buttons 9. Press the Enter Button 6 to confirm.

Overscan: This mode allows you to switch Overscan Mode on or off.

Interlaced Mode: This mode allows you to switch the field order for interlaced signals between Mode A and Mode B. If your video source sends an interlaced signal to the screen, you can select the mode that results in the best image quality.

Figure 3a

Set Up

The second submenu in the HDMI Set Up menu is the Set Up Menu. With the HDMI Set Up Menu on the screen, press the L Button 9 until the Set Up text line is highlighted. Press Enter 6 to select, followed by pressing the N Button 9 to access the Set Up Menu.

The same Picture Calibration and Set Up settings can be made for the HDMI 2 and HDMI 3 inputs.

Figure 2j

28SYSTEM SETUP

Page 28
Image 28
Harman-Kardon 632, 646, 640 owner manual Picture Calibration, Hdmi Set Up, DVD Set Up

640, 646, 632 specifications

Harman Kardon is a renowned name in the world of high-fidelity audio, consistently delivering products that merge technology with stunning design. Among its notable offerings are the models 632, 646, and 640, each catering to audiophiles and casual listeners alike, with features that elevate the listening experience.

The Harman Kardon 632 is celebrated for its robust build quality and sleek aesthetics. This model combines a powerful amplifier with high-performance speakers, ensuring rich, clear sound reproduction. One of its main features is the inclusion of advanced Dolby Digital decoding, which enables users to enjoy cinema-like audio quality at home. The 632 also boasts a wide frequency response, allowing for crisp highs and deep lows, making it perfect for music, movies, and games alike.

On the other hand, the 646 model takes the performance a step further. It is designed with multiple connectivity options, including Bluetooth, HDMI, and USB inputs, ensuring seamless integration with various devices. The 646 incorporates Harman Kardon's proprietary signal processing technology, which optimizes sound output based on the specific acoustics of the environment. This model also features multi-room audio capabilities, allowing users to enjoy their favorite tunes in different spaces without any hassle. The intuitive user interface enhances the overall experience, making it easy to switch between sources and adjust settings.

Lastly, the Harman Kardon 640 model distinguishes itself with its compact size without compromising sound quality. It is equipped with a powerful built-in amplifier and high-efficiency speakers that deliver impressive audio output. The 640 is engineered with cutting-edge wireless streaming capabilities, letting users access their favorite music platforms with ease. Additionally, it supports voice control integration, making it compatible with smart home ecosystems.

All three models share common characteristics synonymous with Harman Kardon: exceptional audio clarity, innovative design, and versatility in usage. Whether it’s for enjoying a quiet evening of music, an immersive movie night, or hosting a party, the 632, 646, and 640 stand out as excellent choices for anyone looking to enhance their auditory experience. Each model reflects the brand’s commitment to quality, technology, and satisfaction, making them worthy contenders in the competitive audio market.