TV Menu, AUX Menu, Digital in Menu

TV MENU

The TV Menu setting of the DVD receiver sets the audio format and the level adjustment of the audio signal of the TV screen. This adjustment is done once only. All other settings for the TV screen are made in the TV Setup Menu as described on page 26.

1.When the system is on, make sure the OSD is shown on the screen. If not so, press the DVD

button 0, then OSD

. Then move the

cursor to the TV Menu.


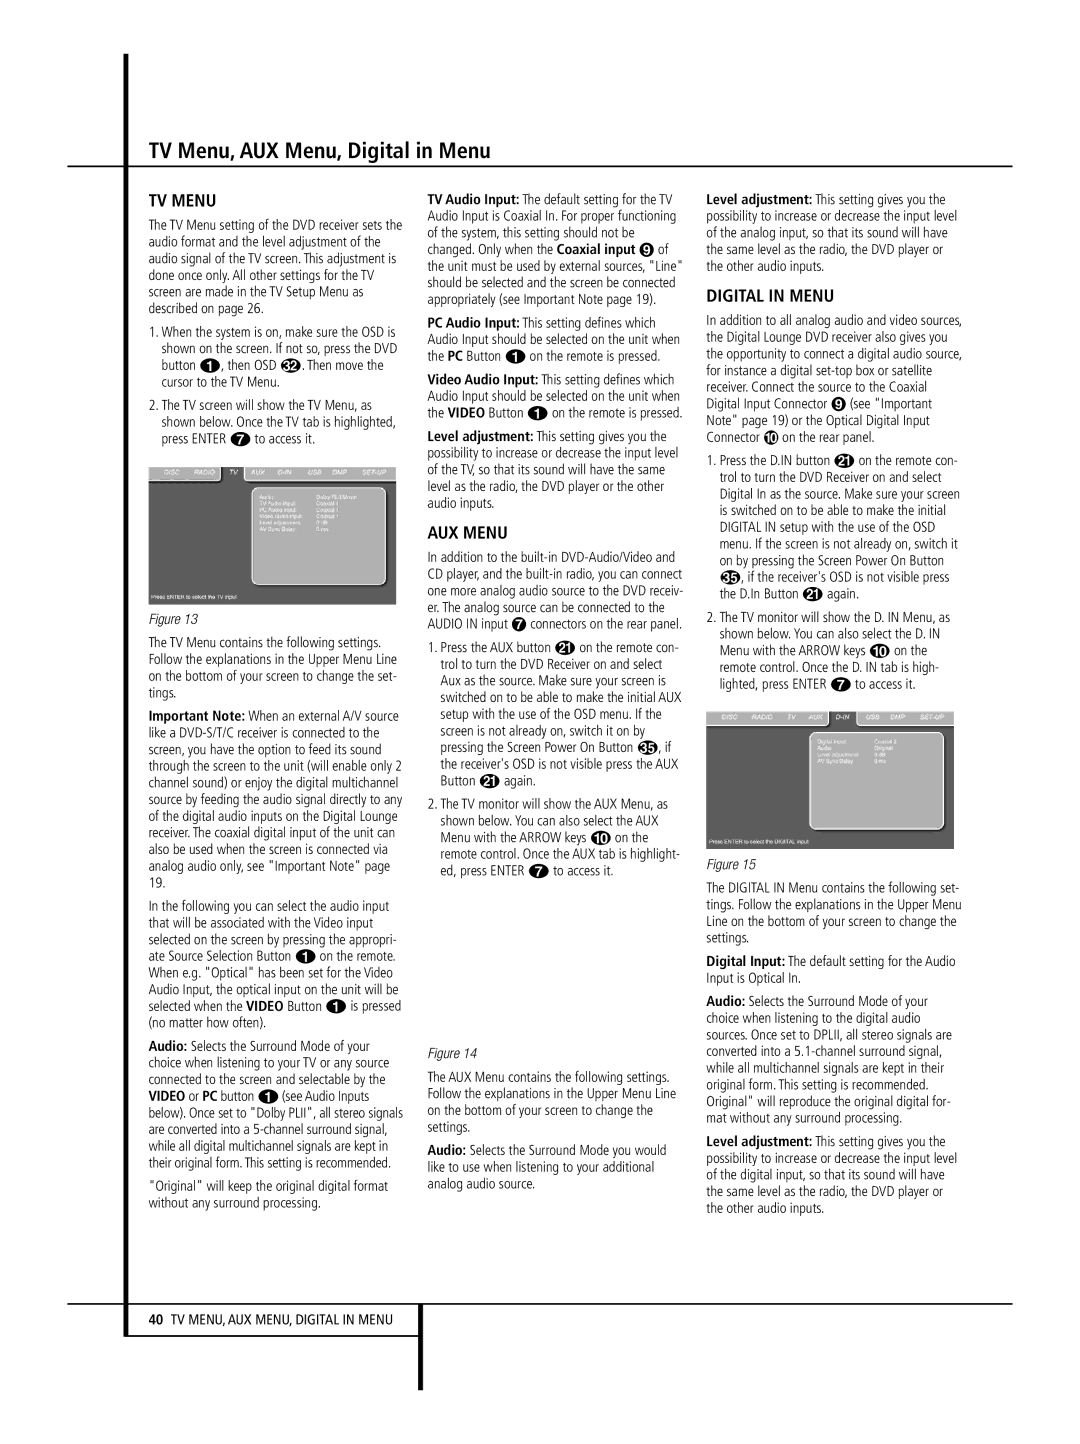
2.The TV screen will show the TV Menu, as shown below. Once the TV tab is highlighted, press ENTER 6 to access it.

Figure 13

The TV Menu contains the following settings. Follow the explanations in the Upper Menu Line on the bottom of your screen to change the set- tings.

Important Note: When an external A/V source like a DVD-S/T/C receiver is connected to the screen, you have the option to feed its sound through the screen to the unit (will enable only 2 channel sound) or enjoy the digital multichannel source by feeding the audio signal directly to any of the digital audio inputs on the Digital Lounge receiver. The coaxial digital input of the unit can also be used when the screen is connected via analog audio only, see "Important Note" page 19.

In the following you can select the audio input that will be associated with the Video input selected on the screen by pressing the appropri- ate Source Selection Button 0 on the remote. When e.g. "Optical" has been set for the Video Audio Input, the optical input on the unit will be selected when the VIDEO Button 0 is pressed (no matter how often).

Audio: Selects the Surround Mode of your choice when listening to your TV or any source connected to the screen and selectable by the VIDEO or PC button 0 (see Audio Inputs below). Once set to "Dolby PLII", all stereo signals are converted into a 5-channel surround signal, while all digital multichannel signals are kept in their original form. This setting is recommended.

"Original" will keep the original digital format without any surround processing.

TV Audio Input: The default setting for the TV Audio Input is Coaxial In. For proper functioning of the system, this setting should not be changed. Only when the Coaxial input of the unit must be used by external sources, "Line" should be selected and the screen be connected appropriately (see Important Note page 19).

PC Audio Input: This setting defines which Audio Input should be selected on the unit when the PC Button 0 on the remote is pressed.

Video Audio Input: This setting defines which Audio Input should be selected on the unit when the VIDEO Button 0 on the remote is pressed.

Level adjustment: This setting gives you the possibility to increase or decrease the input level of the TV, so that its sound will have the same level as the radio, the DVD player or the other audio inputs.

AUX MENU

In addition to the built-in DVD-Audio/Video and CD player, and the built-in radio, you can connect one more analog audio source to the DVD receiv- er. The analog source can be connected to the

AUDIO IN input

connectors on the rear panel.

1.Press the AUX button K on the remote con- trol to turn the DVD Receiver on and select Aux as the source. Make sure your screen is switched on to be able to make the initial AUX setup with the use of the OSD menu. If the

screen is not already on, switch it on by pressing the Screen Power On Button , if the receiver's OSD is not visible press the AUX Button K again.

2.The TV monitor will show the AUX Menu, as shown below. You can also select the AUX Menu with the ARROW keys 9 on the remote control. Once the AUX tab is highlight- ed, press ENTER 6 to access it.

Figure 14

The AUX Menu contains the following settings. Follow the explanations in the Upper Menu Line on the bottom of your screen to change the settings.

Audio: Selects the Surround Mode you would like to use when listening to your additional analog audio source.

Level adjustment: This setting gives you the possibility to increase or decrease the input level of the analog input, so that its sound will have the same level as the radio, the DVD player or the other audio inputs.

DIGITAL IN MENU

In addition to all analog audio and video sources, the Digital Lounge DVD receiver also gives you the opportunity to connect a digital audio source, for instance a digital set-top box or satellite receiver. Connect the source to the Coaxial Digital Input Connector (see "Important Note" page 19) or the Optical Digital Input

Connector

on the rear panel.

1.Press the D.IN button K on the remote con- trol to turn the DVD Receiver on and select Digital In as the source. Make sure your screen is switched on to be able to make the initial DIGITAL IN setup with the use of the OSD menu. If the screen is not already on, switch it on by pressing the Screen Power On Button

,if the receiver's OSD is not visible press the D.In Button K again.

2.The TV monitor will show the D. IN Menu, as shown below. You can also select the D. IN Menu with the ARROW keys 9 on the remote control. Once the D. IN tab is high- lighted, press ENTER 6 to access it.

Figure 15

The DIGITAL IN Menu contains the following set- tings. Follow the explanations in the Upper Menu Line on the bottom of your screen to change the settings.

Digital Input: The default setting for the Audio Input is Optical In.

Audio: Selects the Surround Mode of your choice when listening to the digital audio sources. Once set to DPLII, all stereo signals are converted into a 5.1-channel surround signal, while all multichannel signals are kept in their original form. This setting is recommended. Original" will reproduce the original digital for- mat without any surround processing.

Level adjustment: This setting gives you the possibility to increase or decrease the input level of the digital input, so that its sound will have the same level as the radio, the DVD player or the other audio inputs.

40 TV MENU, AUX MENU, DIGITAL IN MENU

Page 40
Image 40
Harman-Kardon 632, 646, 640 owner manual TV Menu, AUX Menu, Digital in Menu, Button 0, then OSD, Audio in input, Connector

640, 646, 632 specifications

Harman Kardon is a renowned name in the world of high-fidelity audio, consistently delivering products that merge technology with stunning design. Among its notable offerings are the models 632, 646, and 640, each catering to audiophiles and casual listeners alike, with features that elevate the listening experience.

The Harman Kardon 632 is celebrated for its robust build quality and sleek aesthetics. This model combines a powerful amplifier with high-performance speakers, ensuring rich, clear sound reproduction. One of its main features is the inclusion of advanced Dolby Digital decoding, which enables users to enjoy cinema-like audio quality at home. The 632 also boasts a wide frequency response, allowing for crisp highs and deep lows, making it perfect for music, movies, and games alike.

On the other hand, the 646 model takes the performance a step further. It is designed with multiple connectivity options, including Bluetooth, HDMI, and USB inputs, ensuring seamless integration with various devices. The 646 incorporates Harman Kardon's proprietary signal processing technology, which optimizes sound output based on the specific acoustics of the environment. This model also features multi-room audio capabilities, allowing users to enjoy their favorite tunes in different spaces without any hassle. The intuitive user interface enhances the overall experience, making it easy to switch between sources and adjust settings.

Lastly, the Harman Kardon 640 model distinguishes itself with its compact size without compromising sound quality. It is equipped with a powerful built-in amplifier and high-efficiency speakers that deliver impressive audio output. The 640 is engineered with cutting-edge wireless streaming capabilities, letting users access their favorite music platforms with ease. Additionally, it supports voice control integration, making it compatible with smart home ecosystems.

All three models share common characteristics synonymous with Harman Kardon: exceptional audio clarity, innovative design, and versatility in usage. Whether it’s for enjoying a quiet evening of music, an immersive movie night, or hosting a party, the 632, 646, and 640 stand out as excellent choices for anyone looking to enhance their auditory experience. Each model reflects the brand’s commitment to quality, technology, and satisfaction, making them worthy contenders in the competitive audio market.