INSTALLATION

Figure 24 – Tape Audio Inputs and Outputs, and Digital Audio Inputs and Outputs

Remember to connect the output jacks on your recorder to the Tape or digital audio input jacks on the AVR, and the input jacks on your recorder to the Tape or digital audio output jacks on the AVR.

No video connections are made, although if your system has unusual requirements, you may connect a video device using component video outputs to the component Video 2 inputs on the receiver, if those jacks are not in use by another device.

TheBridgeTM

With Harman Kardon’s optional The Bridge, you can listen to audio stored on your iPod (not included), use your AVR 145 remote control to operate the iPod, and even charge the iPod while it’s docked in The Bridge.

Simply plug the proprietary cable from The Bridge into the special The Bridge/DMP connector on the rear of the AVR 145’s. Refer to the owner’s manual for The Bridge to select the appropriate insert to match your iPod.

Figure 25 – The Bridge/DMP Connector

Step Five – Connect Video Display

Only video connections should be made between the receiver and your video display (TV), unless your TV is the source for your television pro- gramming (see note above).

You will need to make a video connection for each type of video used for your sources. In addition, even if you didn’t use S-video or compos- ite video for any of your sources, you will still need to use one of these two video monitor connections in order to view the AVR 145’s on- screen menus and displays.

First, determine what types of video your display is capable of handling. Remember that component video is preferred, followed by S-video and then composite video. Ideally, this guided you in selecting the video con- nections for your sources.

Next, note which types of video connections you used for your source devices. Make sure you didn’t use a better type of video connection for a source than your video display can handle. If so, you will need to dis- connect the source and use a video connection that’s compatible with your display.

If you used component video for any sources, connect the Component Video Monitor outputs on the receiver to one set of component video inputs on your display. Make a note of how these inputs are labeled on the display.

Figure 26 – Component Video Monitor Outputs

If you used S-video for any sources, or if all of your sources used com- ponent video, connect the S-video Monitor output on the receiver to an S-video input on your display. Make a note of how the input is labeled.

If you used composite video for any sources, connect the composite video Monitor output on the receiver to a composite video input on the display. Again, make a note of how this input is labeled on the display.

Figure 27 – S-Video and Composite Video Monitor Outputs

Consult the manual for your TV to make sure you understand how to select each video input. As you play different source devices that use different types of video connections, you will need to remember to select the correct video input on your video display.

Step Six – Plug in AC Power

Having made all of your wiring connections, it is now time to plug each component’s AC power cord into a working outlet.

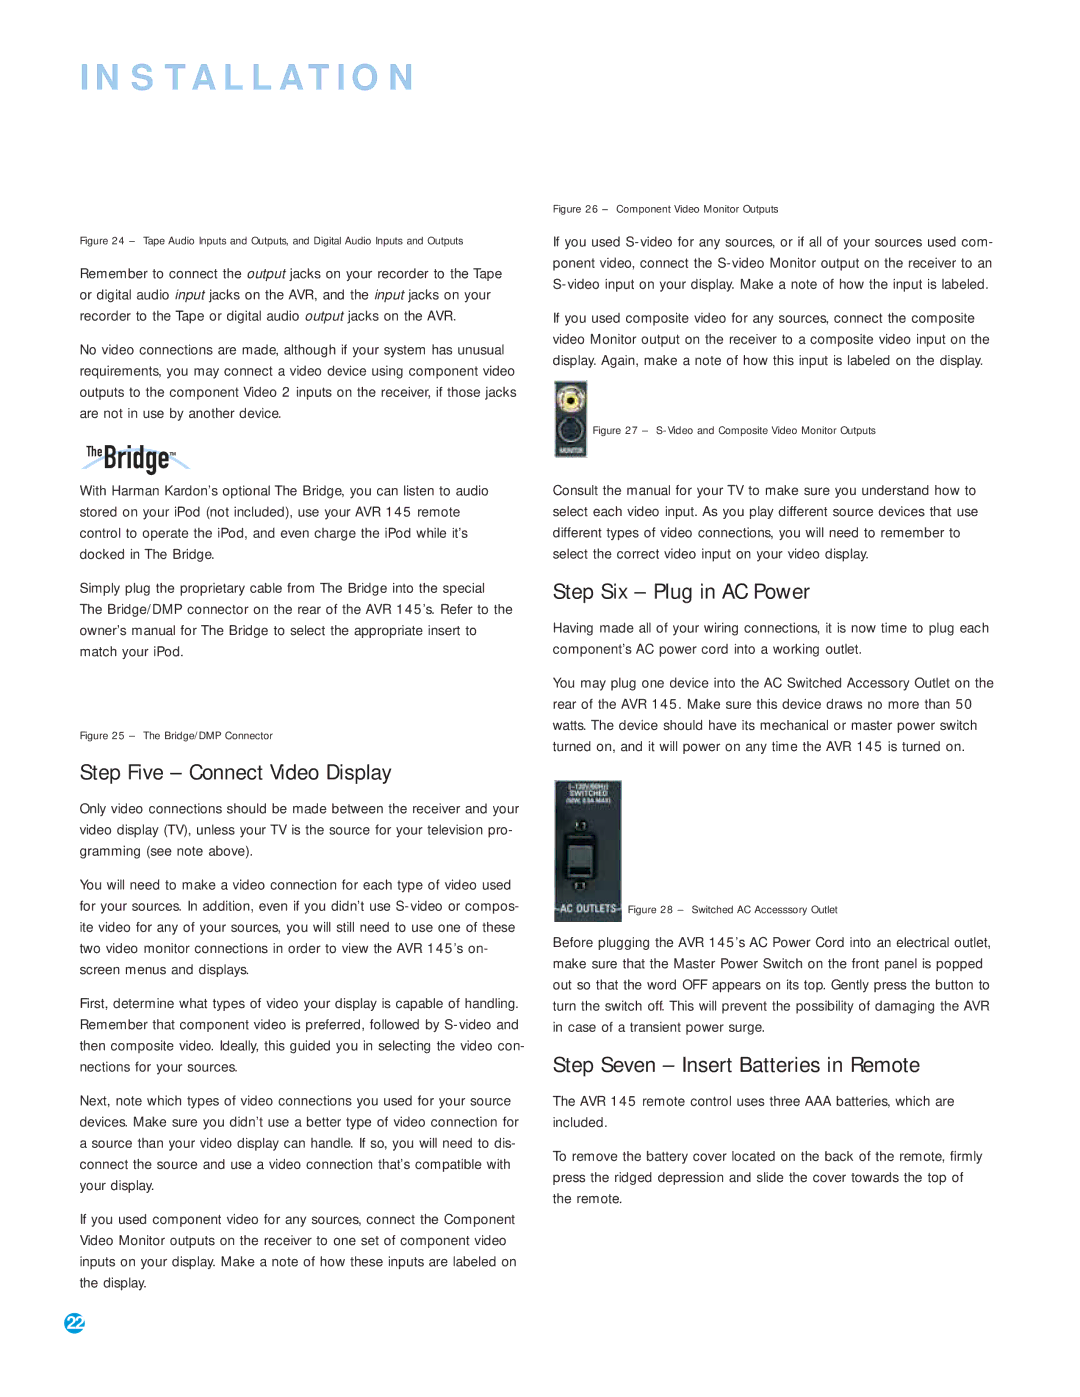
You may plug one device into the AC Switched Accessory Outlet on the rear of the AVR 145. Make sure this device draws no more than 50 watts. The device should have its mechanical or master power switch turned on, and it will power on any time the AVR 145 is turned on.

Figure 28 – Switched AC Accesssory Outlet

Before plugging the AVR 145’s AC Power Cord into an electrical outlet, make sure that the Master Power Switch on the front panel is popped out so that the word OFF appears on its top. Gently press the button to turn the switch off. This will prevent the possibility of damaging the AVR in case of a transient power surge.

Step Seven – Insert Batteries in Remote

The AVR 145 remote control uses three AAA batteries, which are included.

To remove the battery cover located on the back of the remote, firmly press the ridged depression and slide the cover towards the top of the remote.

22

Page 22
Image 22
Harman-Kardon AVR 145 Step Five Connect Video Display, Step Six Plug in AC Power, Step Seven Insert Batteries in Remote

AVR 145 specifications

The Harman-Kardon AVR 145 is a compact yet powerful audio/video receiver designed to deliver an exceptional home theater experience. Launched to meet the needs of both music enthusiasts and movie lovers, the AVR 145 combines advanced technology with user-friendly features, making it a popular choice for those seeking quality sound and versatility.

One of the standout features of the AVR 145 is its impressive power output. The receiver delivers up to 50 watts per channel at 8 ohms, allowing it to produce rich and immersive audio across various media formats. This output ensures that even the most bass-heavy soundtracks and delicate dialogue are rendered with clarity and precision, enhancing the overall listening experience.

Harman-Kardon is known for its commitment to quality sound, and the AVR 145 is no exception. It supports multiple audio formats, including Dolby Digital and DTS, which provide surround sound capabilities that make movies feel like a cinematic experience at home. The receiver also includes High Definition Multimedia Interface (HDMI) inputs, supporting high-resolution video signals while simplifying connectivity between devices.

In terms of connectivity, the AVR 145 is equipped with several inputs and outputs, allowing users to connect multiple audio and video sources. It features composite video, component video, and multiple optical and coaxial digital audio inputs, making it compatible with various devices such as DVD players, game consoles, and media streaming devices. This versatility ensures that users can easily integrate the AVR 145 into their existing entertainment systems.

The user interface of the AVR 145 is thoughtfully designed, making it easy for users to navigate through settings and inputs. The built-in on-screen display offers a straightforward setup experience, and the remote control is intuitive for effortless operation. Additionally, the receiver includes a stereo mode for those who prefer a two-channel audio experience, catering to both modern surround sound setups and traditional stereo configurations.

Another notable characteristic of the AVR 145 is its compact design. With a sleek and elegant appearance, it fits seamlessly into any home entertainment setup without taking up excessive space. This aesthetic appeal, combined with its robust performance, positions the AVR 145 as a brilliant choice for anyone looking to enhance their audio experience without the bulk.

In summary, the Harman-Kardon AVR 145 stands out as a remarkable A/V receiver that combines powerful performance, versatile connectivity, and user-friendly design. Whether for movies, music, or gaming, it is an excellent addition to any home theater system, providing a reliable and high-quality audio experience for years to come.