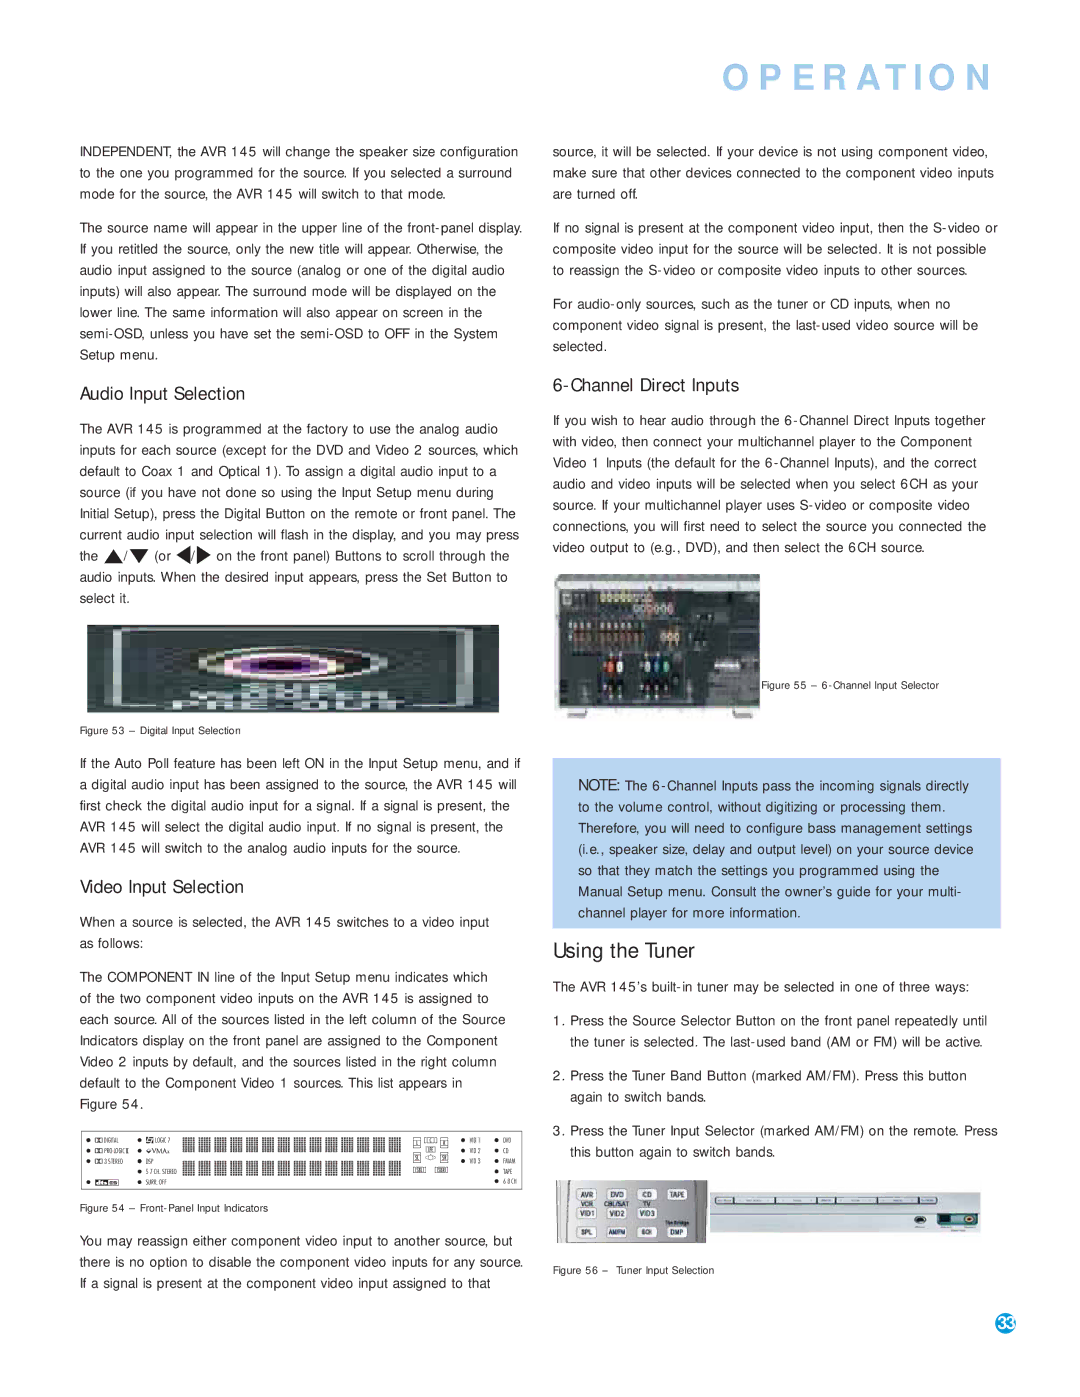
AVR 145 specifications
The Harman-Kardon AVR 145 is a compact yet powerful audio/video receiver designed to deliver an exceptional home theater experience. Launched to meet the needs of both music enthusiasts and movie lovers, the AVR 145 combines advanced technology with user-friendly features, making it a popular choice for those seeking quality sound and versatility.One of the standout features of the AVR 145 is its impressive power output. The receiver delivers up to 50 watts per channel at 8 ohms, allowing it to produce rich and immersive audio across various media formats. This output ensures that even the most bass-heavy soundtracks and delicate dialogue are rendered with clarity and precision, enhancing the overall listening experience.
Harman-Kardon is known for its commitment to quality sound, and the AVR 145 is no exception. It supports multiple audio formats, including Dolby Digital and DTS, which provide surround sound capabilities that make movies feel like a cinematic experience at home. The receiver also includes High Definition Multimedia Interface (HDMI) inputs, supporting high-resolution video signals while simplifying connectivity between devices.
In terms of connectivity, the AVR 145 is equipped with several inputs and outputs, allowing users to connect multiple audio and video sources. It features composite video, component video, and multiple optical and coaxial digital audio inputs, making it compatible with various devices such as DVD players, game consoles, and media streaming devices. This versatility ensures that users can easily integrate the AVR 145 into their existing entertainment systems.
The user interface of the AVR 145 is thoughtfully designed, making it easy for users to navigate through settings and inputs. The built-in on-screen display offers a straightforward setup experience, and the remote control is intuitive for effortless operation. Additionally, the receiver includes a stereo mode for those who prefer a two-channel audio experience, catering to both modern surround sound setups and traditional stereo configurations.
Another notable characteristic of the AVR 145 is its compact design. With a sleek and elegant appearance, it fits seamlessly into any home entertainment setup without taking up excessive space. This aesthetic appeal, combined with its robust performance, positions the AVR 145 as a brilliant choice for anyone looking to enhance their audio experience without the bulk.
In summary, the Harman-Kardon AVR 145 stands out as a remarkable A/V receiver that combines powerful performance, versatile connectivity, and user-friendly design. Whether for movies, music, or gaming, it is an excellent addition to any home theater system, providing a reliable and high-quality audio experience for years to come.

