
AVR 146 specifications
The Harman-Kardon AVR 146 is a versatile audio-video receiver designed to elevate home entertainment experiences. A product of the renowned Harman-Kardon brand, this receiver combines advanced audio technologies, user-friendly features, and sleek design, making it a popular choice for audiophiles and casual listeners alike.One of the standout characteristics of the AVR 146 is its power output. It delivers 50 watts per channel across seven channels, allowing it to easily drive a wide range of speakers while ensuring that dynamic soundscapes are reproduced with clarity and depth. This capability makes it suitable for both movies and music, enhancing the overall auditory experience in home theater setups.
The AVR 146 supports high-definition audio formats, including Dolby TrueHD and DTS-HD Master Audio. These formats provide lossless sound quality, allowing listeners to appreciate every nuance of their favorite films and albums. The receiver's support for a 7.1 channel layout enriches movie nights with a surround sound experience, drawing viewers deeper into the action.
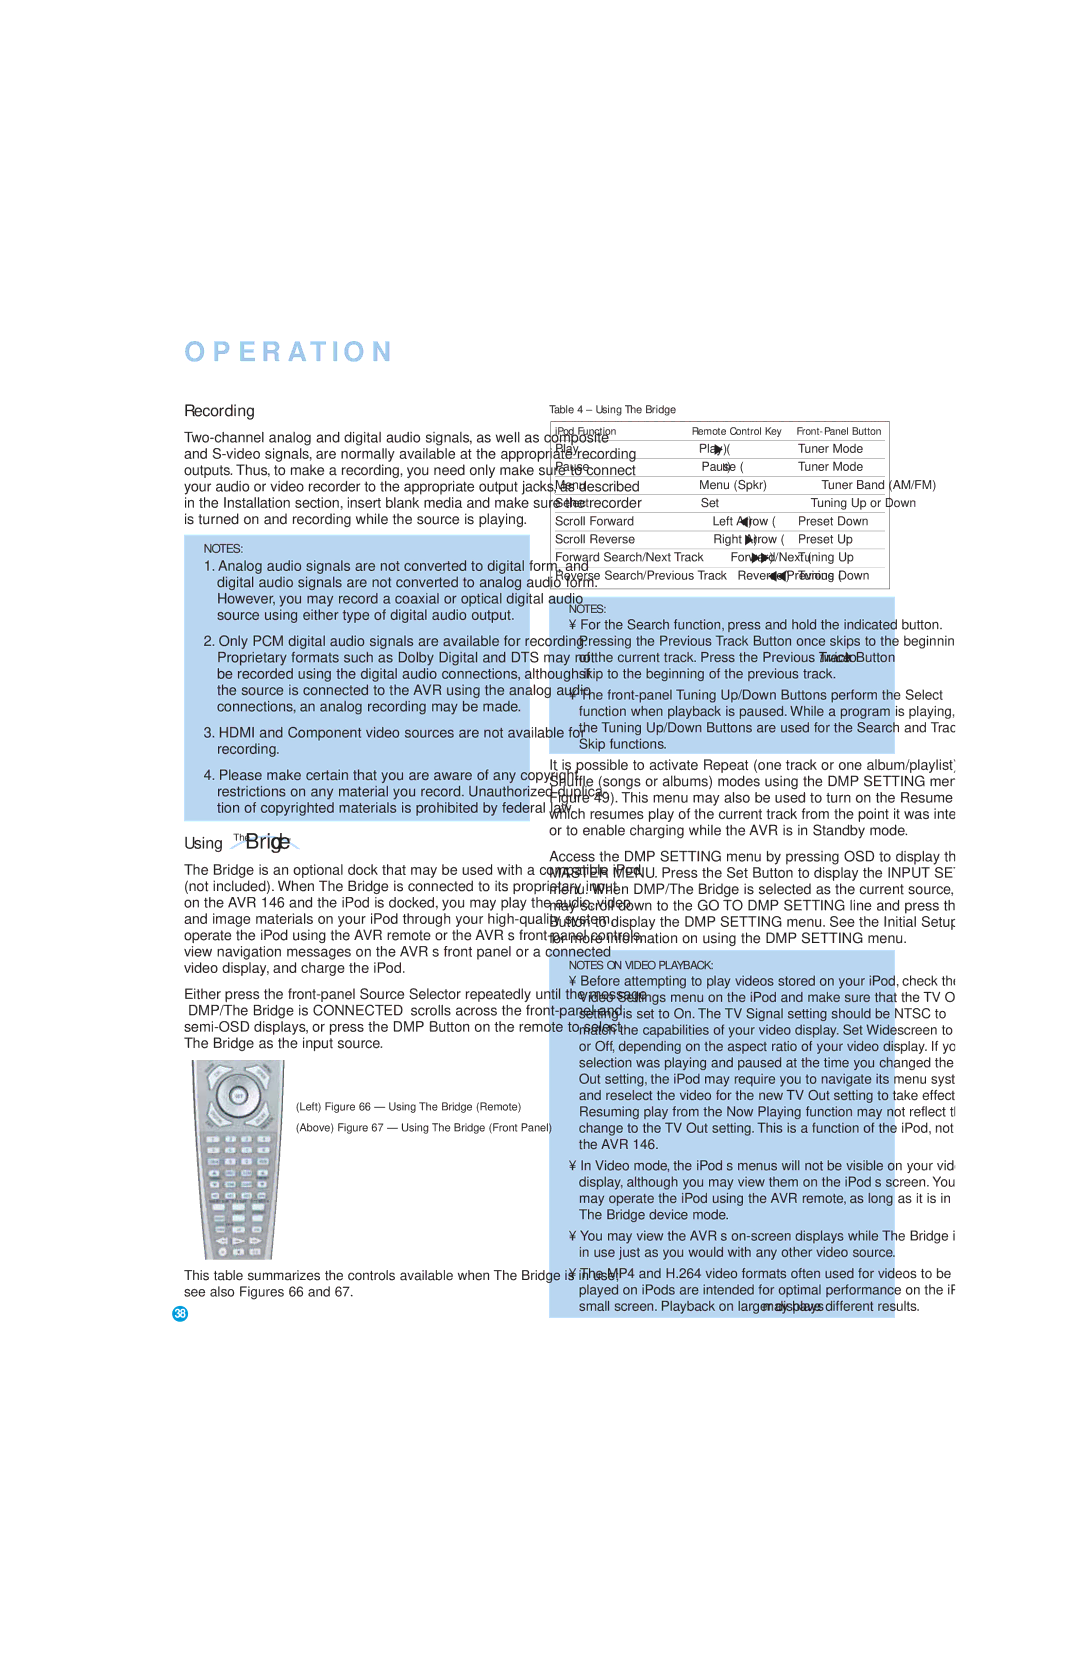
Connectivity is another key feature of the AVR 146. It is equipped with multiple HDMI inputs, allowing users to connect several high-definition devices such as Blu-ray players, gaming consoles, and streaming devices. This ensures that users can enjoy high-quality audio and video without the need for constant plug-and-play. Additionally, the receiver features an array of analog and digital inputs, which further broaden its compatibility with various devices.
Setup and operation are simplified by the inclusion of the user-friendly on-screen graphical interface. This intuitive design makes it easy to navigate through the various settings and features, allowing users to customize their audio preferences with ease. The AVR 146 also incorporates the Harman Kardon Quick Select feature, which allows users to save their favorite settings for different sources for quick access.
In terms of design, the Harman-Kardon AVR 146 showcases a modern and elegant appearance synonymous with the brand's aesthetic. It features a sleek front panel with an easy-to-read display and well-organized buttons, blending seamlessly into home environments.
In summary, the Harman-Kardon AVR 146 is a well-rounded audio-video receiver that promises exceptional performance and versatility. With its combination of powerful amplification, support for advanced audio formats, extensive connectivity options, and a user-friendly interface, it is an excellent choice for anyone looking to enhance their home entertainment system. Whether for movie enthusiasts or music lovers, the AVR 146 delivers an auditory experience that impresses and satisfies.