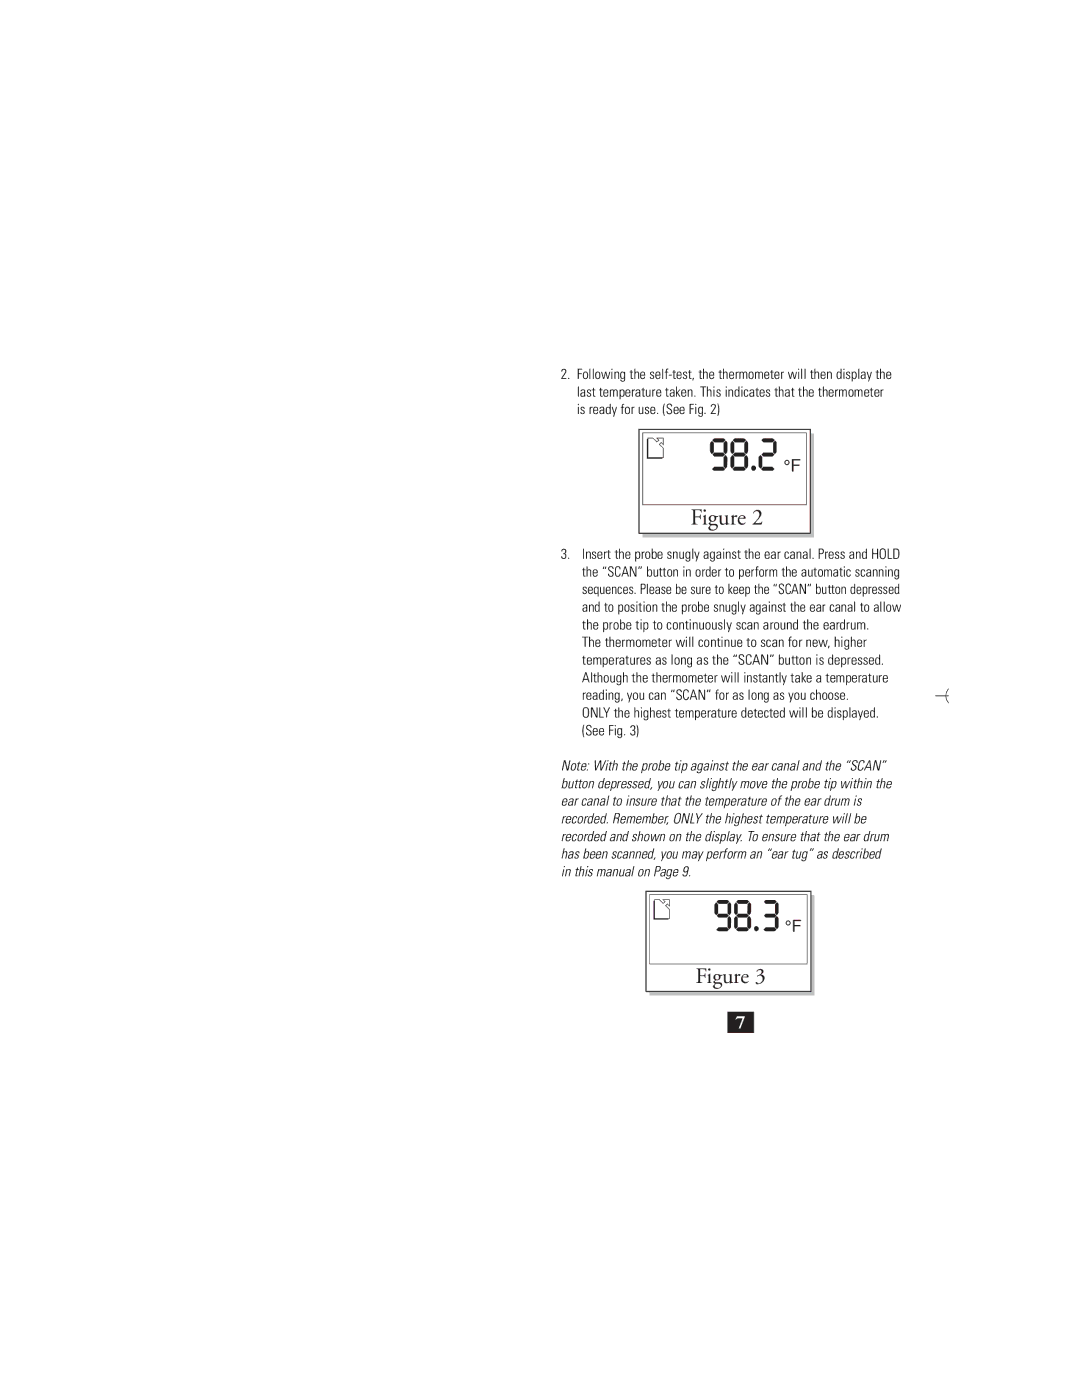
2.Following the
°F
Figure 2
3.Insert the probe snugly against the ear canal. Press and HOLD the “SCAN” button in order to perform the automatic scanning sequences. Please be sure to keep the “SCAN” button depressed and to position the probe snugly against the ear canal to allow the probe tip to continuously scan around the eardrum.
The thermometer will continue to scan for new, higher temperatures as long as the “SCAN” button is depressed. Although the thermometer will instantly take a temperature reading, you can “SCAN” for as long as you choose.
ONLY the highest temperature detected will be displayed. (See Fig. 3)
Note: With the probe tip against the ear canal and the “SCAN” button depressed, you can slightly move the probe tip within the ear canal to insure that the temperature of the ear drum is recorded. Remember, ONLY the highest temperature will be recorded and shown on the display. To ensure that the ear drum has been scanned, you may perform an “ear tug” as described in this manual on Page 9.
![]()
![]()
![]()
![]()
![]() °F
°F
Figure 3
7
