ADJUSTMENT AND OPERATION
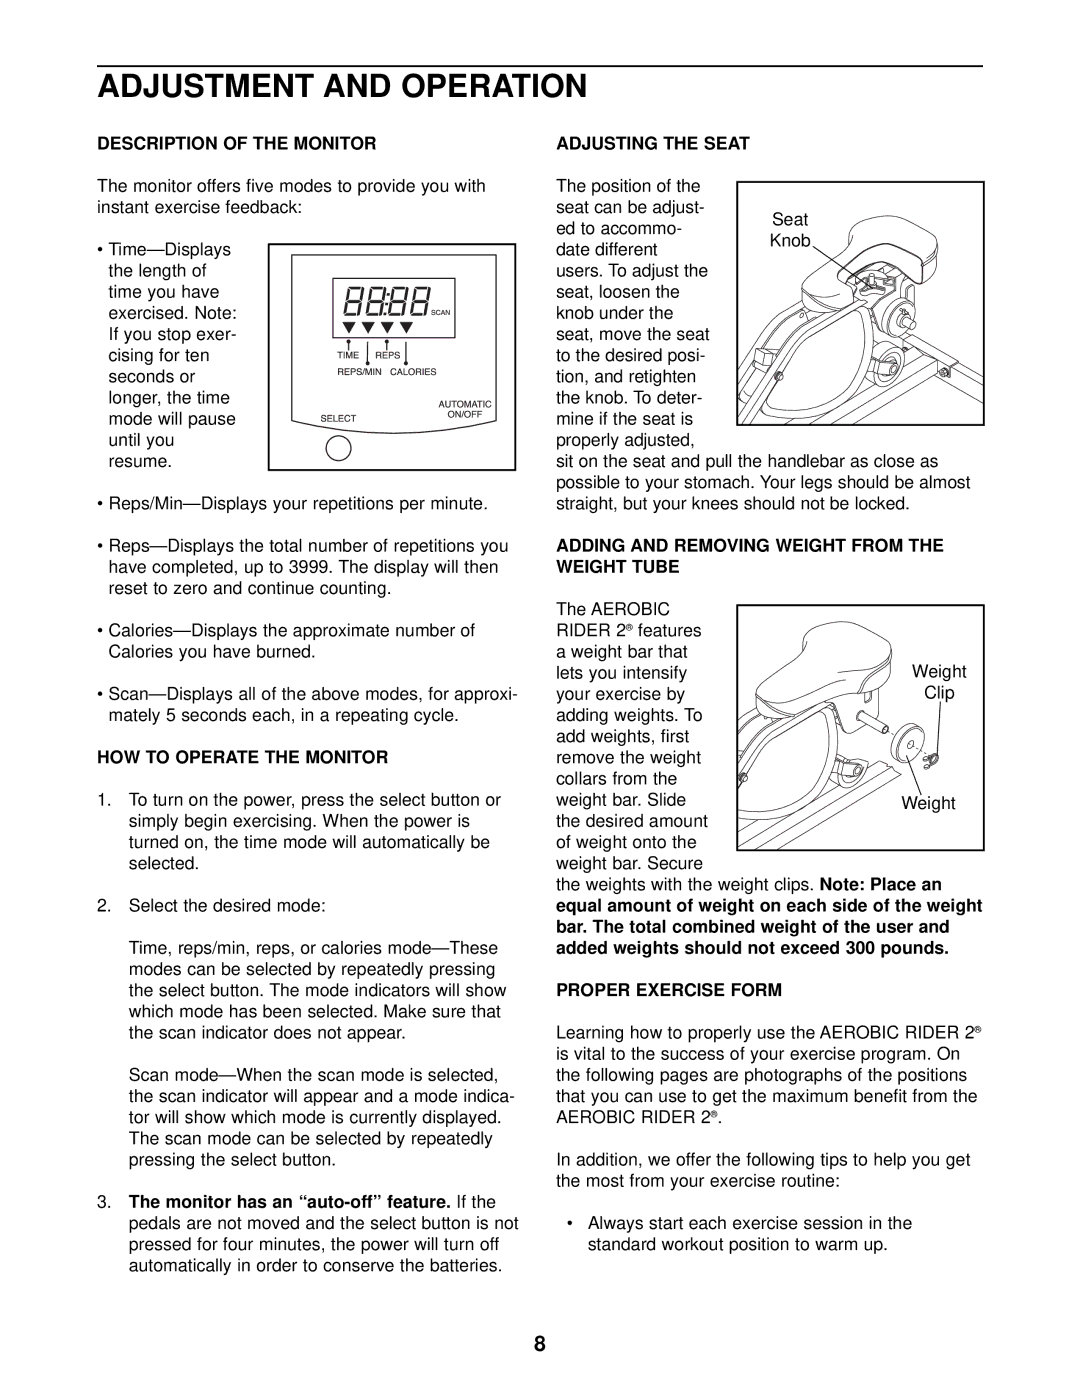
DESCRIPTION OF THE MONITOR
The monitor offers five modes to provide you with instant exercise feedback:
•
time you have exercised. Note: If you stop exer- cising for ten seconds or longer, the time mode will pause until you resume.
•
•
•
•
HOW TO OPERATE THE MONITOR
1.To turn on the power, press the select button or simply begin exercising. When the power is turned on, the time mode will automatically be selected.
2.Select the desired mode:
Time, reps/min, reps, or calories
Scan
3.The monitor has an
ADJUSTING THE SEAT
The position of the seat can be adjust- ed to accommo- date different
users. To adjust the seat, loosen the
knob under the seat, move the seat
to the desired posi- tion, and retighten the knob. To deter-
mine if the seat is properly adjusted,
sit on the seat and pull the handlebar as close as possible to your stomach. Your legs should be almost straight, but your knees should not be locked.
ADDING AND REMOVING WEIGHT FROM THE WEIGHT TUBE
The AEROBIC |
|
RIDER 2® features |
|
a weight bar that | Weight |
lets you intensify | |
your exercise by | Clip |
adding weights. To |
|
add weights, first |
|
remove the weight |
|
collars from the |
|
weight bar. Slide | Weight |
the desired amount |
|
of weight onto the |
|
weight bar. Secure |
|
the weights with the weight clips. Note: Place an equal amount of weight on each side of the weight bar. The total combined weight of the user and added weights should not exceed 300 pounds.
PROPER EXERCISE FORM
Learning how to properly use the AEROBIC RIDER 2® is vital to the success of your exercise program. On the following pages are photographs of the positions that you can use to get the maximum benefit from the AEROBIC RIDER 2® .
In addition, we offer the following tips to help you get the most from your exercise routine:
•Always start each exercise session in the standard workout position to warm up.
8
