![]() WARNING: To reduce the risk of serious injury, read the following precautions
WARNING: To reduce the risk of serious injury, read the following precautions
before operating the console.
• Do not stand on the | walking belt when turn- |
ing on the power or | starting the walking belt. |
HOW TO USE THE MANUAL MODE
1 Insert the key into the console.
See HOW TO TURN ON THE POWER at the left.
• Always wear the clip (see “I”on page 9) on |
the waistband of your clothes while you are |
using the treadmill. If the key is pulled from |
the console, the walking belt will stop. |
• The treadmill is capable of high speeds. |
Adjust the speed in small increments. |
• To reduce the risk of electric shock, keep |
liquids away from the console and place only a sealed water bottle in the console.
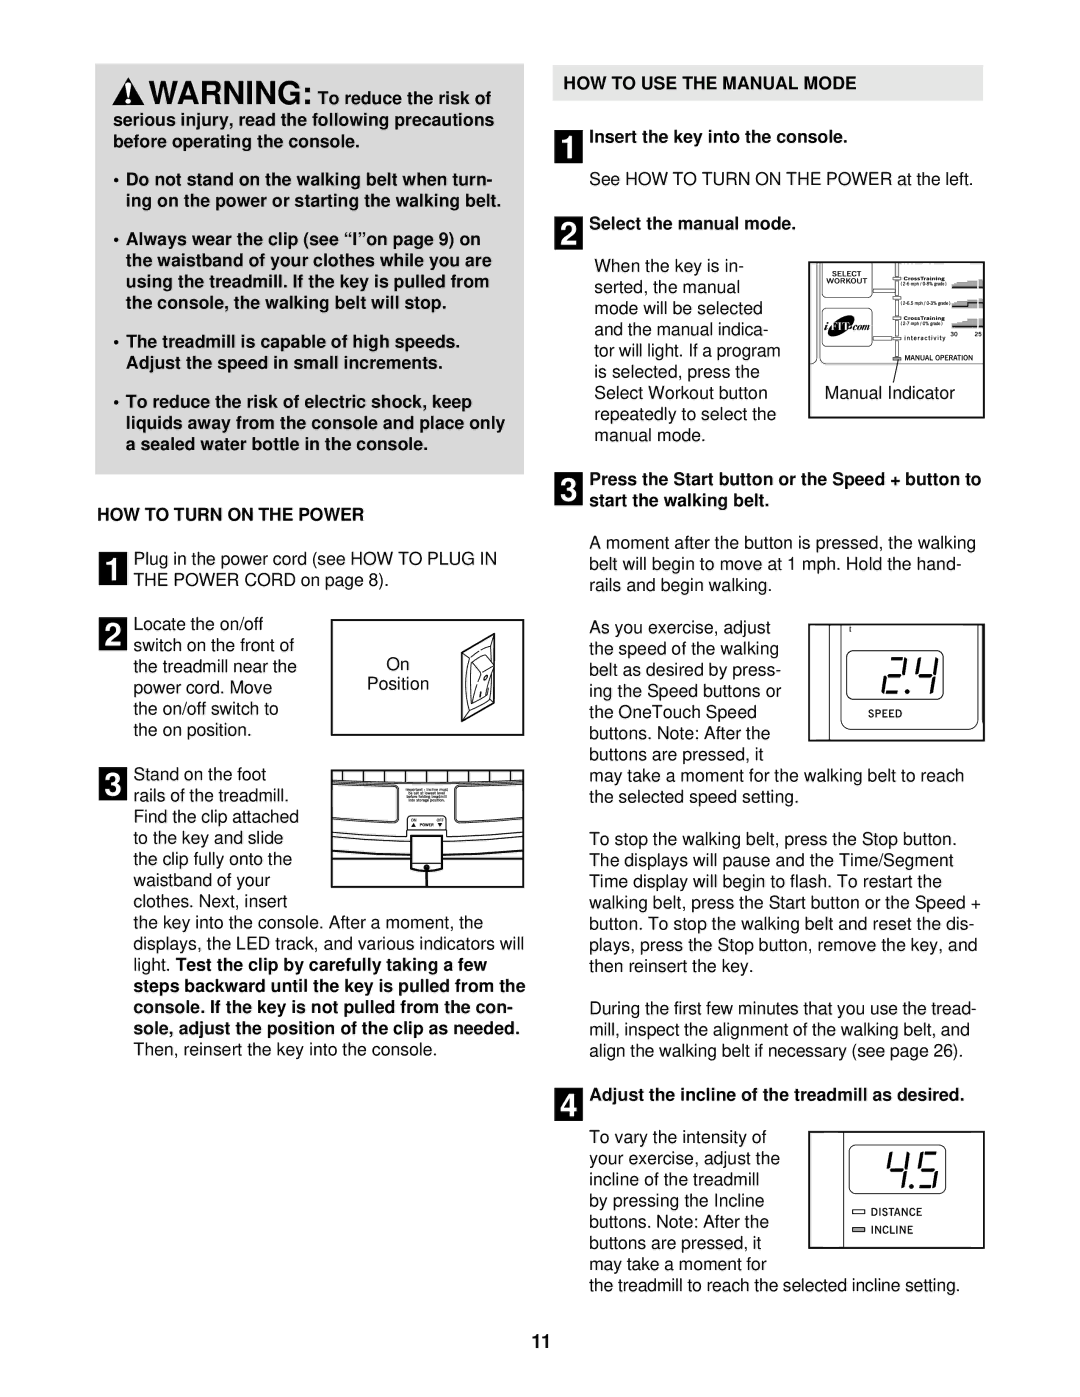
2 Select the manual mode.
When the key is in- serted, the manual mode will be selected and the manual indica-
tor will light. If a program is selected, press the Select Workout button repeatedly to select the manual mode.
Manual Indicator |
HOW TO TURN ON THE POWER |
| |
1 | Plug in the power cord (see HOW TO PLUG IN | |
THE POWER CORD on page 8). |
| |
| Locate the on/off |
|
2 switch on the front of | On | |
| the treadmill near the | |
| power cord. Move | Position |
| the on/off switch to |
|
| the on position. |
|
3 | Stand on the foot |
|
rails of the treadmill. |
| |
| Find the clip attached |
|
| to the key and slide |
|
| the clip fully onto the |
|
| waistband of your |
|
| clothes. Next, insert |
|
| the key into the console. After a moment, the |
|
| displays, the LED track, and various indicators will | |
| light. Test the clip by carefully taking a few | |
| steps backward until the key is pulled from the | |
| console. If the key is not pulled from the con- | |
| sole, adjust the position of the clip as needed. | |
| Then, reinsert the key into the console. |
|
3 | Press the Start button or the Speed + button to | |||||
start the walking belt. | ||||||
| ||||||
| A moment after the button is pressed, the walking | |||||
| belt will begin to move at 1 mph. Hold the hand- | |||||
| rails and begin walking. | |||||
| As you exercise, adjust |
|
|
|
| |
|
|
|
|
| ||
| the speed of the walking |
|
|
|
| |
| belt as desired by press- |
|
|
|
| |
| ing the Speed buttons or |
|
|
|
| |
| the OneTouch Speed |
|
|
|
| |
| buttons. Note: After the |
|
|
|
| |
| buttons are pressed, it | |||||
| may take a moment for the walking belt to reach | |||||
| the selected speed setting. | |||||
| To stop the walking belt, press the Stop button. | |||||
| The displays will pause and the Time/Segment | |||||
| Time display will begin to flash. To restart the | |||||
| walking belt, press the Start button or the Speed + | |||||
| button. To stop the walking belt and reset the dis- | |||||
| plays, press the Stop button, remove the key, and | |||||
| then reinsert the key. | |||||
| During the first few minutes that you use the tread- | |||||
| mill, inspect the alignment of the walking belt, and | |||||
| align the walking belt if necessary (see page 26). | |||||
4Adjust the incline of the treadmill as desired.
To vary the intensity of
your exercise, adjust the incline of the treadmill by pressing the Incline
buttons. Note: After the buttons are pressed, it may take a moment for
the treadmill to reach the selected incline setting.
11