D. Grate and Log Assembly
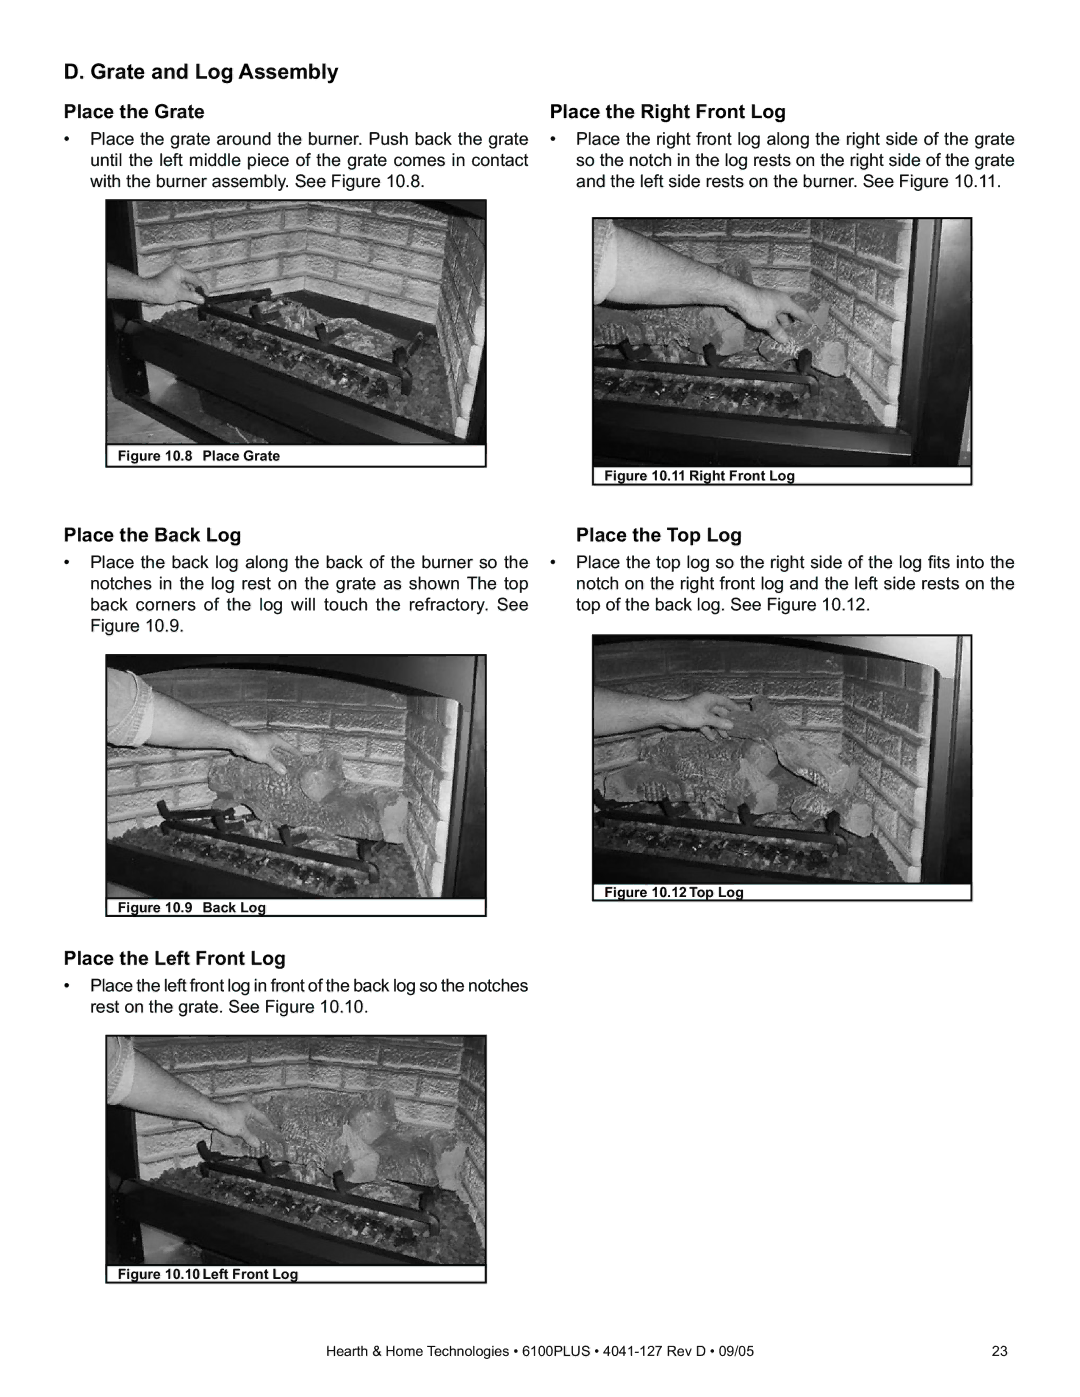
Place the Grate
•Place the grate around the burner. Push back the grate until the left middle piece of the grate comes in contact with the burner assembly. See Figure 10.8.
Place the Right Front Log
•Place the right front log along the right side of the grate so the notch in the log rests on the right side of the grate and the left side rests on the burner. See Figure 10.11.
Figure 10.8 Place Grate
Figure 10.11 Right Front Log
Place the Back Log | Place the Top Log |
• Place the back log along the back of the burner so the | • Place the top log so the right side of the log fi ts into the |
notches in the log rest on the grate as shown The top | notch on the right front log and the left side rests on the |
back corners of the log will touch the refractory. See | top of the back log. See Figure 10.12. |
Figure 10.9. |
|
Figure 10.9 Back Log
Figure 10.12 Top Log
Place the Left Front Log
•Place the left front log in front of the back log so the notches rest on the grate. See Figure 10.10.
Figure 10.10 Left Front Log
Hearth & Home Technologies • 6100PLUS • | 23 |
