Basic operations (continued)
Magnify function | VIDEO | RGB |
| LASER | |
| STANDBY/ON | POSITION |
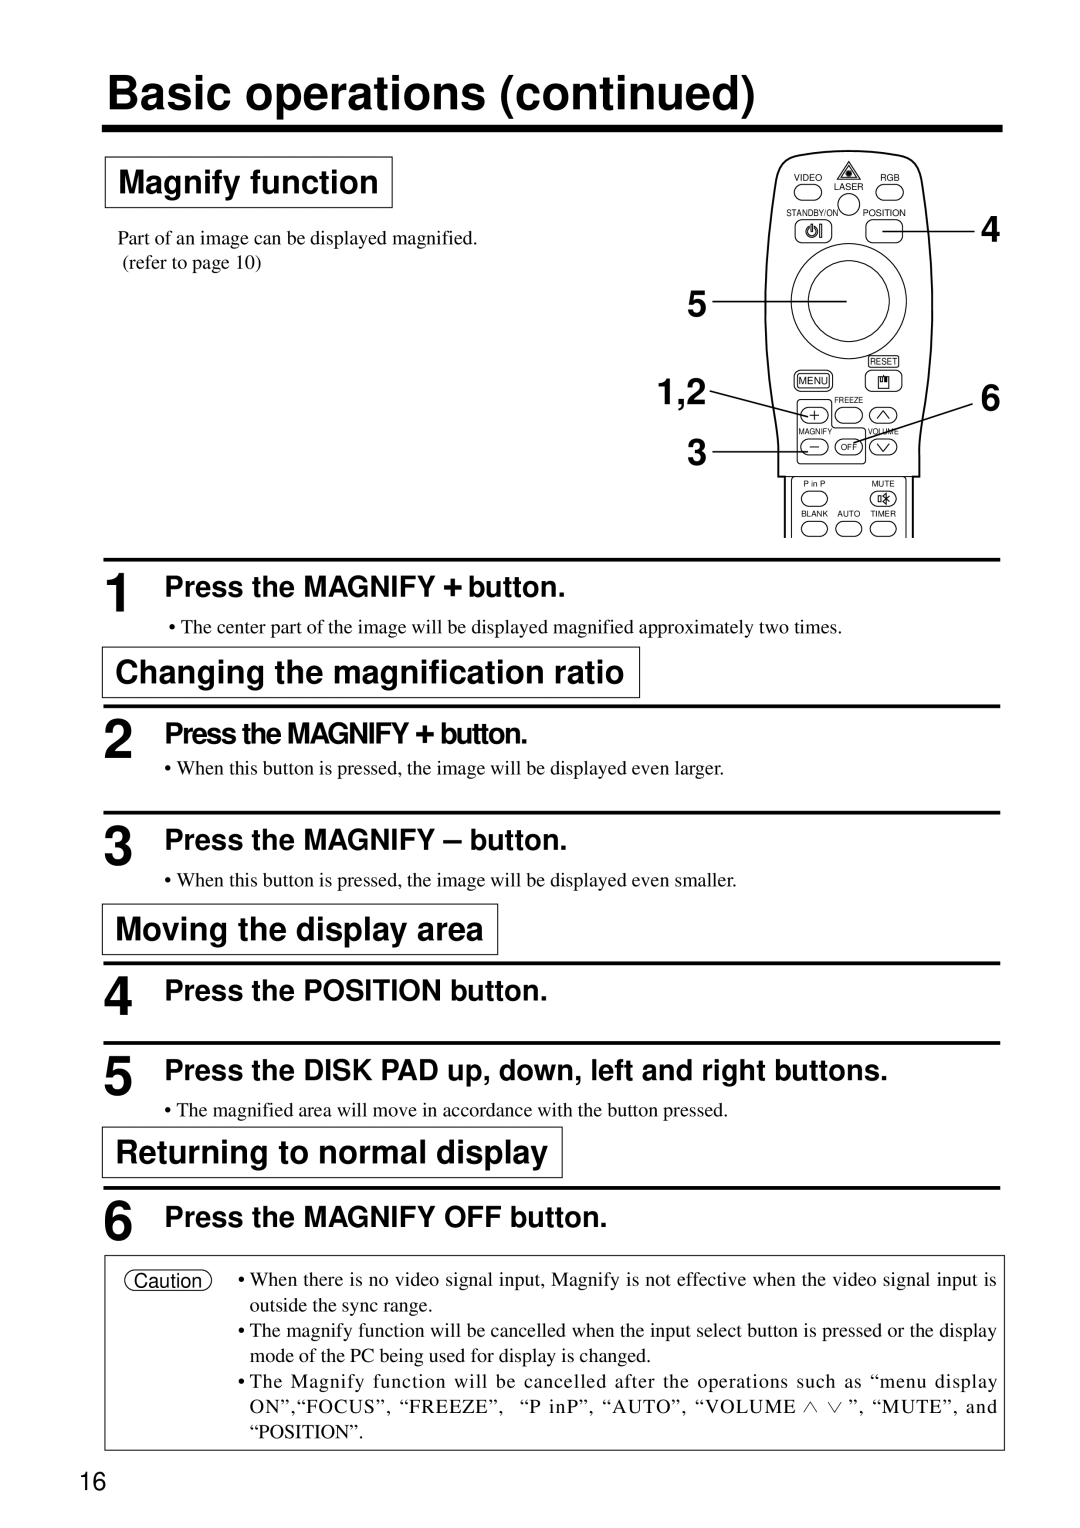
Part of an image can be displayed magnified. (refer to page 10)
5
|
| RESET |
1,2 | MENU |
|
| FREEZE | |
3 | MAGNIFY | VOLUME |
| OFF | |
| P in P | MUTE |
| BLANK | AUTO TIMER |
1 Press the MAGNIFY + button.
• The center part of the image will be displayed magnified approximately two times.
Changing the magnification ratio
2 Press the MAGNIFY + button.
• When this button is pressed, the image will be displayed even larger.
4
6
3 Press the MAGNIFY – button.
• When this button is pressed, the image will be displayed even smaller.
Moving the display area
4 | Press the POSITION button. |
5 | Press the DISK PAD up, down, left and right buttons. |
| • The magnified area will move in accordance with the button pressed. |
Returning to normal display
6 Press the MAGNIFY OFF button.
Caution • When there is no video signal input, Magnify is not effective when the video signal input is outside the sync range.
•The magnify function will be cancelled when the input select button is pressed or the display mode of the PC being used for display is changed.
•The Magnify function will be cancelled after the operations such as “menu display
ON”,“FOCUS”, “FREEZE”, “P inP”, “AUTO”, “VOLUME ![]() ”, “MUTE”, and “POSITION”.
”, “MUTE”, and “POSITION”.
16