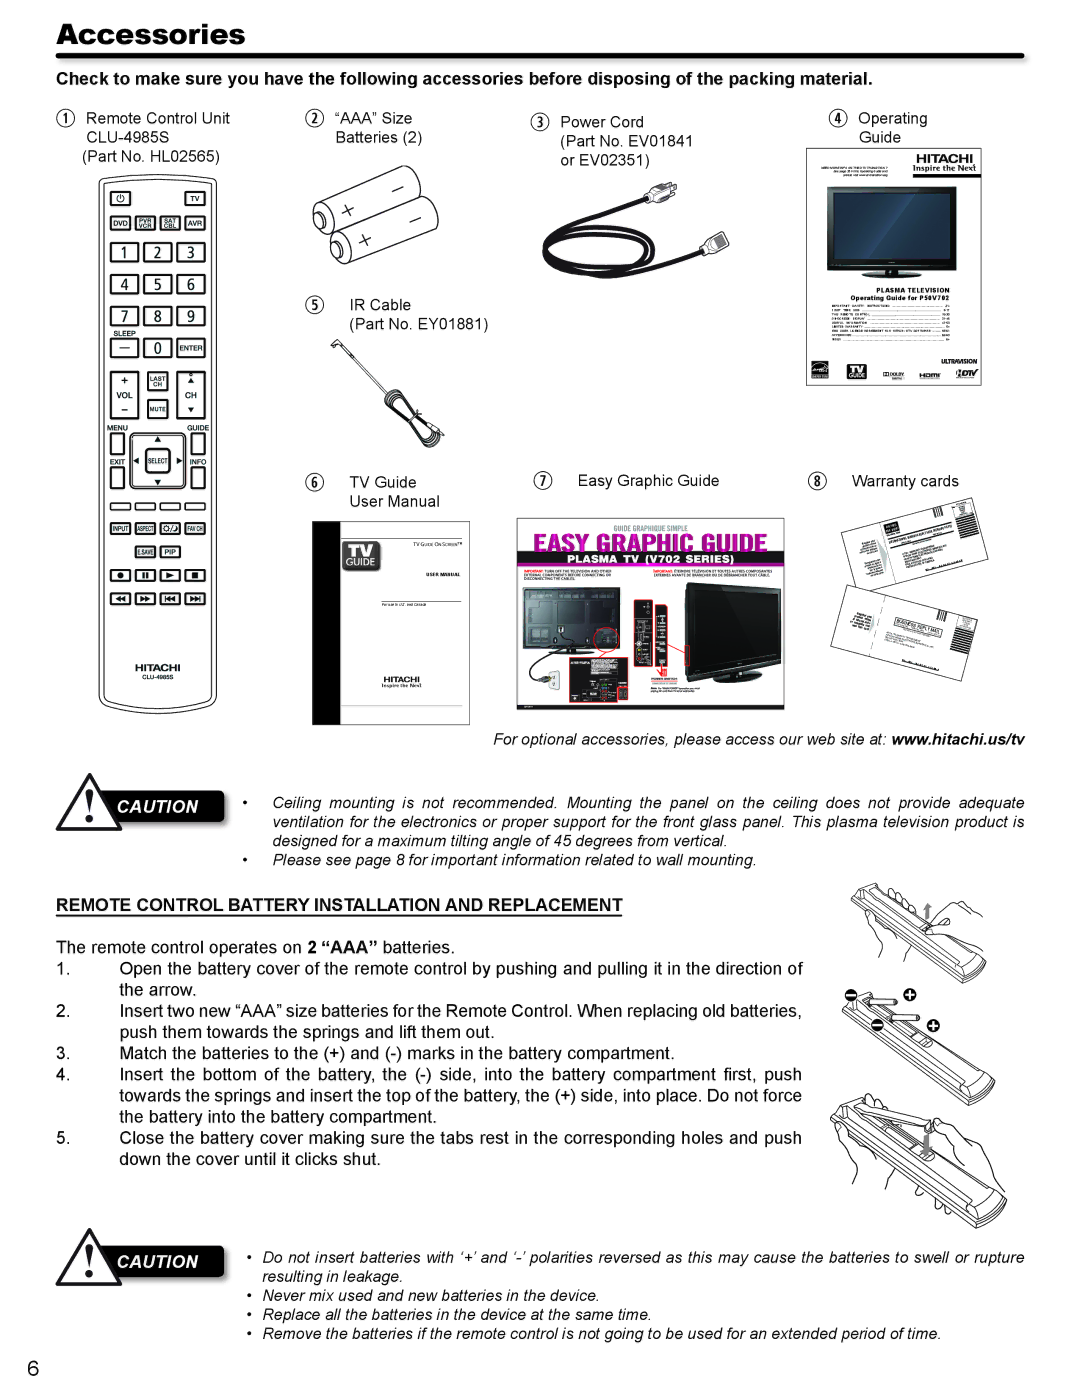
Accessories
Check to make sure you have the following accessories before disposing of the packing material.
q | Remote Control Unit | w | “AAA” Size | e Power Cord |
|
| Batteries (2) | (Part No. EV01841 | |
| (Part No. HL02565) |
|
| or EV02351) |
t | IR Cable |
| (Part No. EY01881) |
rOperatingGuide
NEED MORE INFO ON THE DTV TRANSITION ? See page 38 in this Operating Guide and please visit www.dtvtransition.org
PLASMA TELEVISION
Operating Guide for P50V702
IMPORTANT | SAFETY INSTRUCTIONS | |
FIRST TIME | USE | |
THE REMOTE CONTROL | ||
DISPLAY | ||
USEFUL INFORMATION | ||
LIMITED WARRANTY | 54 | |
END USER LICENSE AGREEMENT FOR HITACHI DTV SOFTWARE | ||
APPENDIXES | ........................................................................................................... | |
INDEX | 64 | |
yTV Guide User Manual
TV GUIDE ON SCREEN∞
USER MANUAL
For use in U.S. and Canada
u Easy Graphic Guide | i | Warranty cards |
|
| |||||||||||||||
|
|
|
|
|
|
|
|
|
|
|
|
|
|
| SEPAYEE |
|
| ||
|
|
|
|
|
|
|
|
| AIR |
|
|
|
|
|
|
|
|
| |
|
|
|
|
|
|
|
|
| PARAVION |
|
|
|
|
| MAIL/REPON |
|
| ||
|
|
|
|
|
|
|
|
| No.26948 |
|
|
|
|
|
|
| |||
|
|
|
|
|
|
|
|
| IBRS/CCRI |
|
|
|
| REPLY |
|
|
| ||
|
|
|
| Registeronline |
|
|
| BUSINESS |
|
|
|
|
| ||||||
|
|
|
| INTERNATIONAL |
|
|
|
|
|
|
| ||||||||
|
|
|
|
|
|
| your |
|
|
|
|
|
|
|
|
|
|
| |
|
|
|
| product.us/tvor |
|
|
|
|
|
|
|
| INC |
|
| ||||
|
|
|
| hitachi | address |
|
|
|
|
|
| DEPARTMENT(AMERICA) |
|
| |||||
|
|
|
| at |
|
|
|
|
|
| WARRANTY | ICS | (CANADA) |
|
| ||||
|
|
|
| tothe | card |
| ATTN: |
|
|
| |||||||||
|
|
|
|
| onthis |
| HOMEELECTRON |
|
|
| |||||||||
|
|
|
|
|
|
|
|
|
| HITACHI HOMEELECTRONICS |
|
|
| ||||||
|
|
|
|
|
|
|
| votre |
| HITACHI | WAY |
|
|
| |||||
|
|
|
|
|
|
|
|
|
| HITACHI |
|
| 91914 |
|
|
| |||
|
|
|
|
|
|
|
|
| à |
| 900 | VISTACA | AMERICA |
|
| ||||
|
|
|
|
| Enregistrezenligneou |
| CHULA STATESOF |
|
|
| |||||||||
|
|
|
|
| produit | .us/tv | à |
|
| UNITED |
|
|
|
|
|
| |||
|
|
|
|
|
| hitachilaposte |
|
|
|
|
|
|
|
|
|
| |||
|
|
|
|
|
|
| par | indiquée |
|
|
|
|
|
|
|
|
|
| |
|
|
|
|
| l’adresse | carte |
|
|
|
|
|
|
|
|
|
| |||
|
|
|
|
|
|
| surcette |
|
|
|
|
|
|
|
|
|
|
| |
|
|
|
| Register | your |
|
|
|
|
|
|
|
|
|
|
|
| ||
|
|
| product |
|
|
| BUSINESSCLA MA L |
|
|
|
| NO |
| ||||||
|
|
| and |
|
|
|
|
|
| UNITED THE | |||||||||
|
| or | at | hitachi.online |
|
|
|
|
|
|
|
|
|
|
| POSTAGE | |||
|
|
|
|
|
|
|
|
|
|
|
|
| NECESSARYIF | ||||||
|
|
| complete us/tv |
|
| F R T- |
|
| PERMIT NO.REPLY26948 |
| INMAILED | ||||||||
|
|
|
| this | card |
|
|
| POSTAGE |
|
| STATES | |||||||
|
|
|
|
|
|
|
|
| ATTN: |
|
|
| WILL BE PAID | BY | CHUMAIL |
|
| ||
|
|
|
|
|
|
|
|
| HITACHIWARRANTY |
|
|
|
| ADDRESSEE |
|
|
| ||
|
|
|
|
|
|
|
|
| 900 | HOME |
| DEPARTMENT |
|
|
|
| |||
|
|
|
|
|
|
|
|
| CHULAHITACHI WAY |
|
|
|
|
| |||||
|
|
|
|
|
|
|
|
| VISTA, CAELECTRONICS | (AMERICA), INC. |
|
| |||||||
|
|
|
|
|
|
|
|
|
|
|
|
|
| ||||||
| For optional accessories, please access our web site at: www.hitachi.us/tv |
CAUTION | • Ceiling mounting is not recommended. Mounting the panel on the ceiling does not provide adequate |
| ventilation for the electronics or proper support for the front glass panel. This plasma television product is |
| designed for a maximum tilting angle of 45 degrees from vertical. |
•Please see page 8 for important information related to wall mounting.
REMOTE CONTROL BATTERY INSTALLATION AND REPLACEMENT
The remote control operates on 2 “AAA” batteries.
1.Open the battery cover of the remote control by pushing and pulling it in the direction of
the arrow.
2. Insert two new “AAA” size batteries for the Remote Control. When replacing old batteries, push them towards the springs and lift them out.
3.Match the batteries to the (+) and
4.Insert the bottom of the battery, the
towards the springs and insert the top of the battery, the (+) side, into place. Do not force the battery into the battery compartment.
5. Close the battery cover making sure the tabs rest in the corresponding holes and push down the cover until it clicks shut.
CAUTION | • Do not insert batteries with ‘+’ and |
| resulting in leakage. |
•Never mix used and new batteries in the device.
•Replace all the batteries in the device at the same time.
•Remove the batteries if the remote control is not going to be used for an extended period of time.
6