CONNECTION (continued)
2. Connect your Equipment to the Monitor (continued)
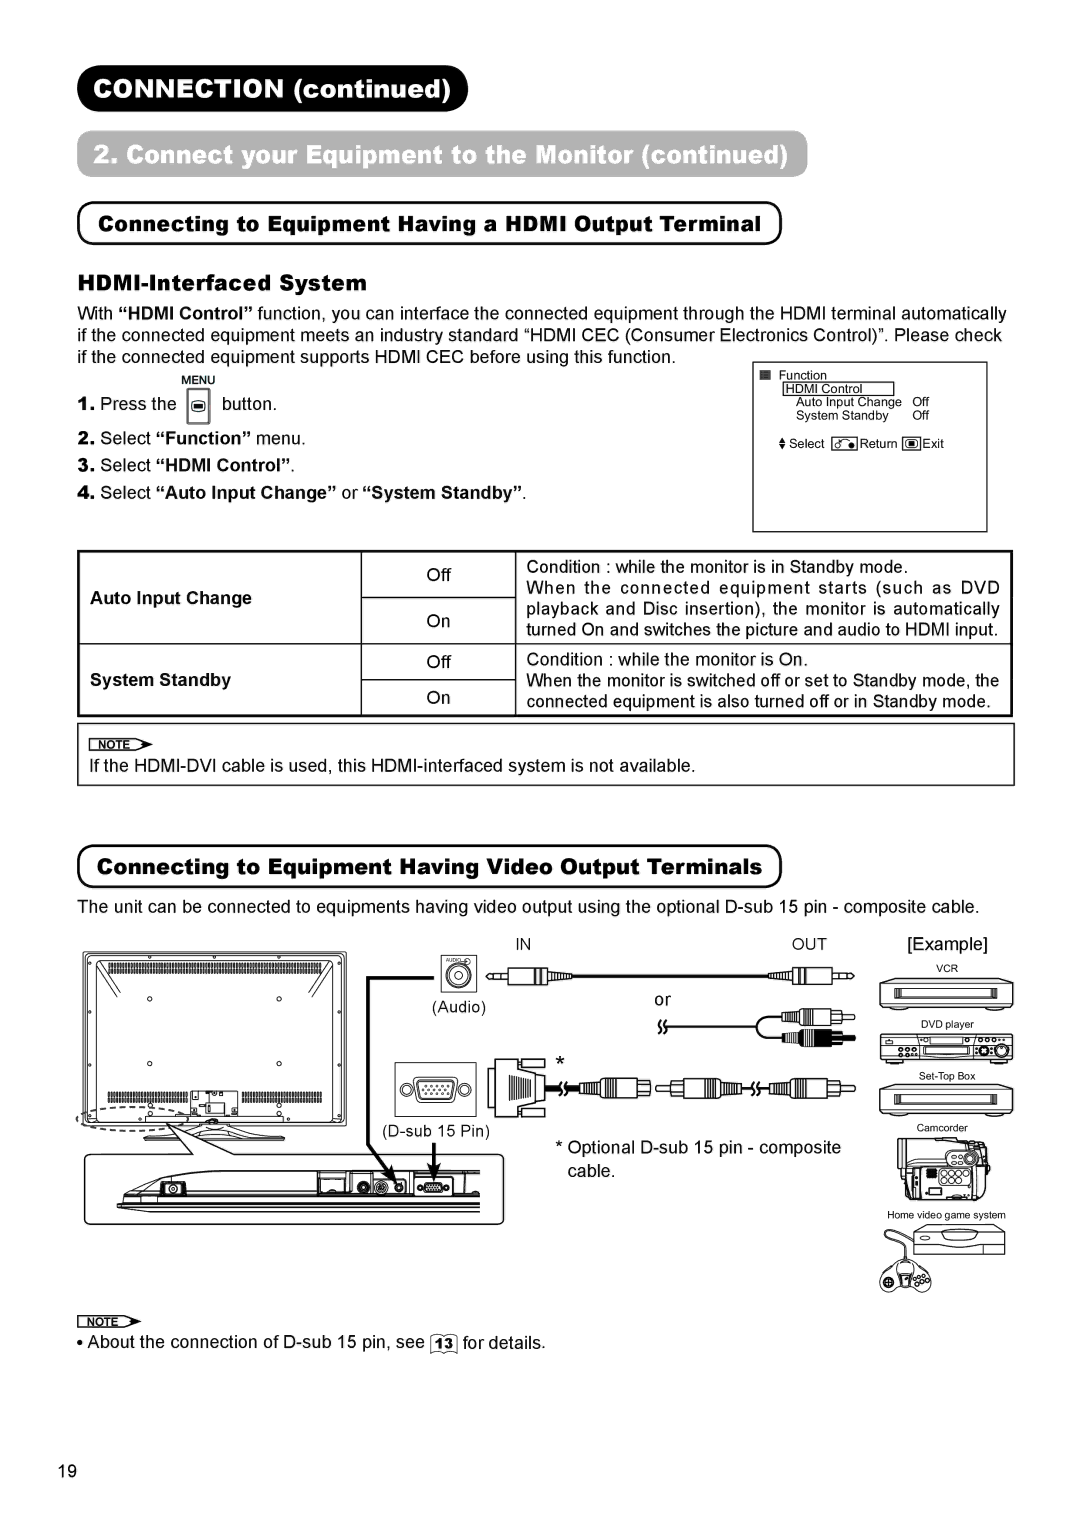
Connecting to Equipment Having a HDMI Output Terminal
With “HDMI Control” function, you can interface the connected equipment through the HDMI terminal automatically if the connected equipment meets an industry standard “HDMI CEC (Consumer Electronics Control)”. Please check
if the connected equipment supports HDMI CEC before using this function.
1.Press the ![]() button.
button.
2.Select “Function” menu.
3.Select “HDMI Control”.
4.Select “Auto Input Change” or “System Standby”.
Function |
| ||
| HDMI Control |
| Off |
| Auto Input Change |
| |
| System Standby | Off | |
![]() Select
Select ![]() Return
Return ![]()
![]()
![]() Exit
Exit
| Off | Condition : while the monitor is in Standby mode. | |
Auto Input Change | When the connected equipment starts (such as DVD | ||
| |||
On | playback and Disc insertion), the monitor is automatically | ||
| |||
| turned On and switches the picture and audio to HDMI input. | ||
|
| ||
System Standby | Off | Condition : while the monitor is On. | |
| When the monitor is switched off or set to Standby mode, the | ||
On | |||
| connected equipment is also turned off or in Standby mode. |
NOTE ![]()
If the
Connecting to Equipment Having Video Output Terminals
The unit can be connected to equipments having video output using the optional
IN | OUT | [Example] |
AUDIO |
| VCR |
|
| |
(Audio) | or |
|
| DVD player | |
|
| |
| * | |
| Camcorder | |
|
| |
| * Optional |
|
| cable. |
|
|
| Home video game system |
NOTE ![]()
![]() About the connection of
About the connection of
19