Connect the audio/video cable (not supplied) to these jacks and to the audio and video inputs of your TV/monitor receiver. You can also connect the RF converter unit (optional) to these jacks and your TV receiver.

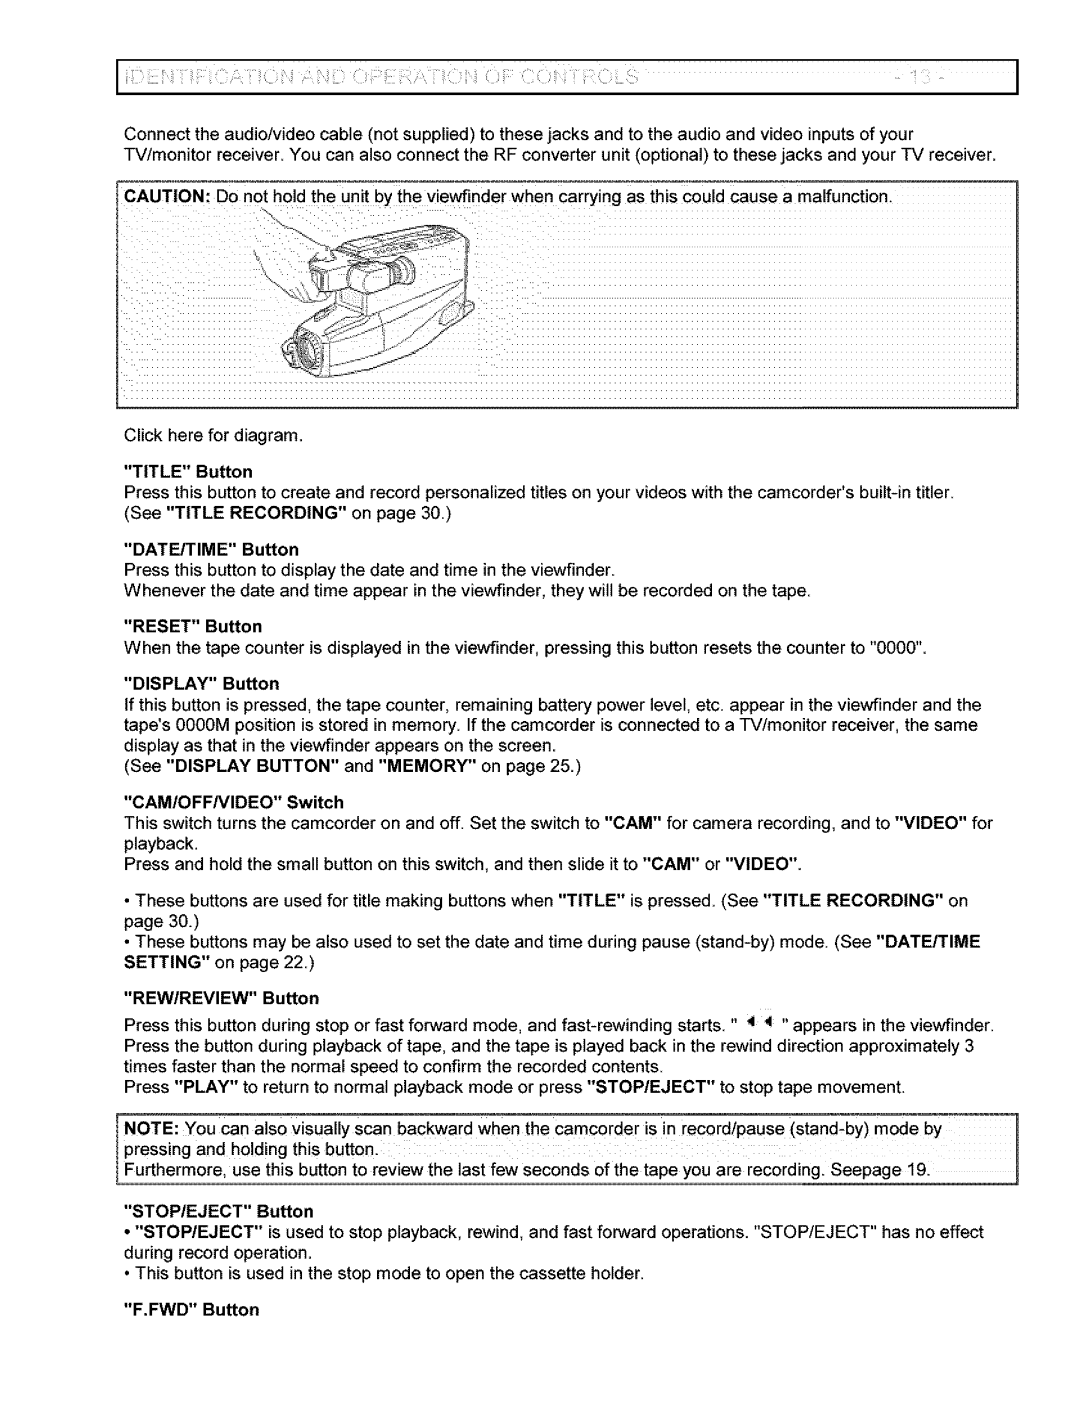
CAUTION: Do not hold the unit by the viewfinder when carrying as this could cause a malfunction.

,r 9 +'--Y'I

•+.:+_++,.+-.+++++,4z+_

/J

Click here for diagram.

"TITLE" Button

Press this button to create and record personalized titles on your videos with the camcorder's built-in titler (See "TITLE RECORDING" on page 30.)

"DATE/TIME" Button

Press this button to display the date and time in the viewfinder

Whenever the date and time appear in the viewfinder, they will be recorded on the tape.

"RESET" Button

When the tape counter is displayed in the viewfinder, pressing this button resets the counter to "0000"

"DISPLAY" Button

If this button is pressed, the tape counter, remaining battery power level, etc+appear in the viewfinder and the tape's0000M position is stored in memory. If the camcorder is connected to a TV/monitor receiver, the same display as that in the viewfinder appears on the screen.

(See "DISPLAY BUTTON" and "MEMORY" on page 25+)

"CAM/OFFNIDEO" Switch

This switch turns the camcorder on and off+ Set the switch to "CAM" for camera recording, and to "VIDEO" for playback.

Press and hold the small button on this switch, and then slide it to "CAM" or "VIDEO".

These buttons are used for title making buttons when "TITLE" is pressed. (See "TITLE RECORDING" on page 30.)

These buttons may be also used to set the date and time during pause (stand-by) mode. (See "DATE/TIME SETTING" on page 22.)

"REW/REVIEW"

Button


Press this button

during stop or fast forward mode, and fast-rewinding starts" 4 +4,,appears

in the viewfinder+


Press the button during playback of tape, and the tape is played back in the rewind direction approximately 3


times faster than the normal speed to confirm the recorded contents.


Press "PLAY" to return to normal playback mode or press "STOP/EJECT" to stop tape movement.


NOTE: You Can also Visually scan backward When the camcorder is in record!pause (stand-by)

mode by

]

pressing and holding this button.


Furthermore, use this button to review the last few seconds of the tape you are recording. Seepage 19.

"STOP/EJECT" Button

"STOP/EJECT" is used to stop playback, rewind, and fast forward operations "STOP/EJECT" has no effect during record operation.

This button is used in the stop mode to open the cassette holder.

"F.FWD" Button

Page 13
Image 13
Hitachi VM-6400A instruction manual DATE/TIME Button, CAM/OFFNIDEO Switch, STOP/EJECT Button, FWD Button

VM-6400A specifications

The Hitachi VM-6400A is a remarkable piece of technology that stands as a testament to the advancements in video recording equipment. Initially released in the early 1980s, this model was part of the VHS era, a period marked by the popularity of videotape recording and playback. The VM-6400A is known for its reliability and quality, making it a favored choice among both consumers and professionals.

One of the main features of the Hitachi VM-6400A is its ability to record in high-quality VHS format. The unit supports both standard play and long play, allowing users to maximize recording time without significantly sacrificing video quality. This flexibility is especially useful for those who need to capture longer events such as lectures, family gatherings, or live performances.

The VM-6400A is equipped with a 4-head design, which enhances video playback quality. This technology improves tape handling and minimizes picture distortion that can occur during fast-forwarding or rewinding, providing a smoother viewing experience. Additionally, this VCR incorporates a noise reduction system that significantly reduces tape hiss, delivering clearer audio.

In terms of usability, the Hitachi VM-6400A features an intuitive control layout, including buttons for play, rewind, fast forward, and stop. The remote control feature allows users to manage their viewing experience from a distance, adding convenience to the overall operation.

Another noteworthy characteristic is its versatility in connectivity. The VM-6400A comes with multiple input and output options, including RCA connectors, which facilitate easy connection to televisions, monitors, or other video equipment. It is also compatible with external audio systems, enhancing the audio playback quality.

Moreover, the built-in timer recording function sets it apart from other models. This feature enables users to schedule recordings in advance, making it easier to capture shows or events that may occur when they are not available to operate the device manually.

The Hitachi VM-6400A symbolizes a significant era in home entertainment technology. With its range of features, robust build quality, and user-friendly operation, it remains a classic choice for those who appreciate the legacy of VHS recording. Whether for nostalgia or practical use, the VM-6400A delivers a reliable performance that has stood the test of time.