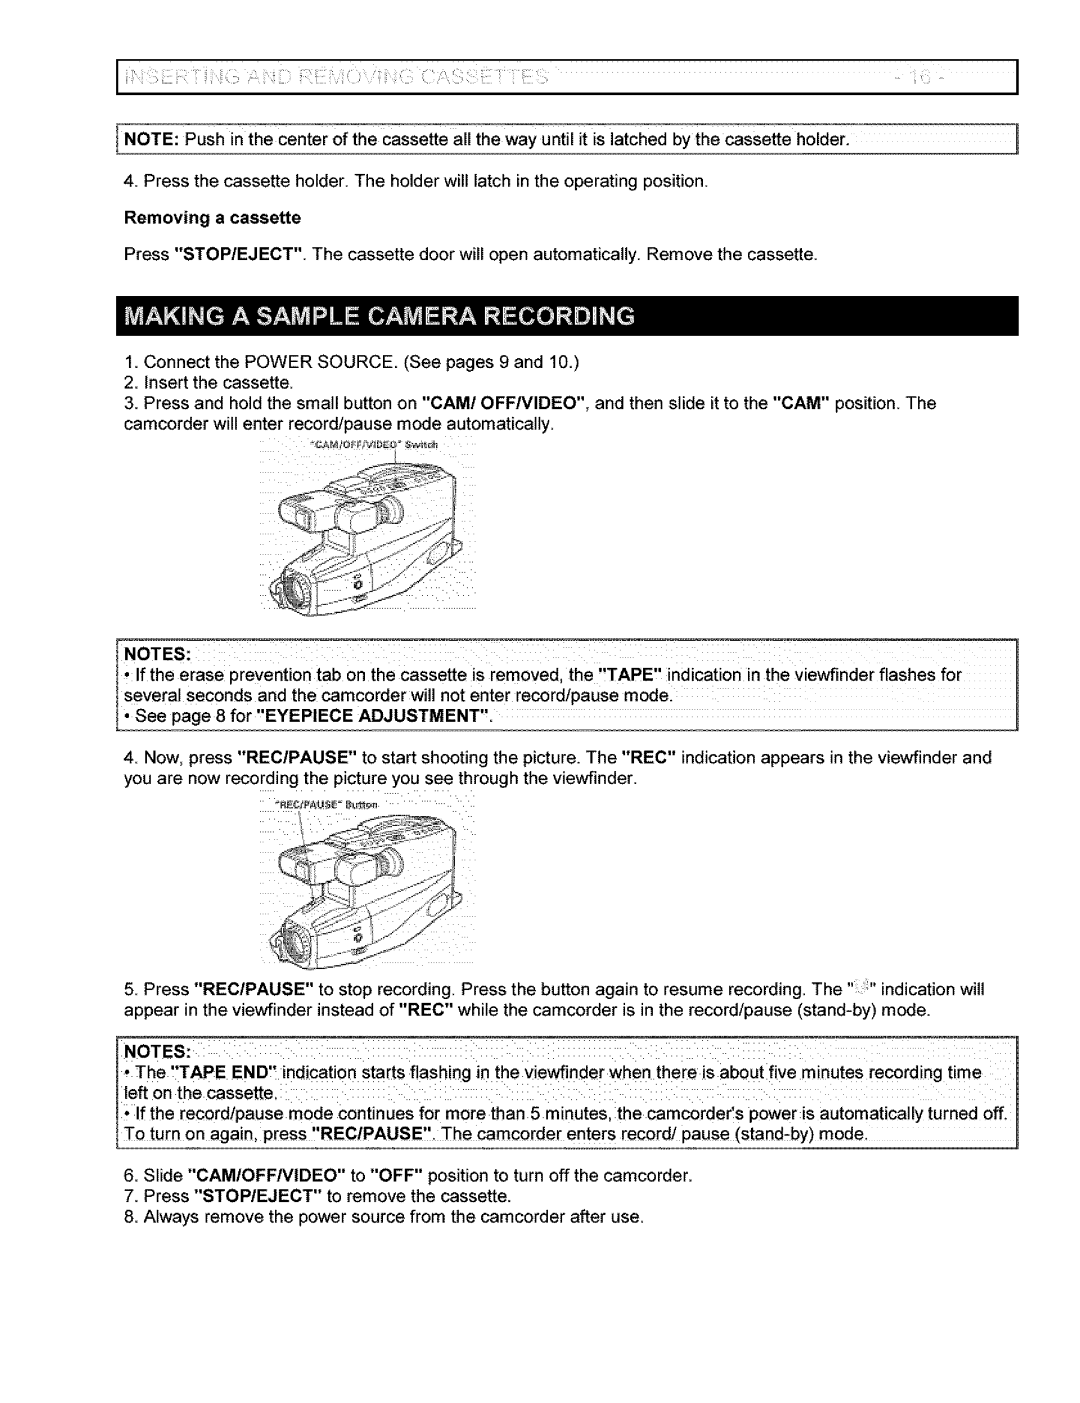
VM-6400A specifications
The Hitachi VM-6400A is a remarkable piece of technology that stands as a testament to the advancements in video recording equipment. Initially released in the early 1980s, this model was part of the VHS era, a period marked by the popularity of videotape recording and playback. The VM-6400A is known for its reliability and quality, making it a favored choice among both consumers and professionals.One of the main features of the Hitachi VM-6400A is its ability to record in high-quality VHS format. The unit supports both standard play and long play, allowing users to maximize recording time without significantly sacrificing video quality. This flexibility is especially useful for those who need to capture longer events such as lectures, family gatherings, or live performances.
The VM-6400A is equipped with a 4-head design, which enhances video playback quality. This technology improves tape handling and minimizes picture distortion that can occur during fast-forwarding or rewinding, providing a smoother viewing experience. Additionally, this VCR incorporates a noise reduction system that significantly reduces tape hiss, delivering clearer audio.
In terms of usability, the Hitachi VM-6400A features an intuitive control layout, including buttons for play, rewind, fast forward, and stop. The remote control feature allows users to manage their viewing experience from a distance, adding convenience to the overall operation.
Another noteworthy characteristic is its versatility in connectivity. The VM-6400A comes with multiple input and output options, including RCA connectors, which facilitate easy connection to televisions, monitors, or other video equipment. It is also compatible with external audio systems, enhancing the audio playback quality.
Moreover, the built-in timer recording function sets it apart from other models. This feature enables users to schedule recordings in advance, making it easier to capture shows or events that may occur when they are not available to operate the device manually.
The Hitachi VM-6400A symbolizes a significant era in home entertainment technology. With its range of features, robust build quality, and user-friendly operation, it remains a classic choice for those who appreciate the legacy of VHS recording. Whether for nostalgia or practical use, the VM-6400A delivers a reliable performance that has stood the test of time.

