120, 150 specifications
Hobart Welding Products has long been recognized for delivering high-quality welding solutions, and the Hobart 150,120 welder is no exception. This versatile, compact welder is designed to meet the needs of both hobbyists and professionals alike, making it a popular choice among welders in various industries.One of the main features of the Hobart 150,120 is its dual voltage capability. It operates on both 120V and 240V power sources, providing users the flexibility to work in a variety of environments, whether at home or in a professional shop setting. This feature makes it particularly appealing for welding enthusiasts who may not always have access to higher voltage outlets.
The welder is equipped with a robust 30-140 amp output range, allowing users to tackle a wide range of welding tasks. This output capability supports a variety of materials, including mild steel, stainless steel, and aluminum, with thicknesses up to 1/4 inch. Whether you're working on auto repair, fabrication projects, or DIY tasks around the house, the Hobart 150,120 is well-suited for the job.
Another significant advantage of the Hobart 150,120 is its user-friendly design. The welder features an easy-to-read control panel that allows users to adjust the settings conveniently. The intuitive parameters ensure that both beginners and experienced welders can quickly achieve optimal results. Additionally, it incorporates a built-in thermal overload protection feature to prevent overheating, enhancing safety during operation.
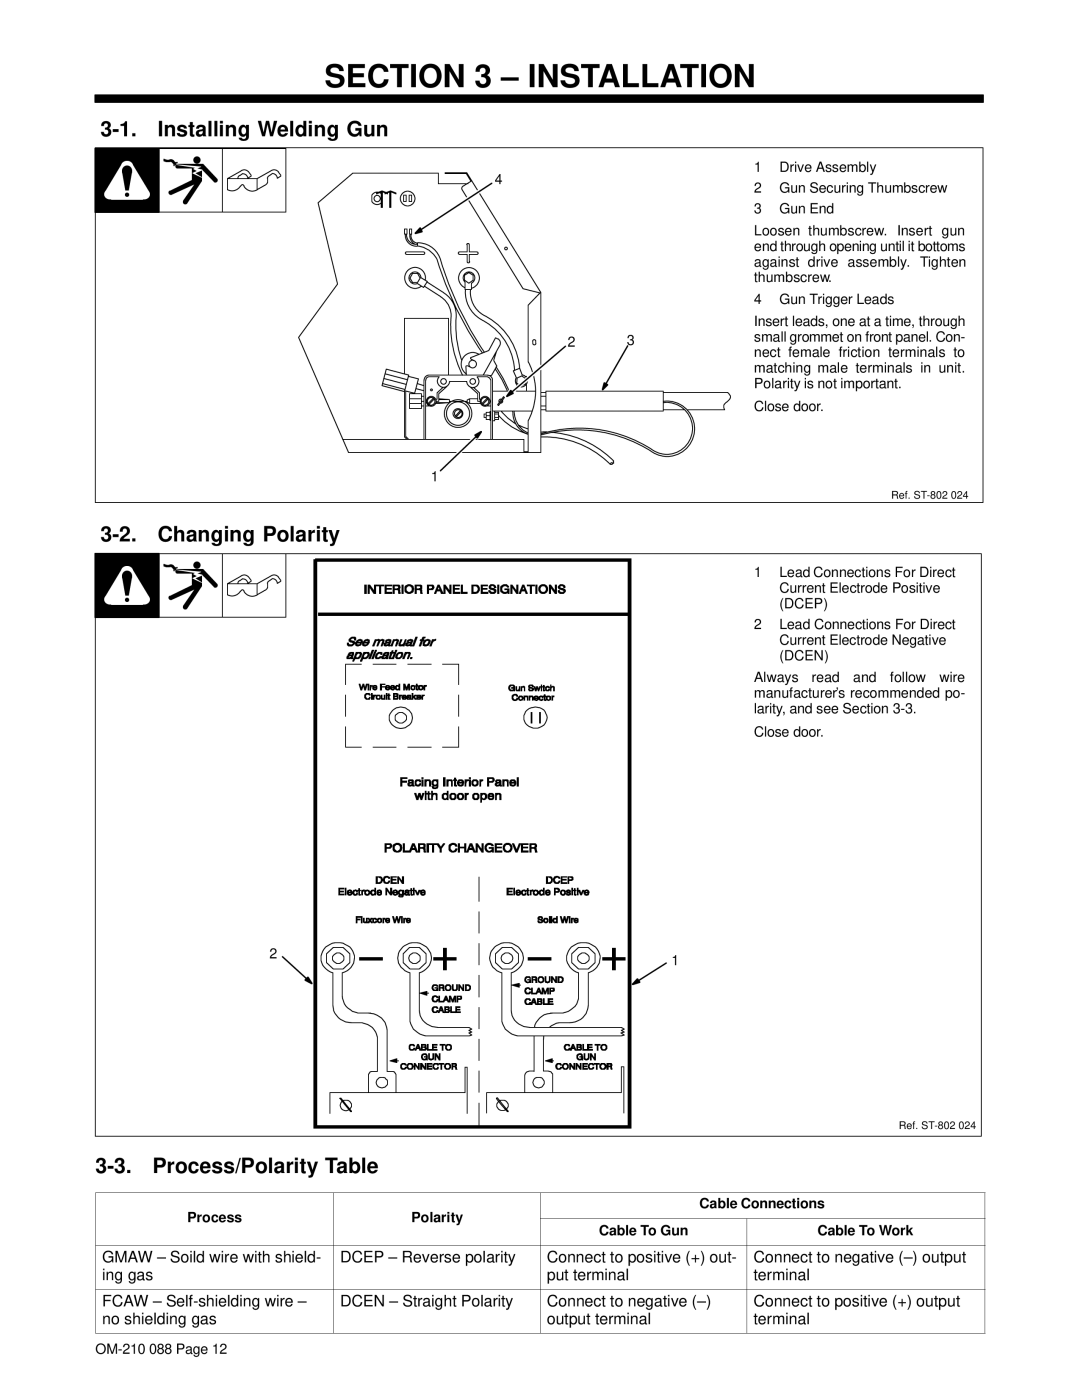
In terms of technology, the Hobart 150,120 utilizes a MIG welding process that simplifies the welding experience. This process feeds a continuously welding wire through the welding gun, reducing the need for frequent reloading and ensuring a smooth, consistent weld. The inclusion of a gas solenoid also enables users to switch between gas-shielded and flux-cored wire, providing versatility for different applications.
Lastly, the compact design of the Hobart 150,120 makes it portable and easy to store, which is particularly advantageous for users with limited workspace. With its combination of robust features, advanced technologies, and user-friendly operation, the Hobart 150,120 welder stands out as an excellent choice for anyone looking to achieve high-quality welds with efficiency and ease. It firmly establishes Hobart Welding Products as a leader in the welding market.

