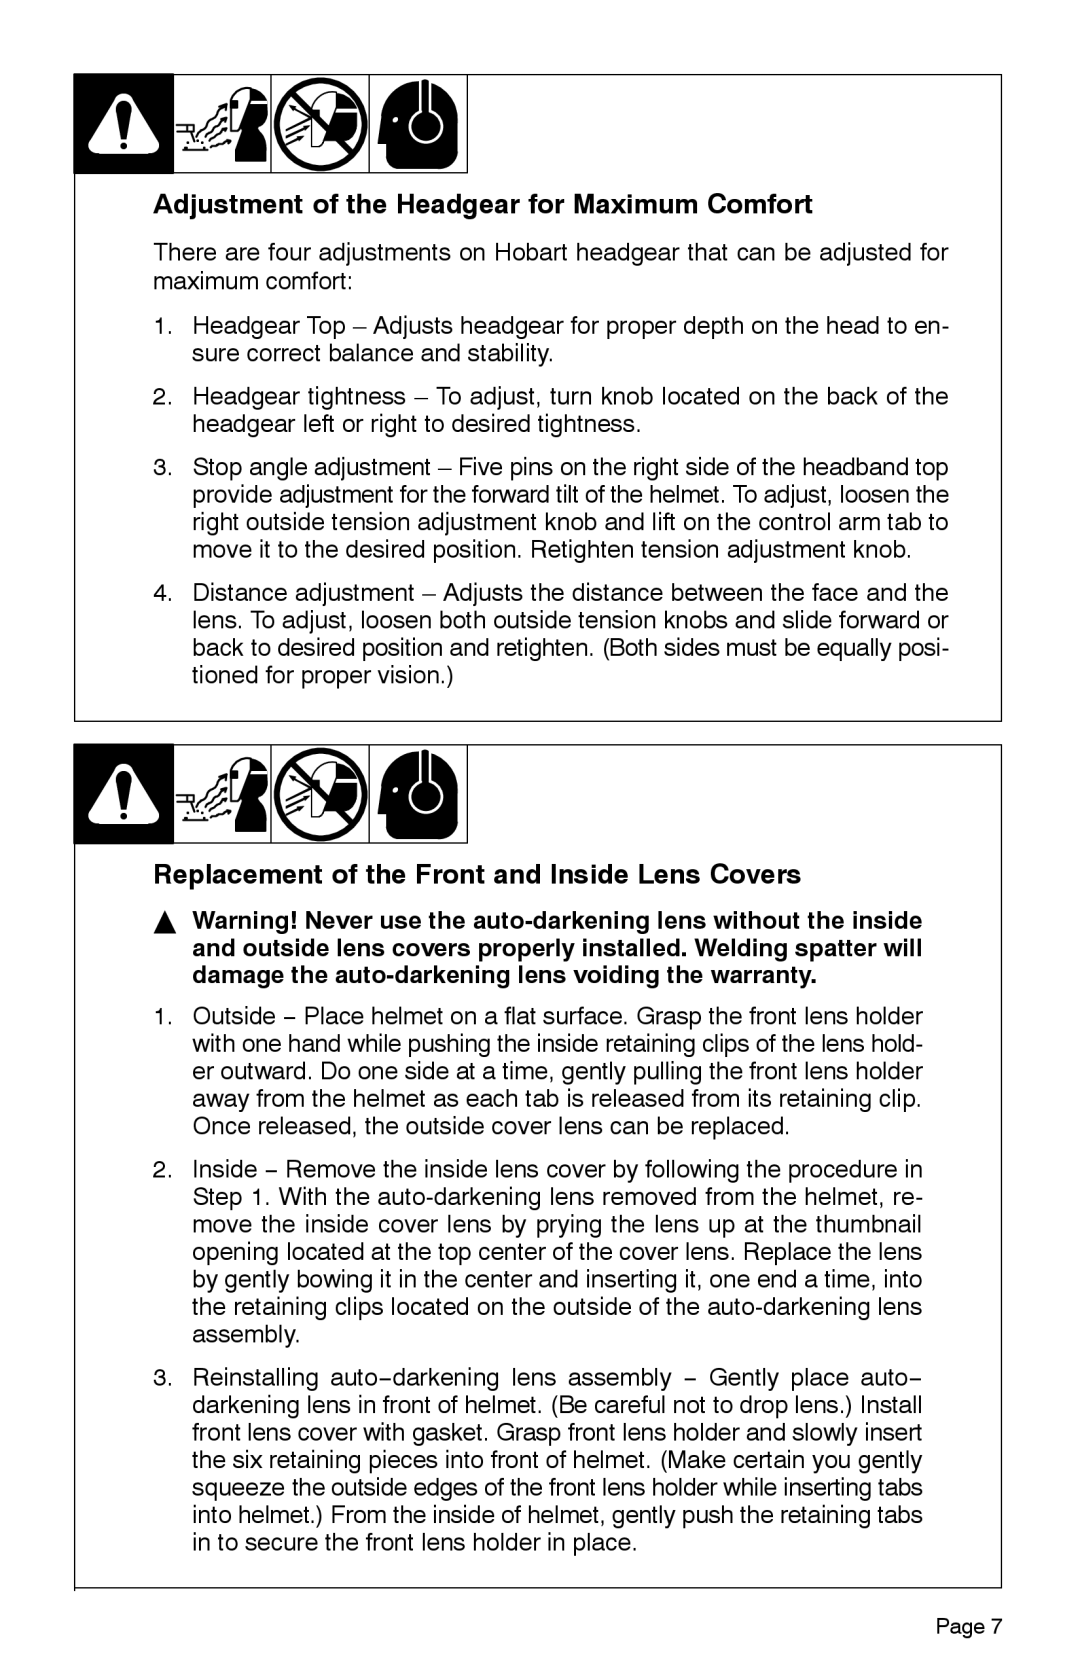
XTP, XTF, XTV specifications
Hobart Welding Products has established itself as a prominent player in the welding industry by providing innovative, durable, and user-friendly welding equipment. Among its acclaimed offerings are the XTV, XTF, and XTP series, which cater to a diverse range of welding applications.The Hobart XTV series is particularly recognized for its versatility and performance. These machines are engineered with advanced inverter technology that not only enhances efficiency but also reduces the overall weight and size of the equipment. This makes the XTV series ideal for both professional welders and DIY enthusiasts seeking portability without sacrificing power. Additionally, the XTV models feature a digital display that provides real-time feedback, allowing users to make precise adjustments on the go. With their multi-process capabilities, XTV machines can seamlessly handle MIG, TIG, and stick welding, making them suitable for various materials and welding techniques.
On the other hand, the Hobart XTF series is tailored for shop and industrial use, with a robust design that ensures reliability in demanding environments. The XTF machines boast a higher duty cycle, enabling longer welding sessions without overheating. This series also implements a synergic control system that simplifies setup, automatically calibrating parameters based on the type of material and thickness. This user-friendly feature is particularly beneficial for novice welders, allowing for quicker learning curves and reduced error rates. Furthermore, the XTF machines support spool gun operation, providing enhanced feeding for aluminum welding, which is a crucial asset for those working with non-ferrous materials.
Lastly, the Hobart XTP series is developed with professional welders in mind, combining power with advanced control features. These units are built for heavy-duty applications and offer impressive output capabilities. The XTP models incorporate sophisticated cooling systems to manage heat dissipation, facilitating extended use under the most demanding conditions. The addition of programmable memory settings enables users to save preferred welding parameters for specific tasks, resulting in consistent and repeatable welds.
In summary, Hobart Welding Products’ XTV, XTF, and XTP series each present unique features that cater to varying welding needs. From portability and versatility in the XTV series to the robust, high-performance design of the XTF and the advanced control of the XTP, Hobart continues to be a trusted name for welders seeking quality and durability in their equipment. Whether for home projects or industrial applications, Hobart’s innovative technology empowers professionals and hobbyists alike.

