A SS E M B LY
I N S T R U C T I O N S
Step 2c
F R A M E A S S E M B L Y
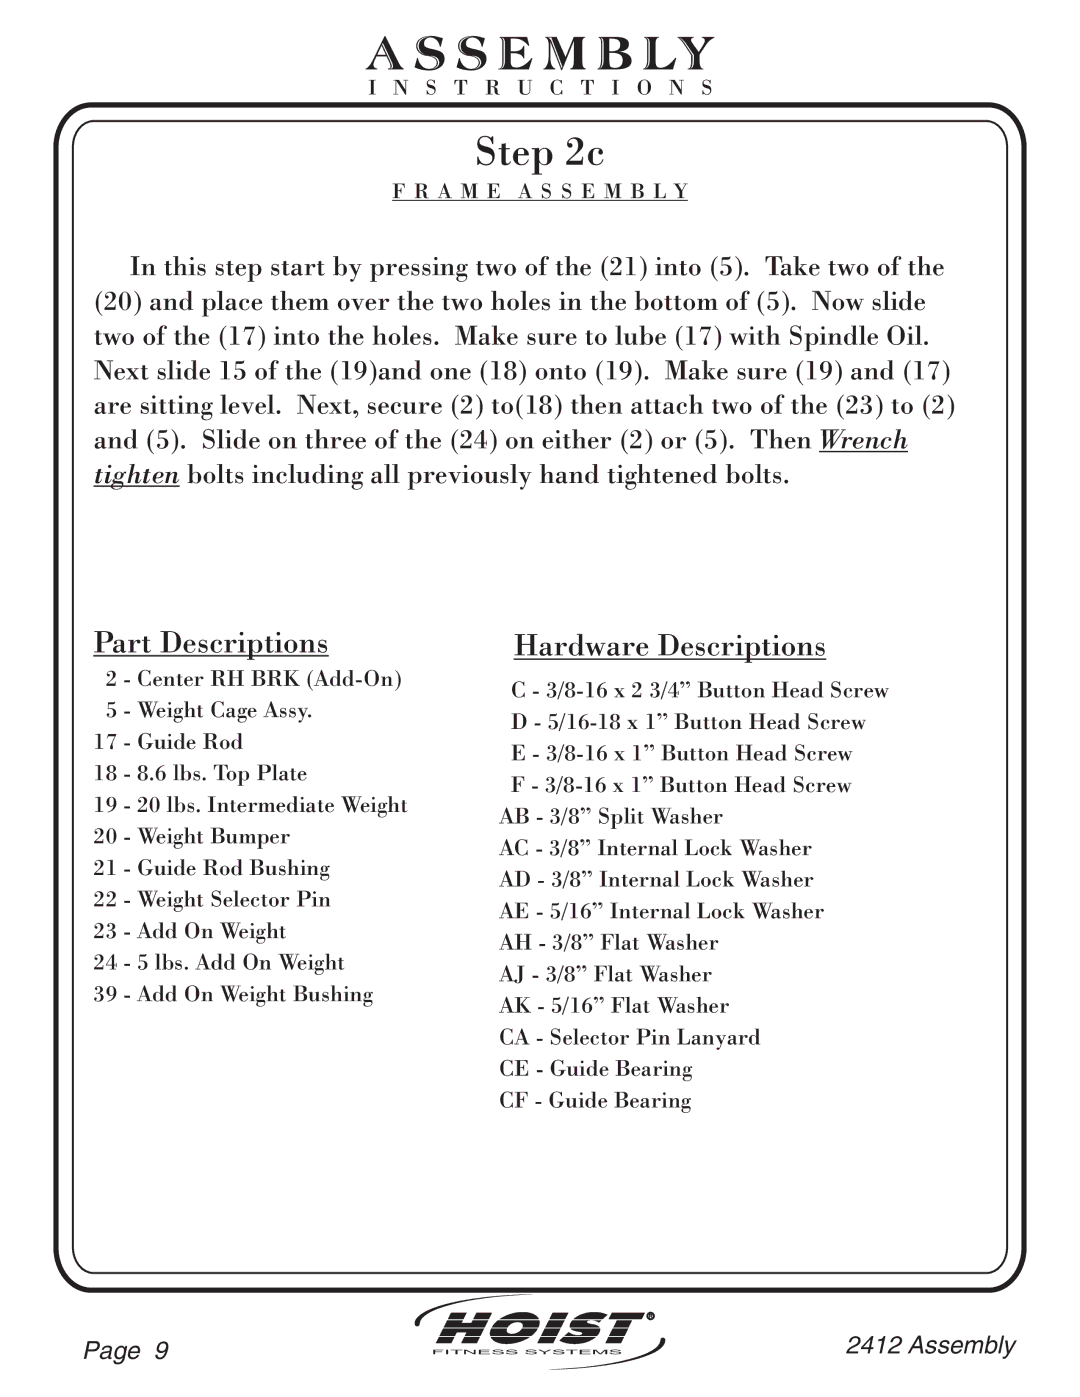
In this step start by pressing two of the (21) into (5). Take two of the
(20)and place them over the two holes in the bottom of (5). Now slide two of the (17) into the holes. Make sure to lube (17) with Spindle Oil. Next slide 15 of the (19)and one (18) onto (19). Make sure (19) and (17) are sitting level. Next, secure (2) to(18) then attach two of the (23) to (2) and (5). Slide on three of the (24) on either (2) or (5). Then Wrench tighten bolts including all previously hand tightened bolts.
Part Descriptions | Hardware Descriptions | |
2 | - Center RH BRK | C - |
|
| |
5 | - Weight Cage Assy. | D - |
|
| |
17 | - Guide Rod | E - |
|
| |
18 | - 8.6 lbs. Top Plate | F - |
|
| |
19 | - 20 lbs. Intermediate Weight | AB - 3/8” Split Washer |
|
| |
20 | - Weight Bumper | AC - 3/8” Internal Lock Washer |
|
| |
21 | - Guide Rod Bushing | AD - 3/8” Internal Lock Washer |
|
| |
22 | - Weight Selector Pin | AE - 5/16” Internal Lock Washer |
|
| |
23 | - Add On Weight | AH - 3/8” Flat Washer |
|
| |
24 | - 5 lbs. Add On Weight | AJ - 3/8” Flat Washer |
|
| |
39 | - Add On Weight Bushing | AK - 5/16” Flat Washer |
|
| |
CA - Selector Pin Lanyard
CE - Guide Bearing
CF - Guide Bearing
Page 9
HOIST![]()
FITNESS SYSTEMS
R
2412 Assembly
