A S S E M B LY
I N S T R U C T I O N S
Step 2g
F R A M E A S S E M B L Y
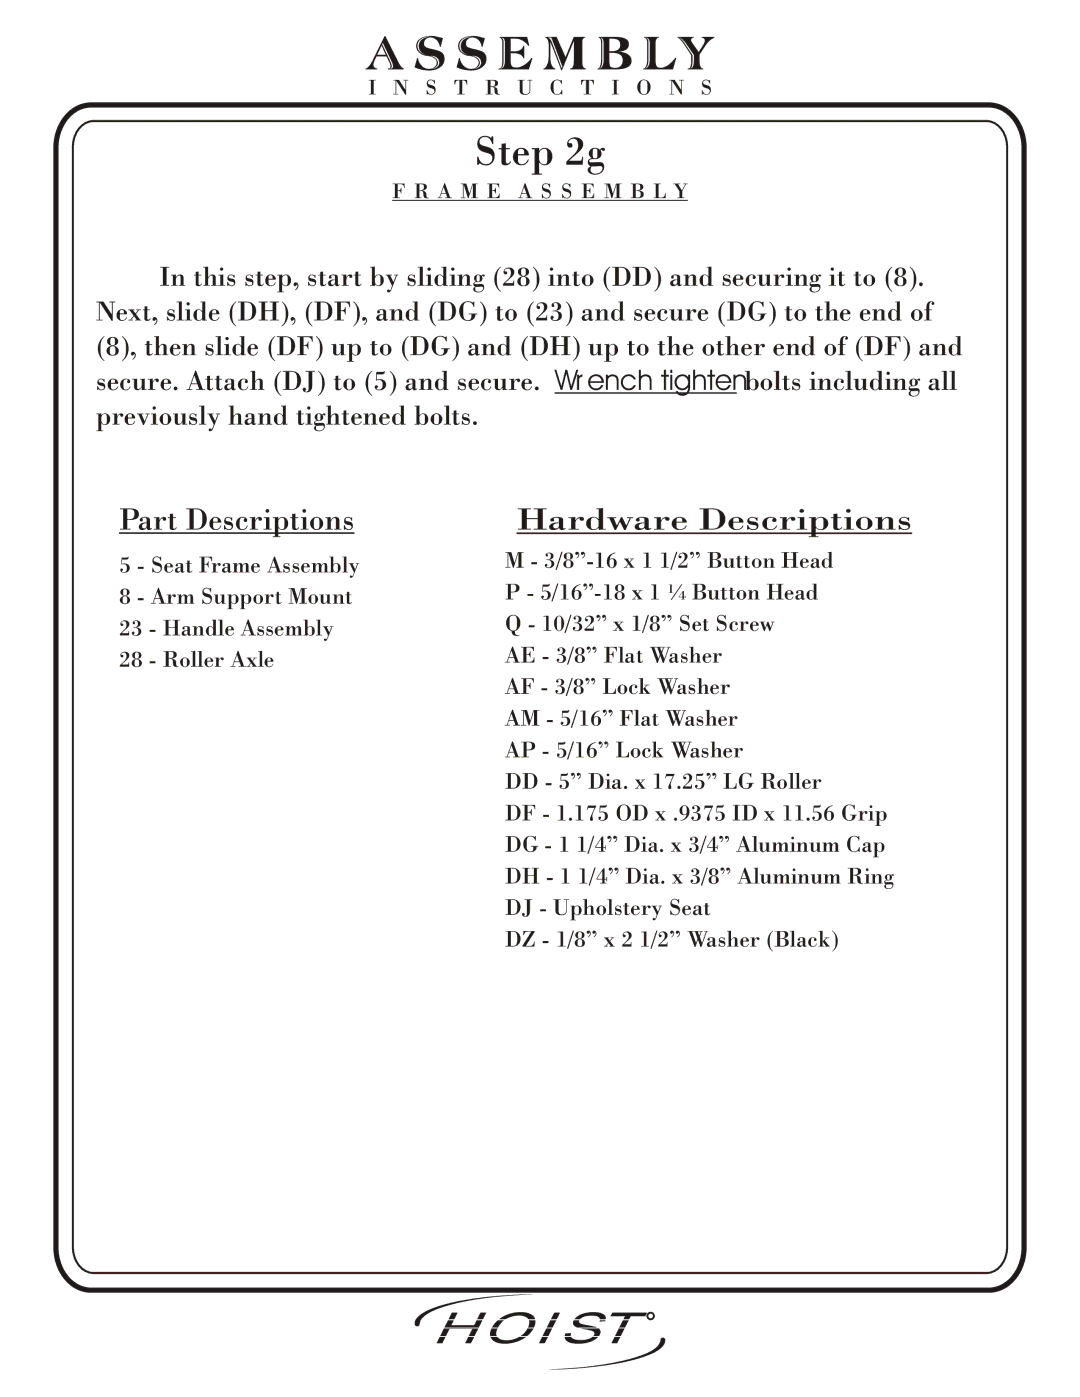
In this step, start by sliding (28) into (DD) and securing it to (8). Next, slide (DH), (DF), and (DG) to (23) and secure (DG) to the end of (8), then slide (DF) up to (DG) and (DH) up to the other end of (DF) and secure. Attach (DJ) to (5) and secure. Wrench tighten bolts including all previously hand tightened bolts.
Part Descriptions | Hardware Descriptions |
5 - Seat Frame Assembly | M - |
8 - Arm Support Mount | P - |
23 - Handle Assembly | Q - 10/32” x 1/8” Set Screw |
28 - Roller Axle | AE - 3/8” Flat Washer |
| AF - 3/8” Lock Washer |
| AM - 5/16” Flat Washer |
| AP - 5/16” Lock Washer |
| DD - 5” Dia. x 17.25” LG Roller |
| DF - 1.175 OD x .9375 ID x 11.56 Grip |
| DG - 1 1/4” Dia. x 3/4” Aluminum Cap |
| DH - 1 1/4” Dia. x 3/8” Aluminum Ring |
| DJ - Upholstery Seat |
| DZ - 1/8” x 2 1/2” Washer (Black) |
| HOIST | R | |
Page 19 | 2601 Assembly | ||
FITNESS SYSTEMS |
