SETTING UP YOUR HUMIDIFIER (CONT’D)
Placement | Step 1 |
|
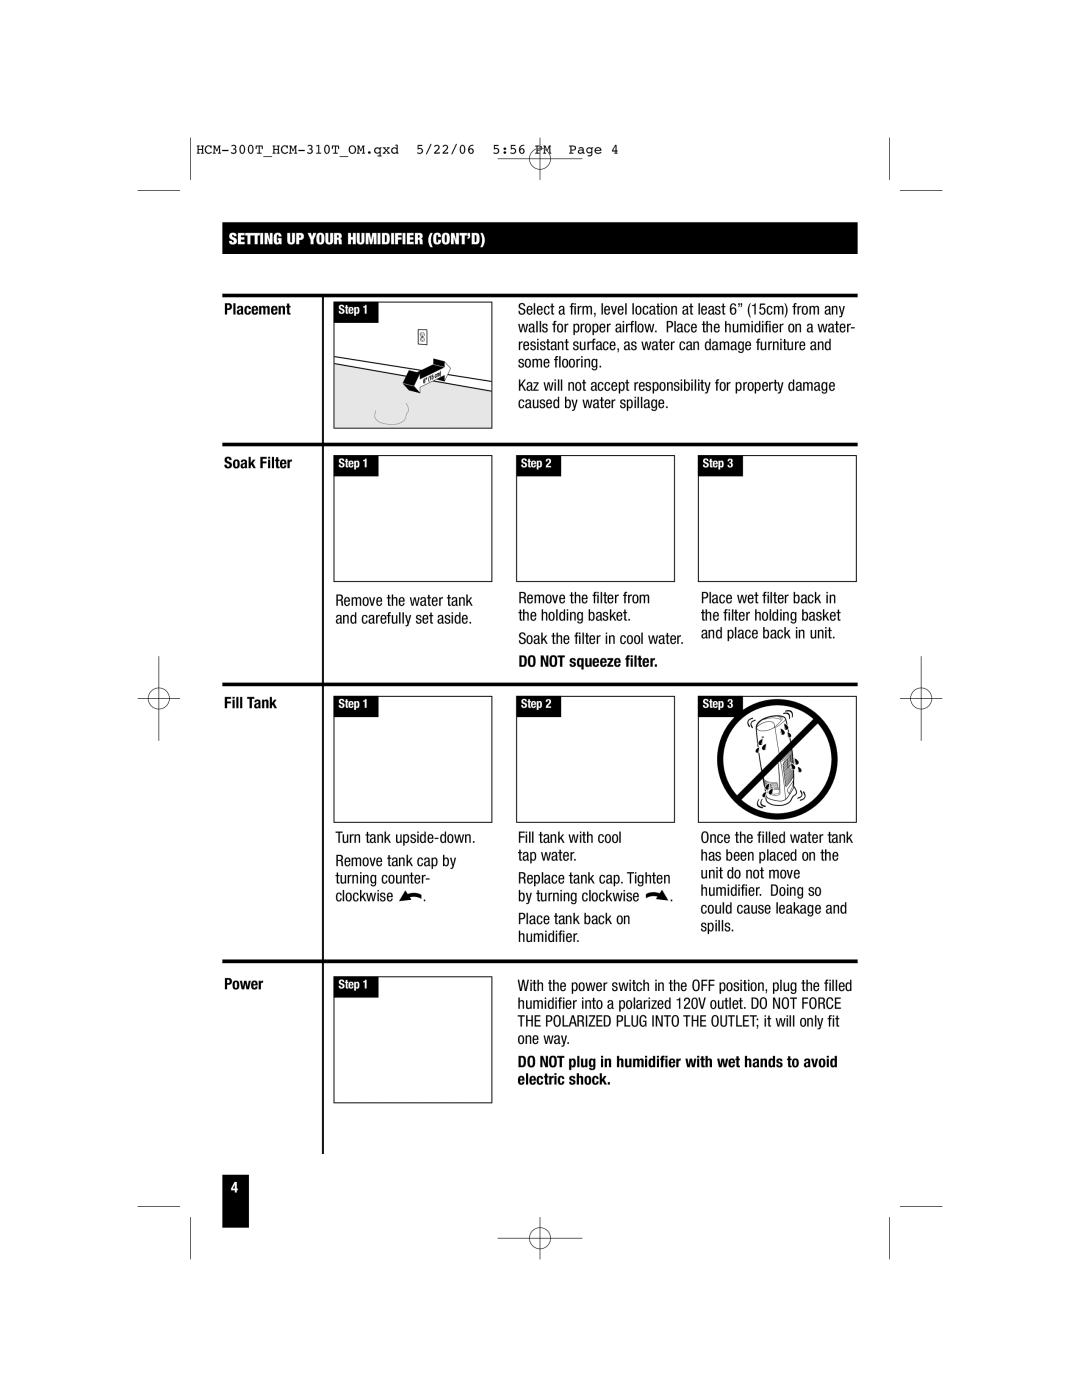
| Select a firm, level location at least 6” (15cm) from any | ||||
|
|
|
| walls for proper airflow. Place the humidifier on a water- | ||||
|
|
|
| resistant surface, as water can damage furniture and | ||||
|
|
|
| some flooring. |
|
| ||
|
|
|
| Kaz will not accept responsibility for property damage | ||||
|
|
|
| caused by water spillage. |
|
| ||
|
|
|
|
|
|
|
|
|
|
|
|
|
|
|
|
| |
Soak Filter |
|
|
|
|
|
|
|
|
Step 1 |
|
| Step 2 |
|
| Step 3 |
| |
|
|
|
|
|
|
|
|
|
| Remove the water tank | Remove the filter from | Place wet filter back in |
| and carefully set aside. | the holding basket. | the filter holding basket |
|
| Soak the filter in cool water. | and place back in unit. |
|
|
| |
|
| DO NOT squeeze filter. |
|
Fill Tank | Step 1 | Step 2 | Step 3 |
| Turn tank | Fill tank with cool |
| Once the filled water tank | ||
| Remove tank cap by | tap water. |
| has been placed on the | ||
|
|
| unit do not move | |||
| turning counter- | Replace tank cap. Tighten | ||||
| humidifier. Doing so | |||||
| clockwise | . | by turning clockwise | . | ||
| could cause leakage and | |||||
|
|
|
| Place tank back on |
| |
|
|
|
|
| spills. | |
|
|
|
| humidifier. |
| |
|
|
|
|
|
| |
|
|
|
|
|
|
|
Power |
|
| With the power switch in the OFF position, plug the filled | |||
Step 1 |
|
| ||||
|
|
|
| humidifier into a polarized 120V outlet. DO NOT FORCE | ||
|
|
|
| THE POLARIZED PLUG INTO THE OUTLET; it will only fit | ||
|
|
|
| one way. |
|
|
|
|
|
| DO NOT plug in humidifier with wet hands to avoid | ||
|
|
|
| electric shock. |
|
|
|
|
|
|
|
|
|
4
