![]() NOTE: Do not leave unused photo paper in the input tray. The paper might start to curl, which could reduce the quality of your printout. Photo paper should be flat before printing.
NOTE: Do not leave unused photo paper in the input tray. The paper might start to curl, which could reduce the quality of your printout. Photo paper should be flat before printing.
Print envelopes
You can load one or more envelopes into the input tray of the HP
![]() NOTE: For specific details on how to format text for printing on envelopes, consult the help files in your word processing software. For best results, consider using a label for the return address on envelopes.
NOTE: For specific details on how to format text for printing on envelopes, consult the help files in your word processing software. For best results, consider using a label for the return address on envelopes.
To print envelopes
1.Make sure the output tray is open.
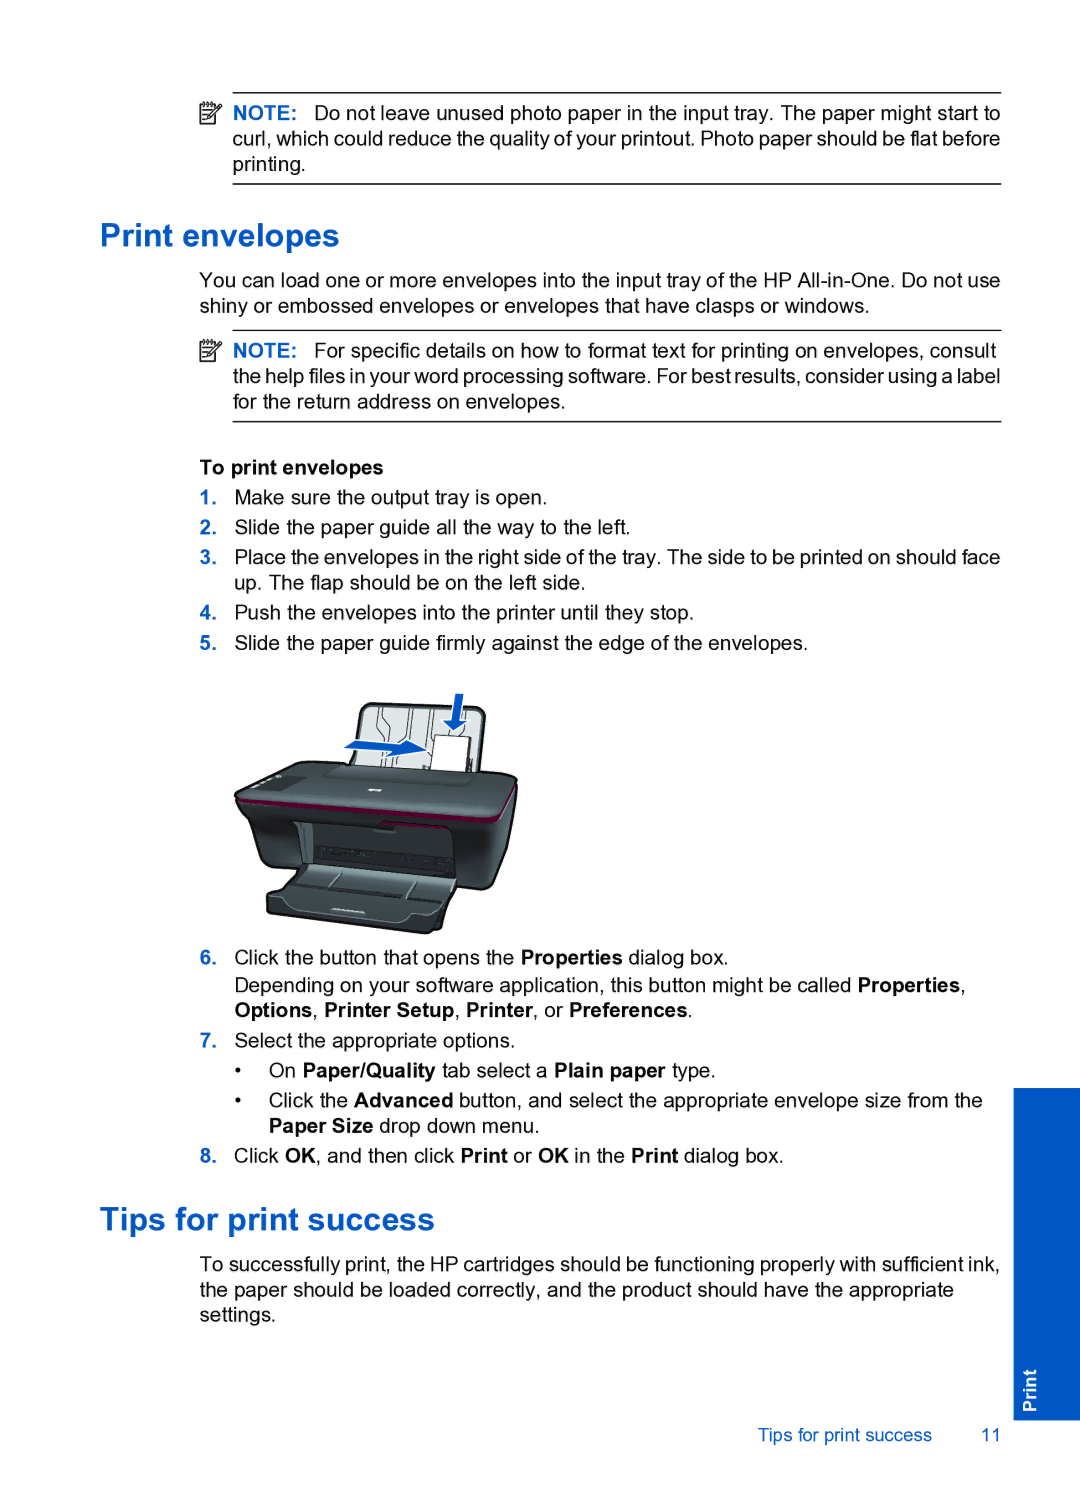
2.Slide the paper guide all the way to the left.
3.Place the envelopes in the right side of the tray. The side to be printed on should face up. The flap should be on the left side.
4.Push the envelopes into the printer until they stop.
5.Slide the paper guide firmly against the edge of the envelopes.
6.Click the button that opens the Properties dialog box.
Depending on your software application, this button might be called Properties, Options, Printer Setup, Printer, or Preferences.
7.Select the appropriate options.
•On Paper/Quality tab select a Plain paper type.
•Click the Advanced button, and select the appropriate envelope size from the Paper Size drop down menu.
8.Click OK, and then click Print or OK in the Print dialog box.
Tips for print success
To successfully print, the HP cartridges should be functioning properly with sufficient ink, the paper should be loaded correctly, and the product should have the appropriate settings.
Tips for print success | 11 |
