Troubleshooting
*Q5610-90149*
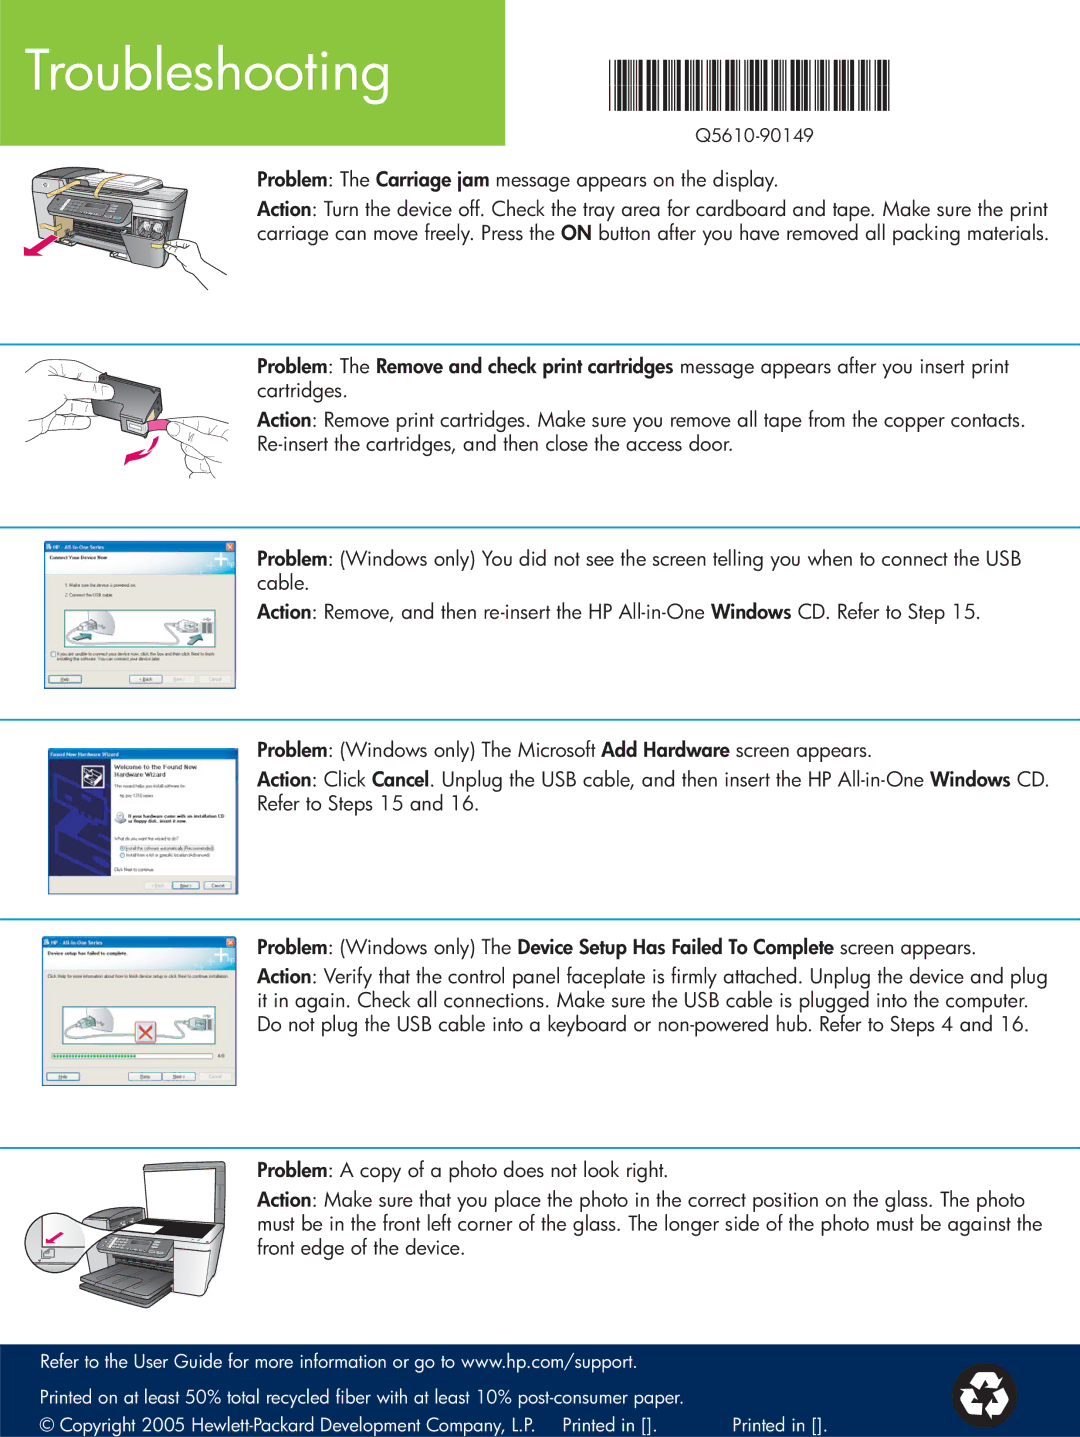
Problem: The Carriage jam message appears on the display.
Action: Turn the device off. Check the tray area for cardboard and tape. Make sure the print carriage can move freely. Press the ON button after you have removed all packing materials.
Problem: The Remove and check print cartridges message appears after you insert print cartridges.
Action: Remove print cartridges. Make sure you remove all tape from the copper contacts.
Problem: (Windows only) You did not see the screen telling you when to connect the USB cable.
Action: Remove, and then
Problem: (Windows only) The Microsoft Add Hardware screen appears.
Action: Click Cancel. Unplug the USB cable, and then insert the HP
Problem: (Windows only) The Device Setup Has Failed To Complete screen appears.
Action: Verify that the control panel faceplate is firmly attached. Unplug the device and plug it in again. Check all connections. Make sure the USB cable is plugged into the computer. Do not plug the USB cable into a keyboard or
Problem: A copy of a photo does not look right.
Action: Make sure that you place the photo in the correct position on the glass. The photo must be in the front left corner of the glass. The longer side of the photo must be against the front edge of the device.
Refer to the User Guide for more information or go to www.hp.com/support. |
|
Printed on at least 50% total recycled fiber with at least 10% |
|
© Copyright 2005 | Printed in []. |