Service
13. Remove all
(T). Check that the stems are solidly in place. If they are loose, replace the entire piston assembly (3).
14. Perform the following applicable step:
a.
1 2
11* 3
2 | 2 | 10* 3 |
16 8
25
23 1 2
24
17 3
5
5a9
36
TI8199a
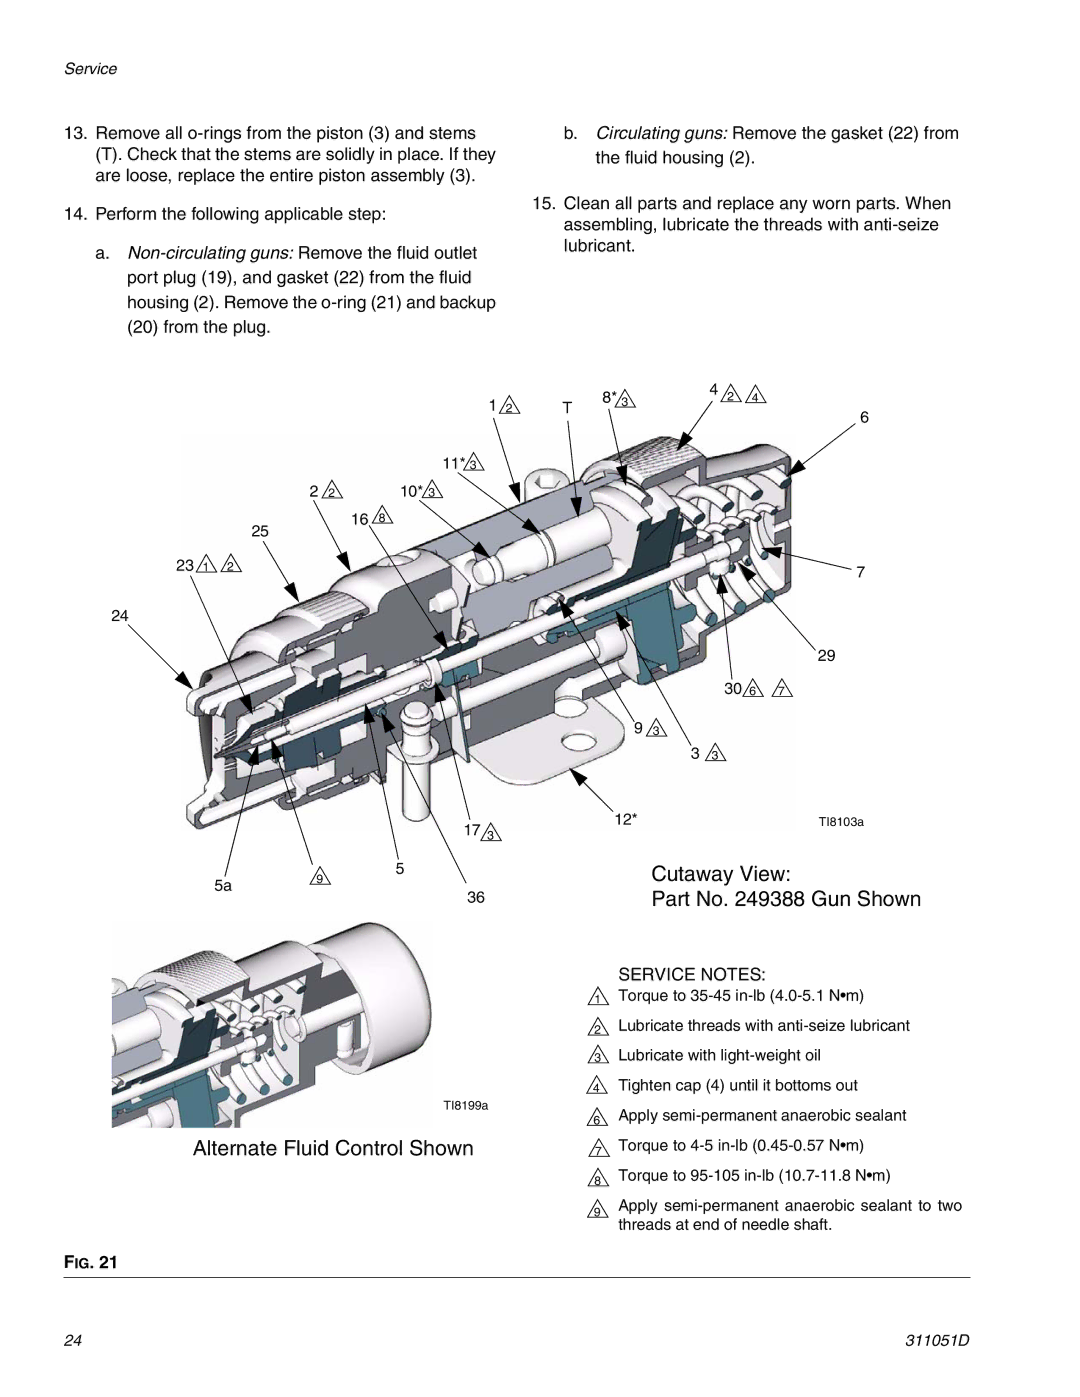
Alternate Fluid Control Shown
FIG. 21
b.Circulating guns: Remove the gasket (22) from the fluid housing (2).
15.Clean all parts and replace any worn parts. When assembling, lubricate the threads with
8* | 3 | 4 | 2 | 4 |
T |
|
|
| 6 |
|
|
|
|
7
29
30 6 7
93
33
12* | TI8103a |
Cutaway View:
Part No. 249388 Gun Shown
SERVICE NOTES:
1Torque to
2Lubricate threads with
3Lubricate with
4Tighten cap (4) until it bottoms out
6Apply
7Torque to
8Torque to
9Apply
24 | 311051D |