A2 - USB 
Windows:
Mac:
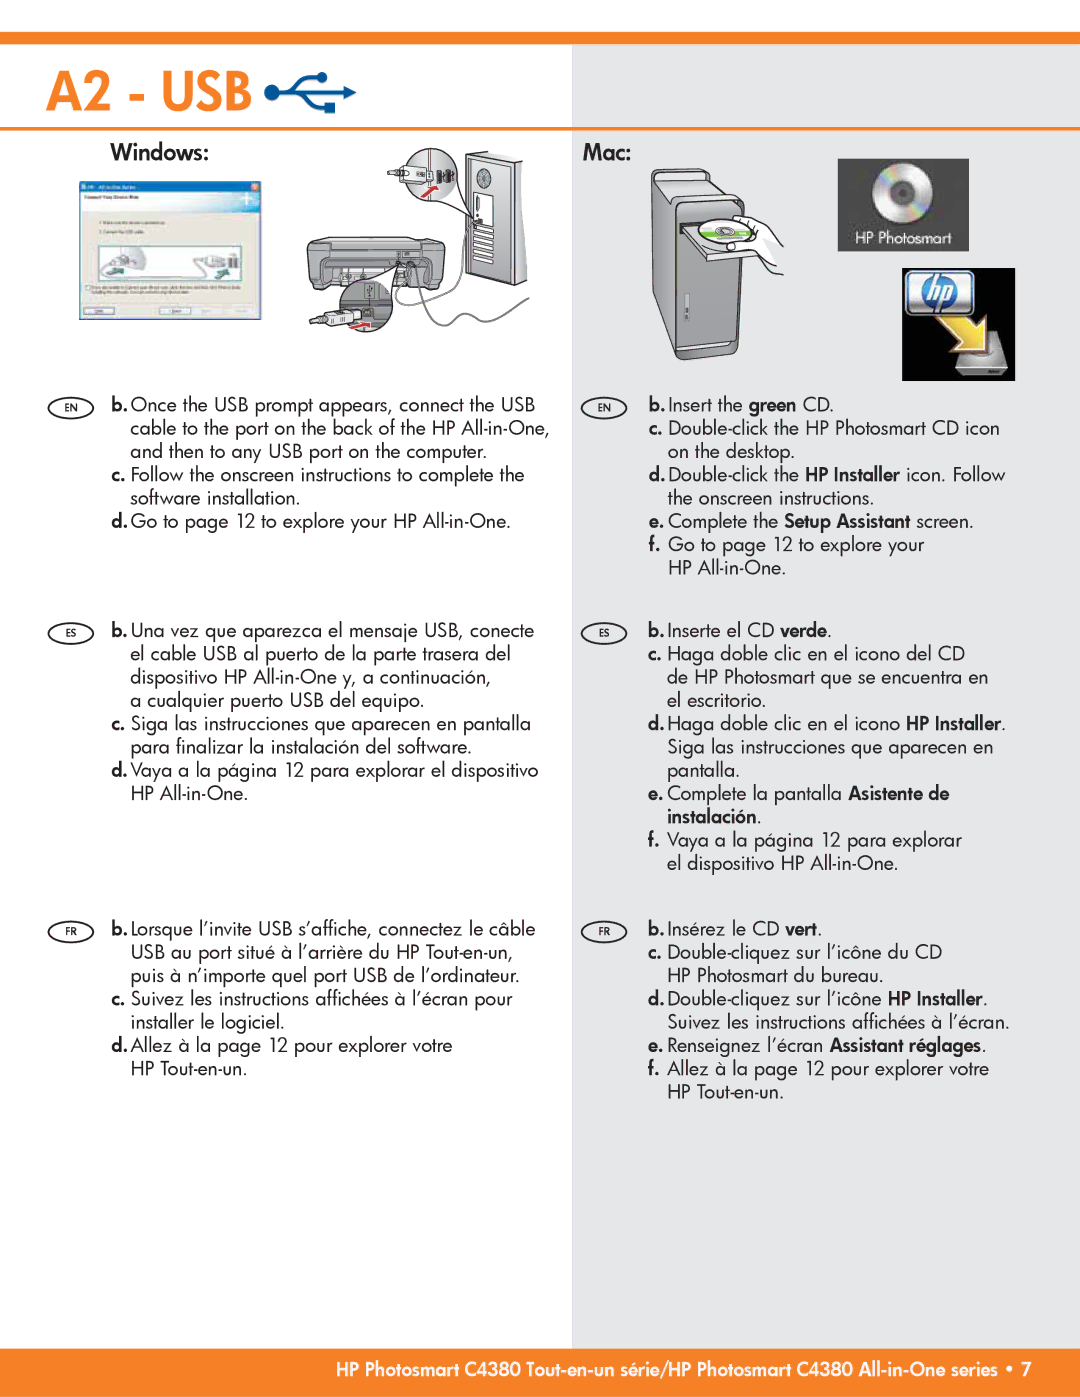
EN b. Once the USB prompt appears, connect the USB cable to the port on the back of the HP
c. Follow the onscreen instructions to complete the software installation.
d. Go to page 12 to explore your HP
ES b. Una vez que aparezca el mensaje USB, conecte el cable USB al puerto de la parte trasera del dispositivo HP
a cualquier puerto USB del equipo.
c. Siga las instrucciones que aparecen en pantalla para finalizar la instalación del software.
d. Vaya a la página 12 para explorar el dispositivo HP
FR b. Lorsque l’invite USB s’affiche, connectez le câble USB au port situé à l’arrière du HP
c. Suivez les instructions affichées à l’écran pour installer le logiciel.
d. Allez à la page 12 pour explorer votre HP
EN b. Insert the green CD.
c.
d.
e. Complete the Setup Assistant screen.
f.Go to page 12 to explore your HP
ES b. Inserte el CD verde.
c. Haga doble clic en el icono del CD de HP Photosmart que se encuentra en el escritorio.
d. Haga doble clic en el icono HP Installer. Siga las instrucciones que aparecen en pantalla.
e. Complete la pantalla Asistente de instalación.
f.Vaya a la página 12 para explorar el dispositivo HP
FR b. Insérez le CD vert.
c.
d.
e. Renseignez l’écran Assistant réglages.
f.Allez à la page 12 pour explorer votre HP
HP Photosmart C4380