Installing an Internal 3.5-inch Hard Drive
1.Follow the steps in Removing an Internal
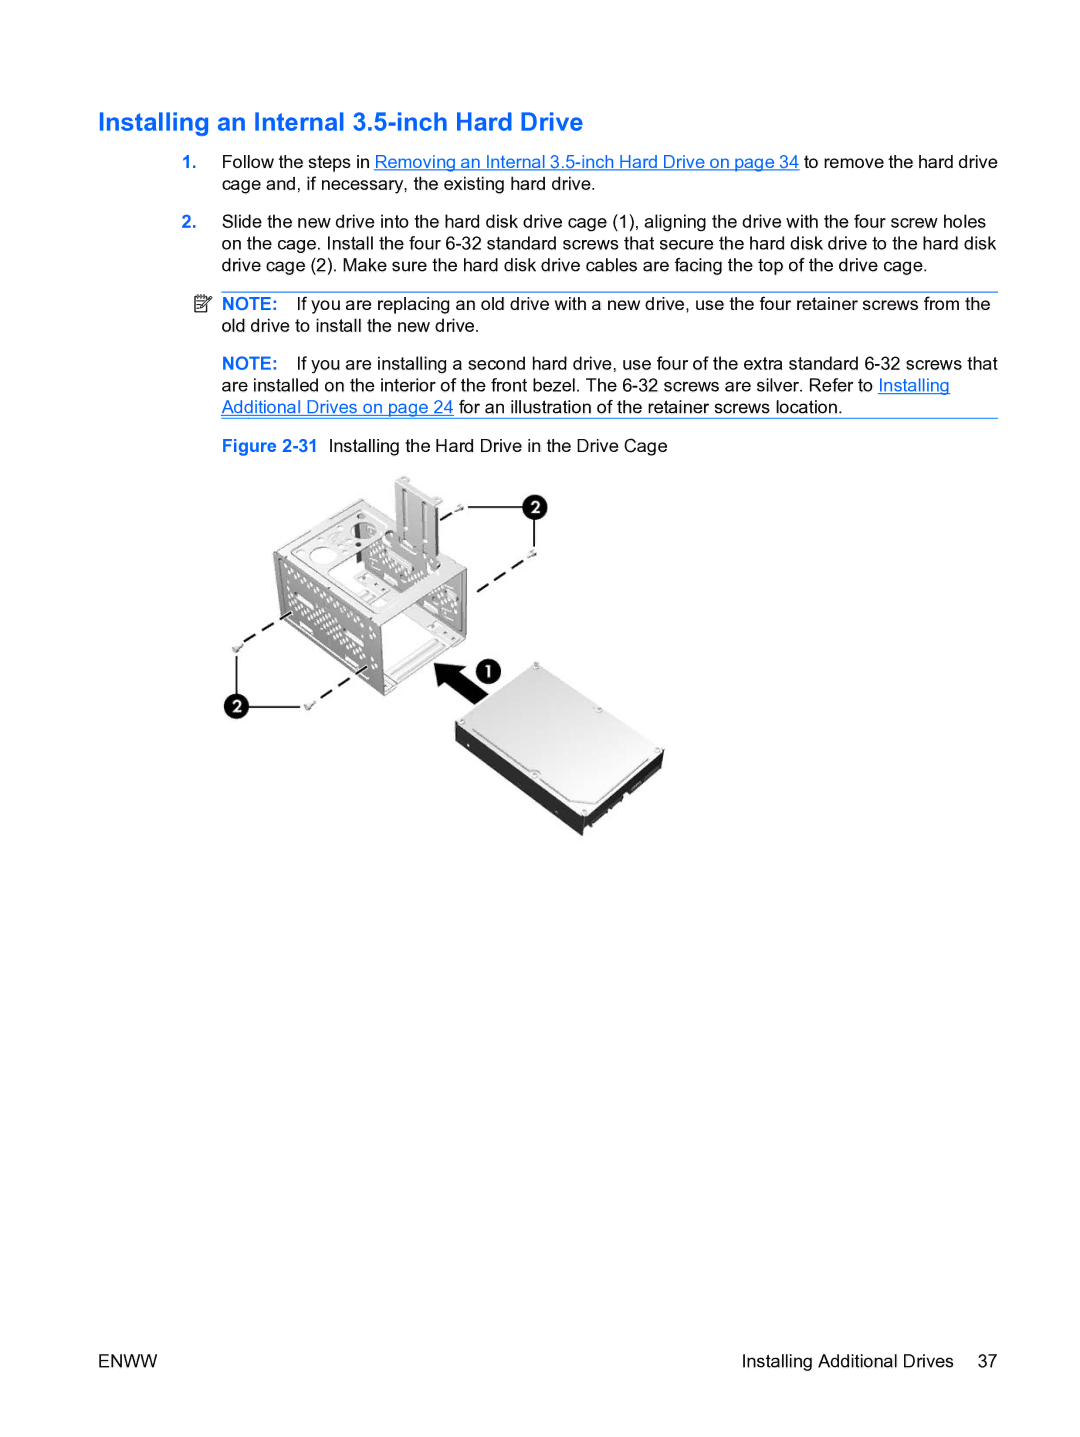
2.Slide the new drive into the hard disk drive cage (1), aligning the drive with the four screw holes on the cage. Install the four
![]() NOTE: If you are replacing an old drive with a new drive, use the four retainer screws from the old drive to install the new drive.
NOTE: If you are replacing an old drive with a new drive, use the four retainer screws from the old drive to install the new drive.
NOTE: If you are installing a second hard drive, use four of the extra standard
Figure 2-31 Installing the Hard Drive in the Drive Cage
ENWW | Installing Additional Drives 37 |