Running Setup Using the Boot Monitor
Running Setup Using the Boot Monitor
NOTE: The SA8220 is not directing traffic when the Boot Monitor is in operation.
NOTE: If Autoboot is enabled, you must first interrupt the bootup sequence by pressing a key at the Press any
key to stop
autoboot prompt. In a few seconds, the monitor> prompt displays. This confirms that Boot Monitor is running. Also, this document assumes that the SA8220’s serial port is in a secure environment and no password is required to access the Boot Monitor for initial setup and configuration. However, after the device is booted using either the boot command in the Boot Monitor, or the autoboot function, a password is required to log on to the Command Line Interface.
At the first use of the SA8220, you must use the Boot Monitor to perform the initial configuration.
After entering the initial configuration parameters with the setup command and booting, the SA8220 is ready for routine operations using either the Graphical User Interface (see Chapter 4 in the User Guide) or the Command Line Interface (see Chapter 5 in the User Guide).
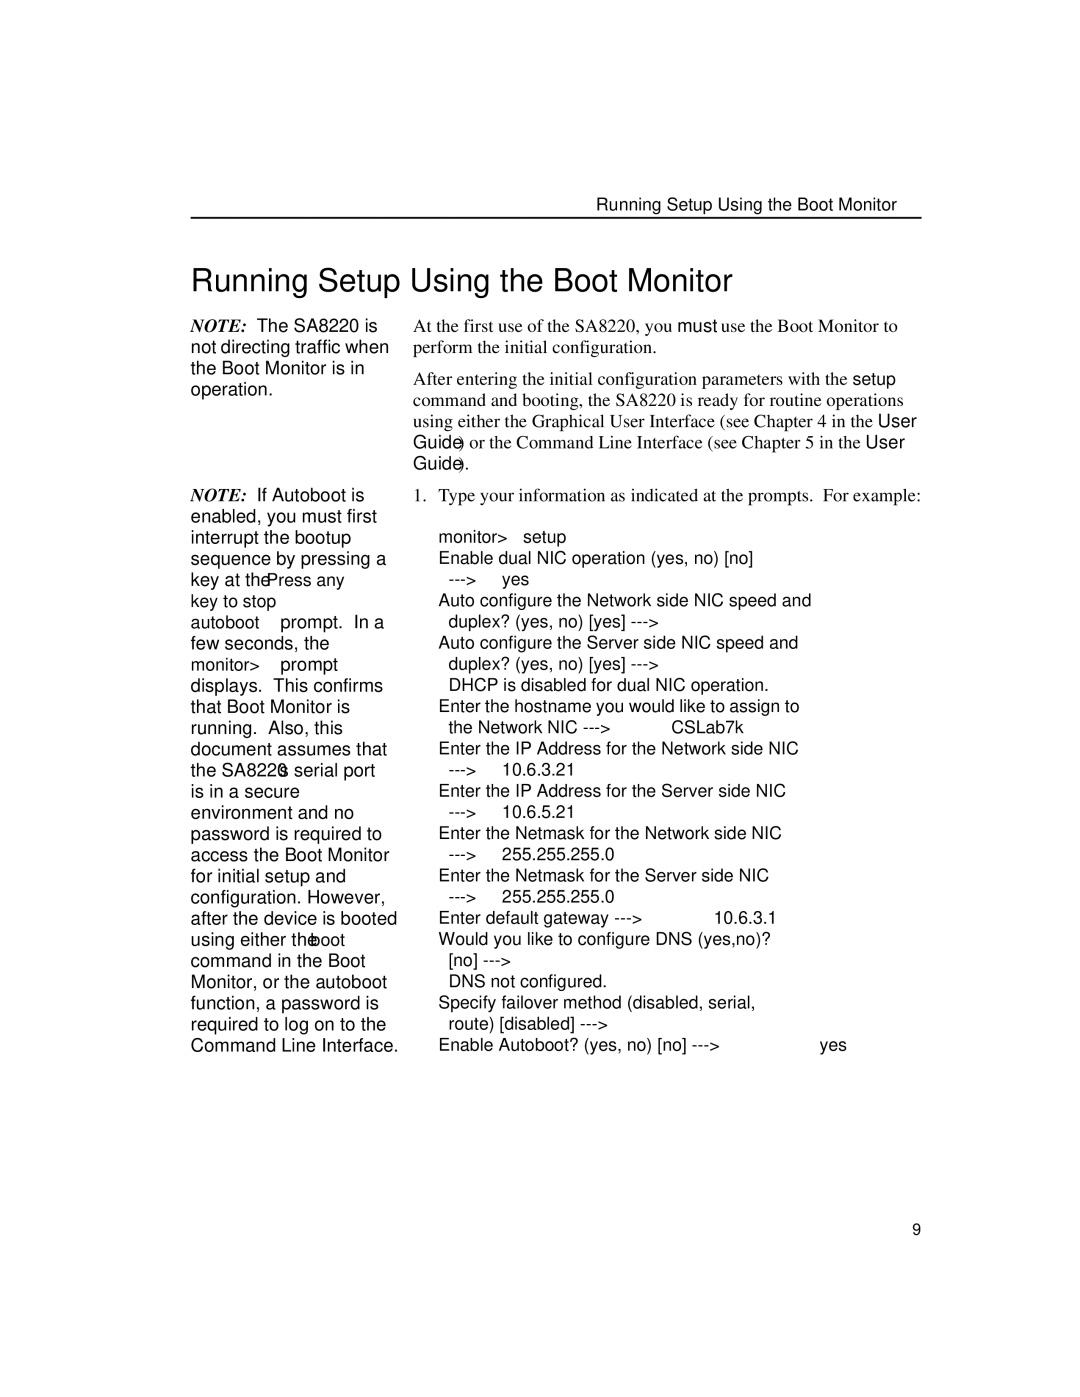
1.Type your information as indicated at the prompts. For example:
monitor>setup
Enable dual NIC operation (yes, no) [no]
Auto configure the Network side NIC speed and duplex? (yes, no) [yes]
Auto configure the Server side NIC speed and duplex? (yes, no) [yes]
DHCP is disabled for dual NIC operation. Enter the hostname you would like to assign to
the Network NIC
Enter the IP Address for the Network side NIC
Enter the IP Address for the Server side NIC
Enter the Netmask for the Network side NIC
Enter the Netmask for the Server side NIC
Enter default gateway
Would you like to configure DNS (yes,no)? [no]
DNS not configured.
Specify failover method (disabled, serial, route) [disabled]
Enable Autoboot? (yes, no) [no]
9
