NOTE: If the switch does not obtain the IP address by means of the BOOTP service, access the switch locally and configure the IP address manually. After assigning the IP address to the switch, then access the switch remotely.
To access the switch locally:
1.Connect the switch
2.Open a VT100 terminal emulation session with these settings: 9600 baud rate, eight data bits, no parity, one stop bit, and no flow control.
Logging on and configuring the switch
To log on to the switch:
1.Access the switch ("Accessing the switch" on page 22). After connecting to the switch console, the login prompt appears.
2.Enter admin as the default administrator password.
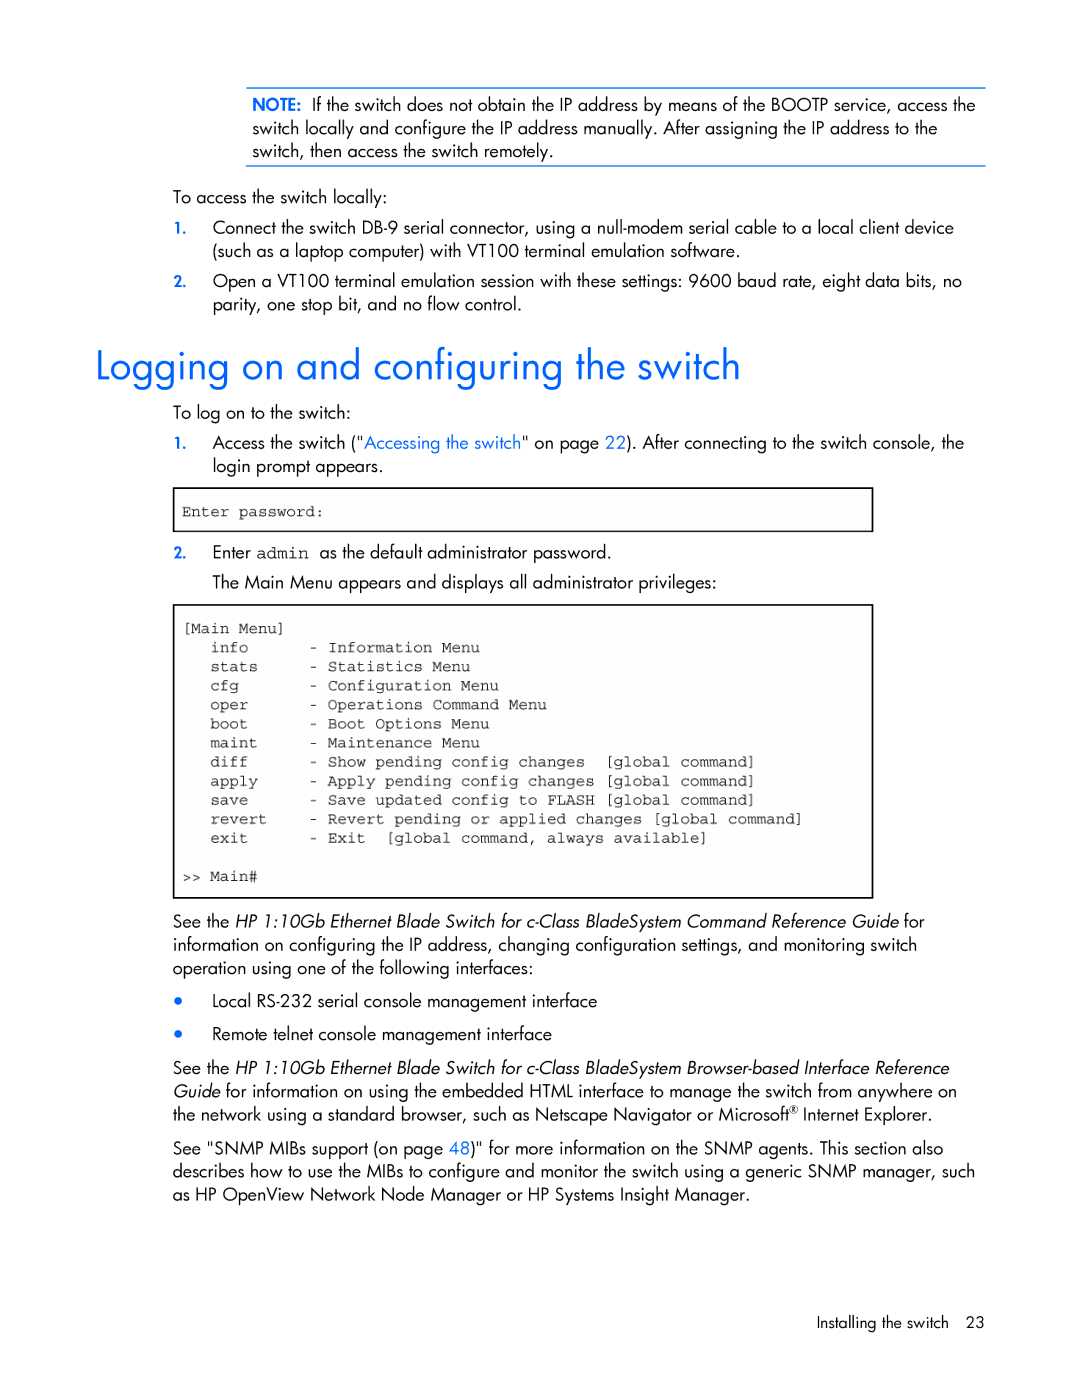
The Main Menu appears and displays all administrator privileges:
See the HP 1:10Gb Ethernet Blade Switch for
•Local
•Remote telnet console management interface
See the HP 1:10Gb Ethernet Blade Switch for
See "SNMP MIBs support (on page 48)" for more information on the SNMP agents. This section also describes how to use the MIBs to configure and monitor the switch using a generic SNMP manager, such as HP OpenView Network Node Manager or HP Systems Insight Manager.
Installing the switch 23