4.Remove the battery (see Battery on page 45).
5.Remove the following components:
a.Hard drive (see Hard drive on page 46)
b.WLAN (see WLAN module on page 51)
c.Optical drive (see Optical drive on page 49)
d.Keyboard (see Keyboard on page 56)
e.Top cover (see Top cover on page 58)
f.Speaker assembly (see Speaker assembly on page 61)
g.Display assembly (see Display assembly on page 73)
h.Top cover (see Top cover on page 58)
Remove the following cables from the system board if still connected:
●Power connector cable (see Power connector cable on page 71)
●Bluetooth cable (see Bluetooth module on page 67)
●USB board cable (see USB board on page 69)
1.Turn the computer upright with the right side toward you.
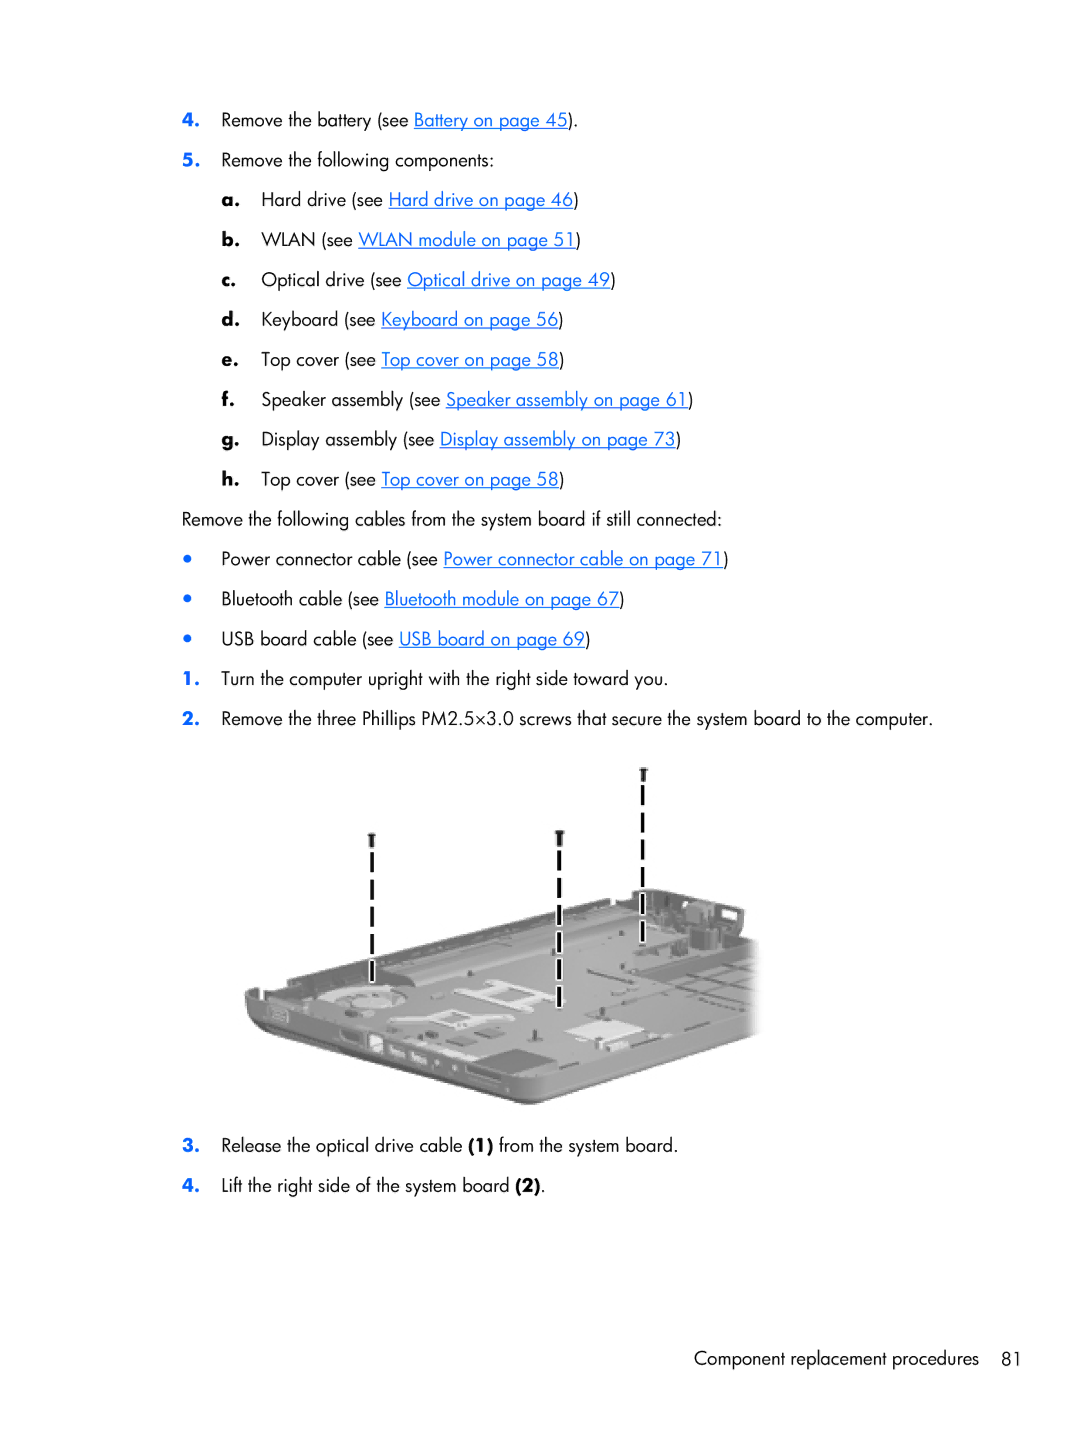
2.Remove the three Phillips PM2.5×3.0 screws that secure the system board to the computer.
3.Release the optical drive cable (1) from the system board.
4.Lift the right side of the system board (2).
Component replacement procedures 81