4-4 Optical Alignment
Test | Working Items | Check item/Spec/Figure |
|
Item |
| ||
|
|
| |
|
|
|
|
1 | Plug the power cord into socket behind | Voltage 110V power cord should be |
|
TV | connected firmly |
| |
|
| ||
2 | Switch on power and press keypad | Check if Lamp is on |
|
power button to ignite Lamp |
| ||
|
|
| |
3 | Enter the factory mode |
|
|
|
|
|
|
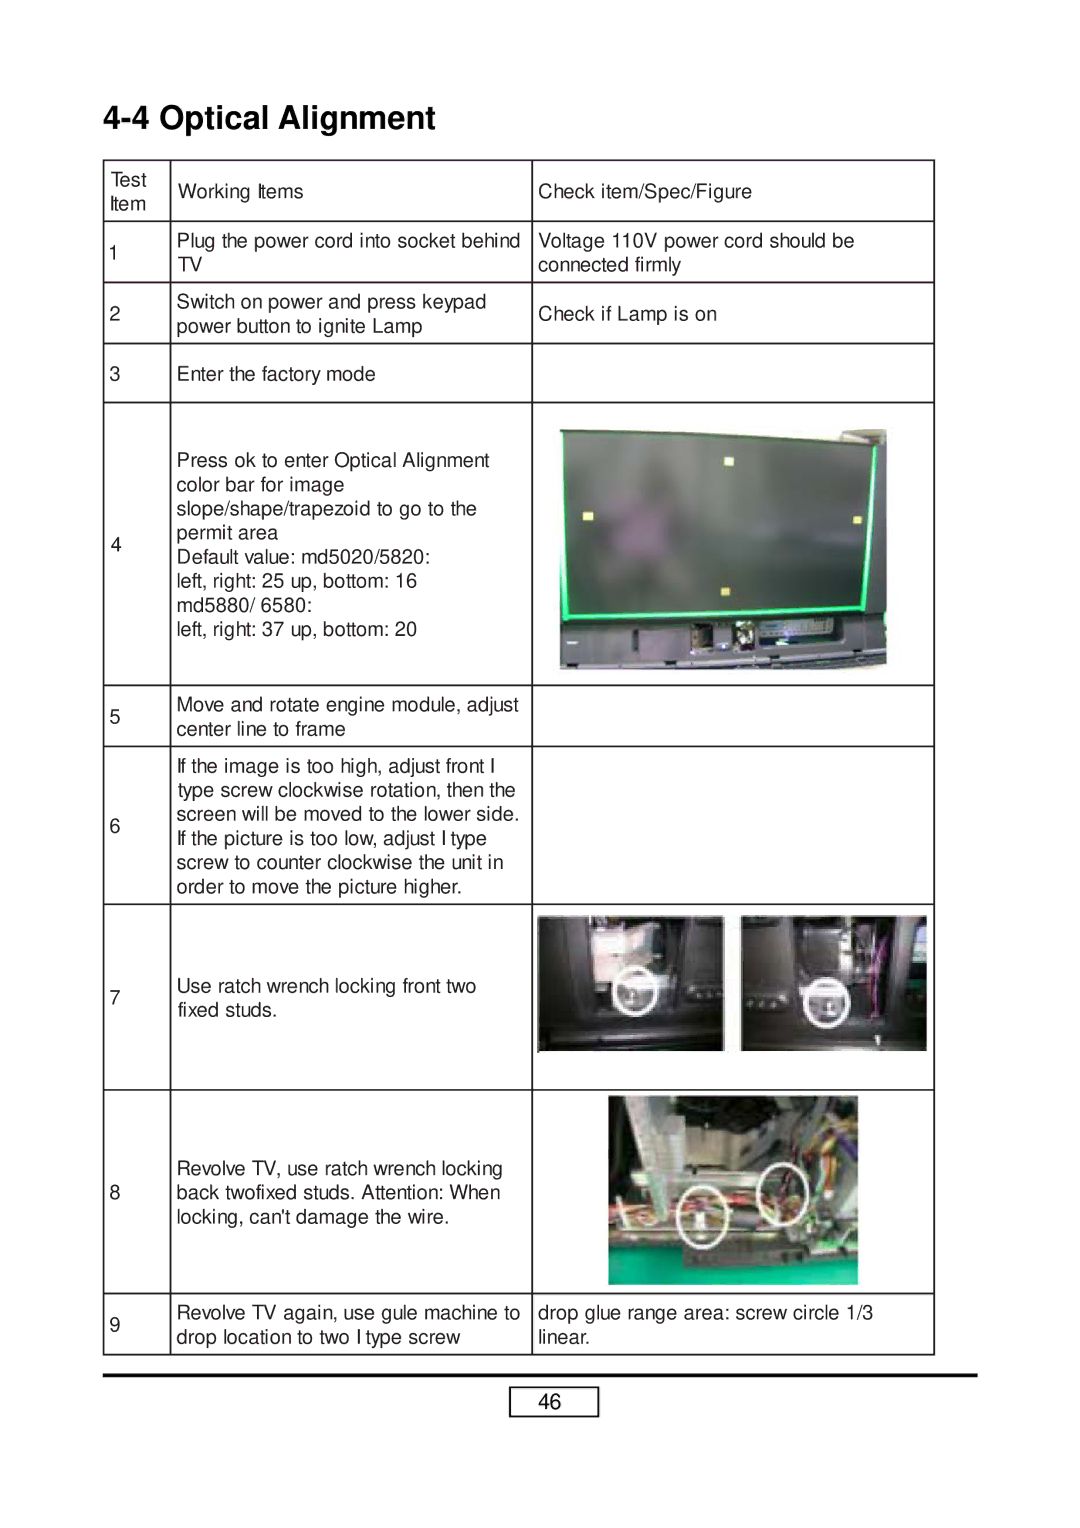
| Press ok to enter Optical Alignment |
|
|
| color bar for image |
|
|
| slope/shape/trapezoid to go to the |
|
|
4 | permit area |
|
|
Default value: md5020/5820: |
|
| |
|
|
| |
| left, right: 25 up, bottom: 16 |
|
|
| md5880/ 6580: |
|
|
| left, right: 37 up, bottom: 20 |
|
|
|
|
|
|
5 | Move and rotate engine module, adjust |
|
|
center line to frame |
|
| |
|
|
| |
| If the image is too high, adjust front I |
|
|
| type screw clockwise rotation, then the |
|
|
6 | screen will be moved to the lower side. |
|
|
If the picture is too low, adjust I type |
|
| |
|
|
| |
| screw to counter clockwise the unit in |
|
|
| order to move the picture higher. |
|
|
|
|
|
|
7 | Use ratch wrench locking front two |
|
|
fixed studs. |
|
| |
|
|
| |
|
|
|
|
| Revolve TV, use ratch wrench locking |
|
|
8 | back twofixed studs. Attention: When |
|
|
| locking, can't damage the wire. |
|
|
|
|
|
|
9 | Revolve TV again, use gule machine to | drop glue range area: screw circle 1/3 |
|
drop location to two I type screw | linear. |
| |
|
| ||
|
|
|
|
|
|
|
|
46