9.Slide the column mounting bracket away from the bottom of the monitor. Figure
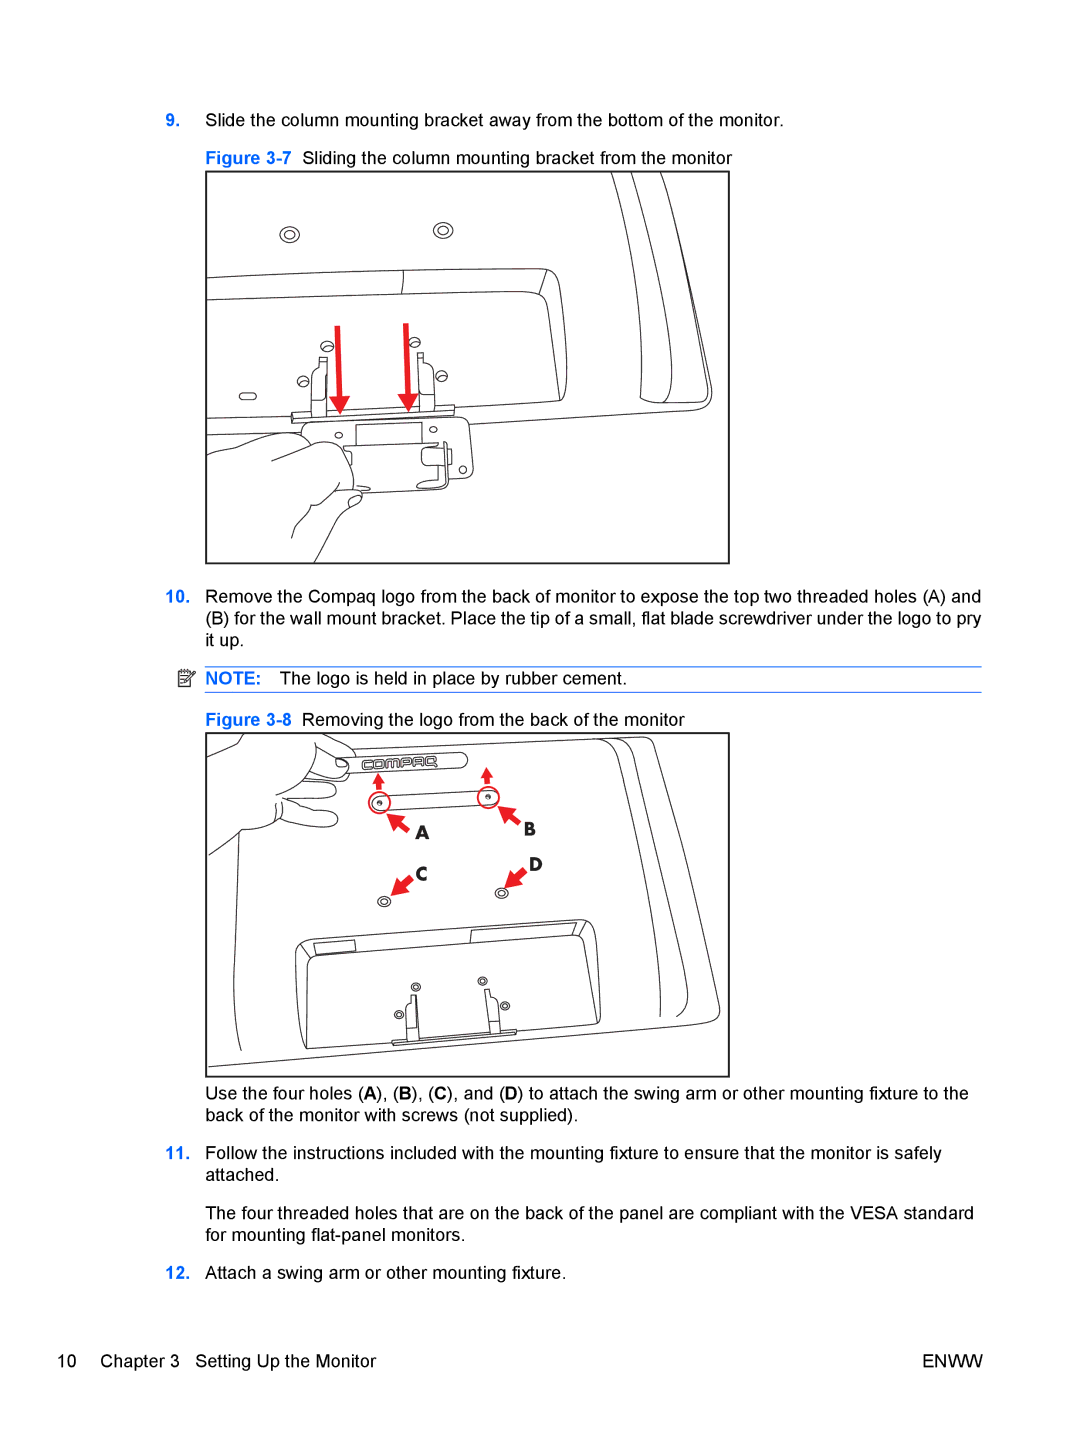
10.Remove the Compaq logo from the back of monitor to expose the top two threaded holes (A) and
(B) for the wall mount bracket. Place the tip of a small, flat blade screwdriver under the logo to pry it up.
![]() NOTE: The logo is held in place by rubber cement.
NOTE: The logo is held in place by rubber cement.
Figure 3-8 Removing the logo from the back of the monitor
![]() A B
A B
C![]() D
D
Use the four holes (A), (B), (C), and (D) to attach the swing arm or other mounting fixture to the back of the monitor with screws (not supplied).
11.Follow the instructions included with the mounting fixture to ensure that the monitor is safely attached.
The four threaded holes that are on the back of the panel are compliant with the VESA standard for mounting flat-panel monitors.
12.Attach a swing arm or other mounting fixture.
10 Chapter 3 Setting Up the Monitor | ENWW |