HP | 4 | Initial configuration |
Placing on a desktop
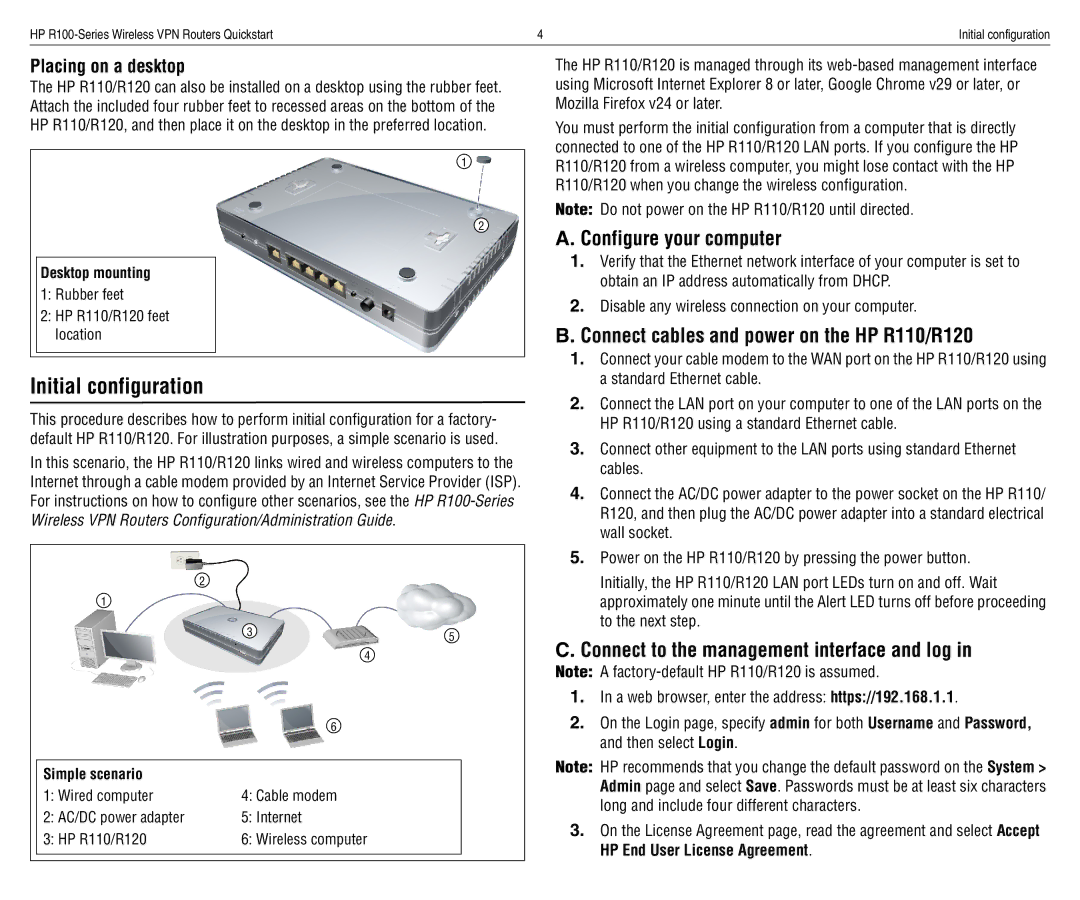
The HP R110/R120 can also be installed on a desktop using the rubber feet. Attach the included four rubber feet to recessed areas on the bottom of the HP R110/R120, and then place it on the desktop in the preferred location.
1
2
Desktop mounting
1:Rubber feet
2:HP R110/R120 feet location
Initial configuration
This procedure describes how to perform initial configuration for a factory- default HP R110/R120. For illustration purposes, a simple scenario is used.
In this scenario, the HP R110/R120 links wired and wireless computers to the Internet through a cable modem provided by an Internet Service Provider (ISP). For instructions on how to configure other scenarios, see the HP
2
1
| 3 | 5 |
|
| |
| 4 |
|
| 6 |
|
|
|
|
Simple scenario |
|
|
1: Wired computer | 4: Cable modem |
|
2: AC/DC power adapter | 5: Internet |
|
3: HP R110/R120 | 6: Wireless computer |
|
|
|
|
The HP R110/R120 is managed through its
You must perform the initial configuration from a computer that is directly connected to one of the HP R110/R120 LAN ports. If you configure the HP R110/R120 from a wireless computer, you might lose contact with the HP R110/R120 when you change the wireless configuration.
Note: Do not power on the HP R110/R120 until directed.
A. Configure your computer
1.Verify that the Ethernet network interface of your computer is set to obtain an IP address automatically from DHCP.
2.Disable any wireless connection on your computer.
B.Connect cables and power on the HP R110/R120
1.Connect your cable modem to the WAN port on the HP R110/R120 using a standard Ethernet cable.
2.Connect the LAN port on your computer to one of the LAN ports on the HP R110/R120 using a standard Ethernet cable.
3.Connect other equipment to the LAN ports using standard Ethernet cables.
4.Connect the AC/DC power adapter to the power socket on the HP R110/ R120, and then plug the AC/DC power adapter into a standard electrical wall socket.
5.Power on the HP R110/R120 by pressing the power button.
Initially, the HP R110/R120 LAN port LEDs turn on and off. Wait approximately one minute until the Alert LED turns off before proceeding to the next step.
C.Connect to the management interface and log in
Note: A
1.In a web browser, enter the address: https://192.168.1.1.
2.On the Login page, specify admin for both Username and Password, and then select Login.
Note: HP recommends that you change the default password on the System > Admin page and select Save. Passwords must be at least six characters long and include four different characters.
3.On the License Agreement page, read the agreement and select Accept HP End User License Agreement.