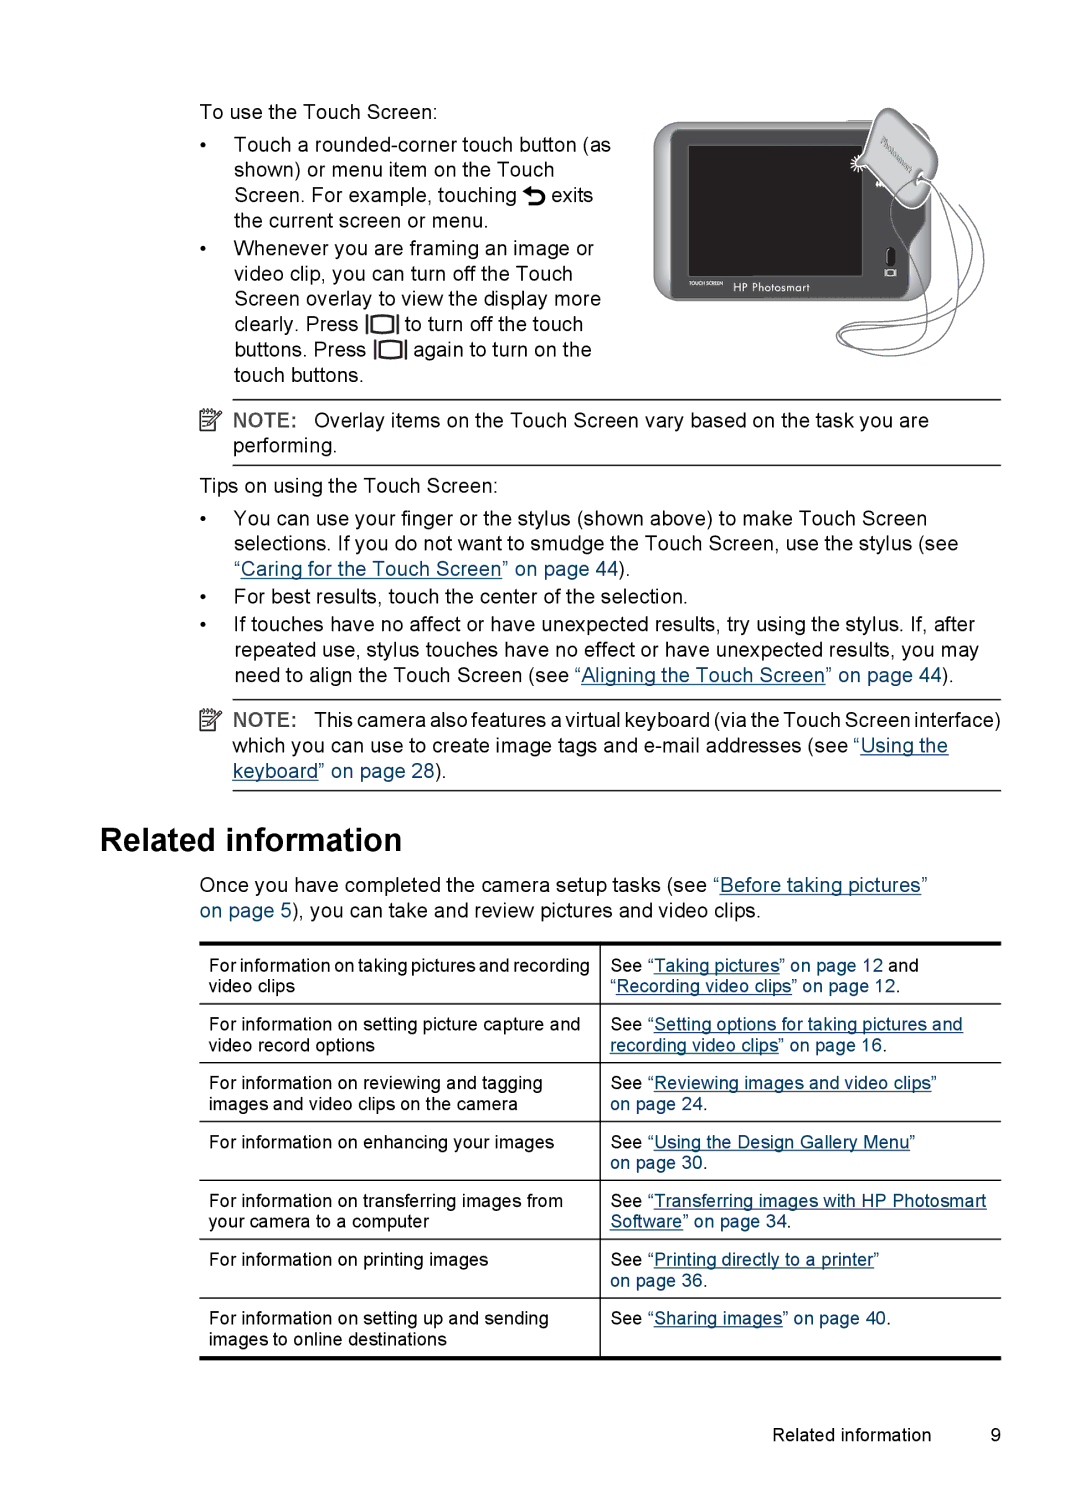
R937 specifications
The HP R937 is a high-performance digital camera that combines advanced imaging technologies with user-friendly features, making it a popular choice among photography enthusiasts and everyday users alike. Launched as part of HP's innovative lineup, the R937 is designed to deliver exceptional image quality and versatility.One of the standout features of the HP R937 is its 8-megapixel resolution. This high level of detail ensures that photos are not only sharp but also rich in color and clarity. Whether capturing landscapes, portraits, or everyday moments, users can expect vibrant results that truly reflect the scene. Its 3-inch diagonal LCD screen enhances the shooting experience, allowing for easy framing and reviewing of images. The LCD screen is large and vivid, providing an excellent view even in bright sunlight.
The HP R937 also boasts an impressive optical zoom, enabling photographers to get close to their subjects without compromising on image quality. With a zoom range that can handle a variety of shooting scenarios, users can shoot wide landscapes or zoom in on distant objects with ease. This flexibility is further enhanced by the camera's built-in image stabilization technology, which helps to reduce blurriness caused by shaky hands, ensuring clear pictures in various conditions.
In terms of functionality, the HP R937 supports various shooting modes, making it adaptable for different photography needs. Whether users want to shoot in portrait mode, landscape mode, or even macro mode for extreme close-ups, the camera offers presets that simplify the process. Furthermore, the integration of HP's intelligent portrait technology enhances subjects' faces by smoothing skin tones and reducing blemishes, ensuring that portraits look their best.
Another notable characteristic of the HP R937 is its compatibility with HP's photo management software. This feature allows users to easily edit, organize, and share their photos, streamlining the post-production process. Furthermore, the camera's battery life is commendable, providing ample shooting time before needing a recharge.
In summary, the HP R937 is a versatile and user-friendly digital camera that excels in image quality and operational flexibility. With its impressive resolution, optical zoom features, intelligent portrait capabilities, and robust software support, the R937 stands out as a reliable choice for photographers looking to capture every moment in stunning detail.