6
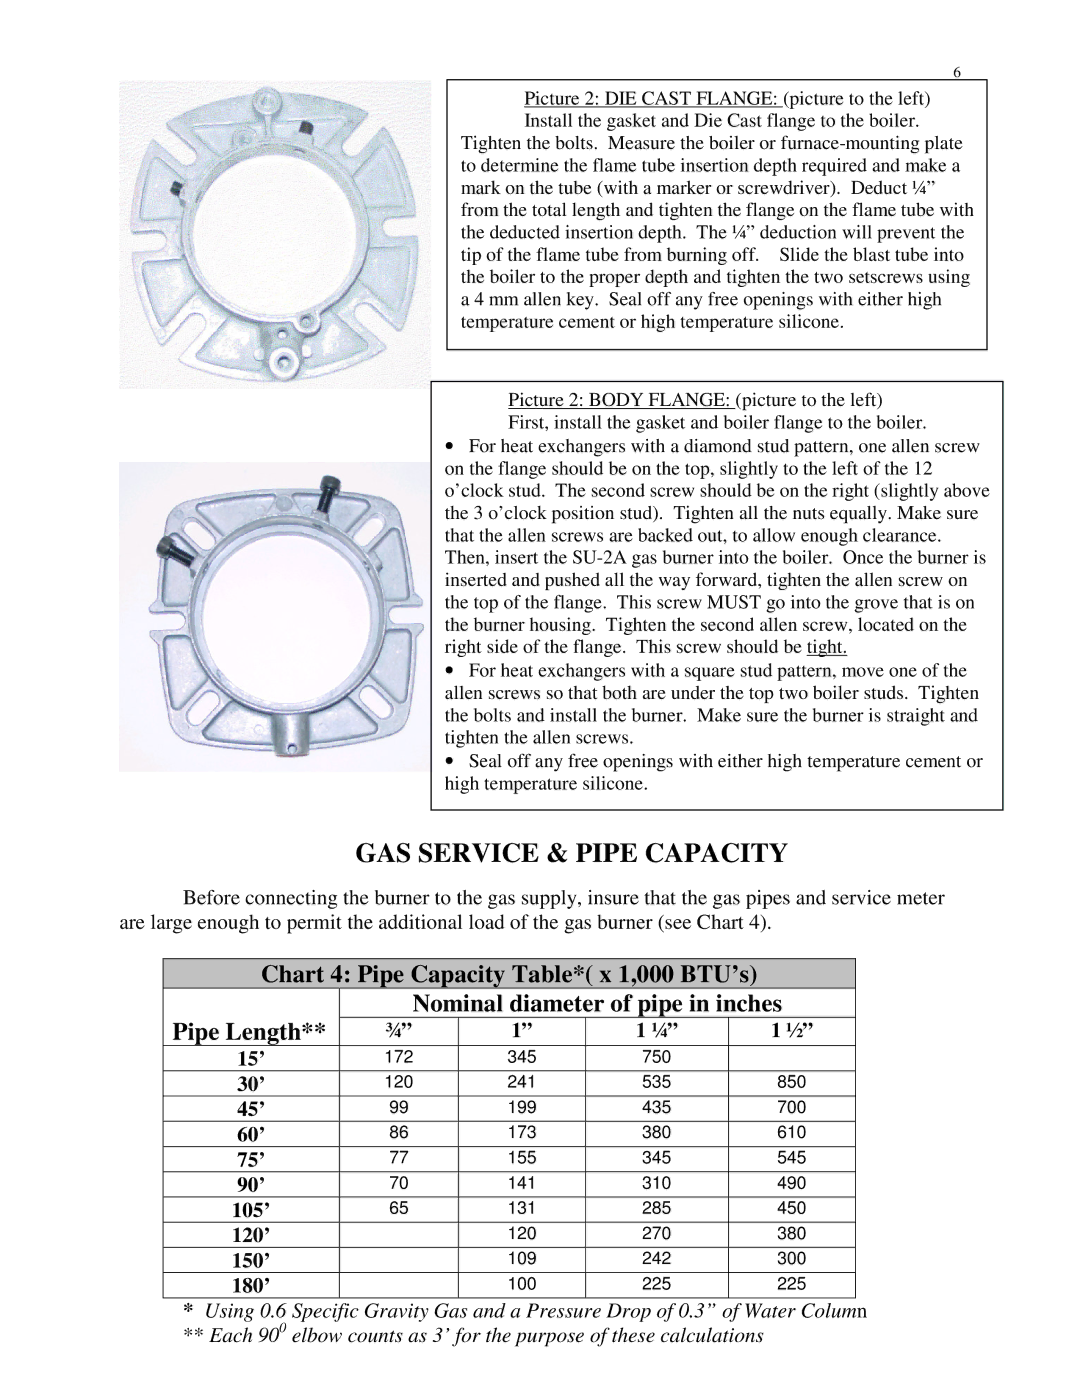
Picture 2: DIE CAST FLANGE: (picture to the left) Install the gasket and Die Cast flange to the boiler.
Tighten the bolts. Measure the boiler or
Picture 2: BODY FLANGE: (picture to the left)
First, install the gasket and boiler flange to the boiler.
•For heat exchangers with a diamond stud pattern, one allen screw on the flange should be on the top, slightly to the left of the 12 o’clock stud. The second screw should be on the right (slightly above the 3 o’clock position stud). Tighten all the nuts equally. Make sure that the allen screws are backed out, to allow enough clearance. Then, insert the
•For heat exchangers with a square stud pattern, move one of the allen screws so that both are under the top two boiler studs. Tighten the bolts and install the burner. Make sure the burner is straight and tighten the allen screws.
•Seal off any free openings with either high temperature cement or high temperature silicone.
GAS SERVICE & PIPE CAPACITY
Before connecting the burner to the gas supply, insure that the gas pipes and service meter are large enough to permit the additional load of the gas burner (see Chart 4).
Chart 4: Pipe Capacity Table*( x 1,000 BTU’s)
Nominal diameter of pipe in inches
Pipe Length** | ¾” | 1” | 1 ¼” | 1 ½” |
15’ | 172 | 345 | 750 |
|
30’ | 120 | 241 | 535 | 850 |
45’ | 99 | 199 | 435 | 700 |
60’ | 86 | 173 | 380 | 610 |
75’ | 77 | 155 | 345 | 545 |
90’ | 70 | 141 | 310 | 490 |
105’ | 65 | 131 | 285 | 450 |
120’ |
| 120 | 270 | 380 |
150’ |
| 109 | 242 | 300 |
180’ |
| 100 | 225 | 225 |
*Using 0.6 Specific Gravity Gas and a Pressure Drop of 0.3” of Water Column
**Each 900 elbow counts as 3’ for the purpose of these calculations
