82004 specifications
The Hunter Fan 82004 is a remarkable ceiling fan that embodies a perfect blend of function, style, and energy efficiency. Designed to enhance any indoor space, this fan stands out with its modern aesthetic and advanced technology.One of the key features of the Hunter Fan 82004 is its powerful motor. The fan is equipped with a WhisperWind motor, which provides exceptional airflow while operating virtually silently. This innovative technology ensures that you stay cool and comfortable without the disruptive noise that can be typical of other fans. The WhisperWind motor operates with three speed settings, empowering users to choose their preferred cooling level according to the season and their specific needs.
The design of the Hunter Fan 82004 is another highlight. It features a sleek, contemporary look that can complement a variety of home decors. Available in multiple finish options, including brushed nickel and an elegant walnut finish, it can easily blend into both modern and traditional environments. The fan's blades are also carefully crafted to ensure optimal air circulation, enhancing its performance and visual appeal.
Installation of the Hunter Fan 82004 is straightforward, thanks to its user-friendly design and included mounting hardware. It is compatible with most standard ceiling heights and can be adapted for sloped ceilings, making it versatile enough for nearly any room in the house. The fan also comes equipped with a pull chain, providing easy access to adjustments for both speed and light settings.
Additionally, the Hunter Fan 82004 is energy efficient, contributing to lower electricity bills while still delivering high performance. This fan is designed with a focus on sustainability, making it an eco-friendly choice for consumers who are conscious of their energy consumption.
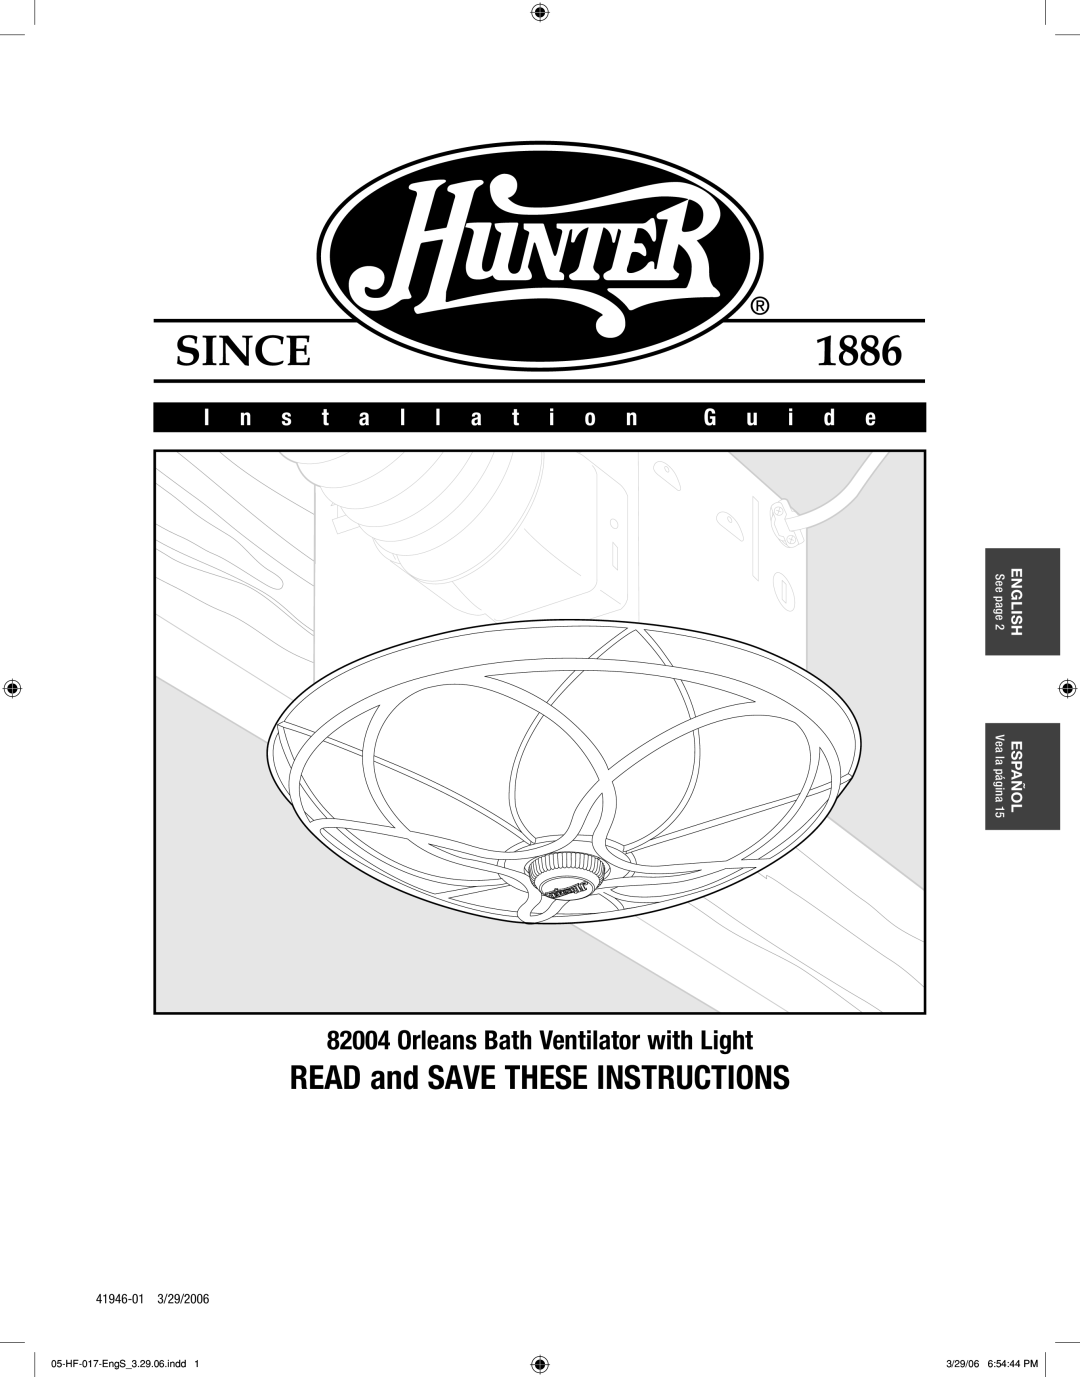
Another standout characteristic of the Hunter Fan 82004 is its integrated lighting. Many models feature a built-in light kit that provides enhanced illumination without sacrificing style. This functionality allows you to use the fan as a primary light source, further increasing its utility in your living space.
In summary, the Hunter Fan 82004 is a top-tier ceiling fan that combines advanced technology, stylish design, and energy efficiency. With its powerful WhisperWind motor, sleek aesthetic, easy installation, and integrated lighting options, it is a valuable addition to any room, enhancing comfort and ambiance while making a positive environmental impact.