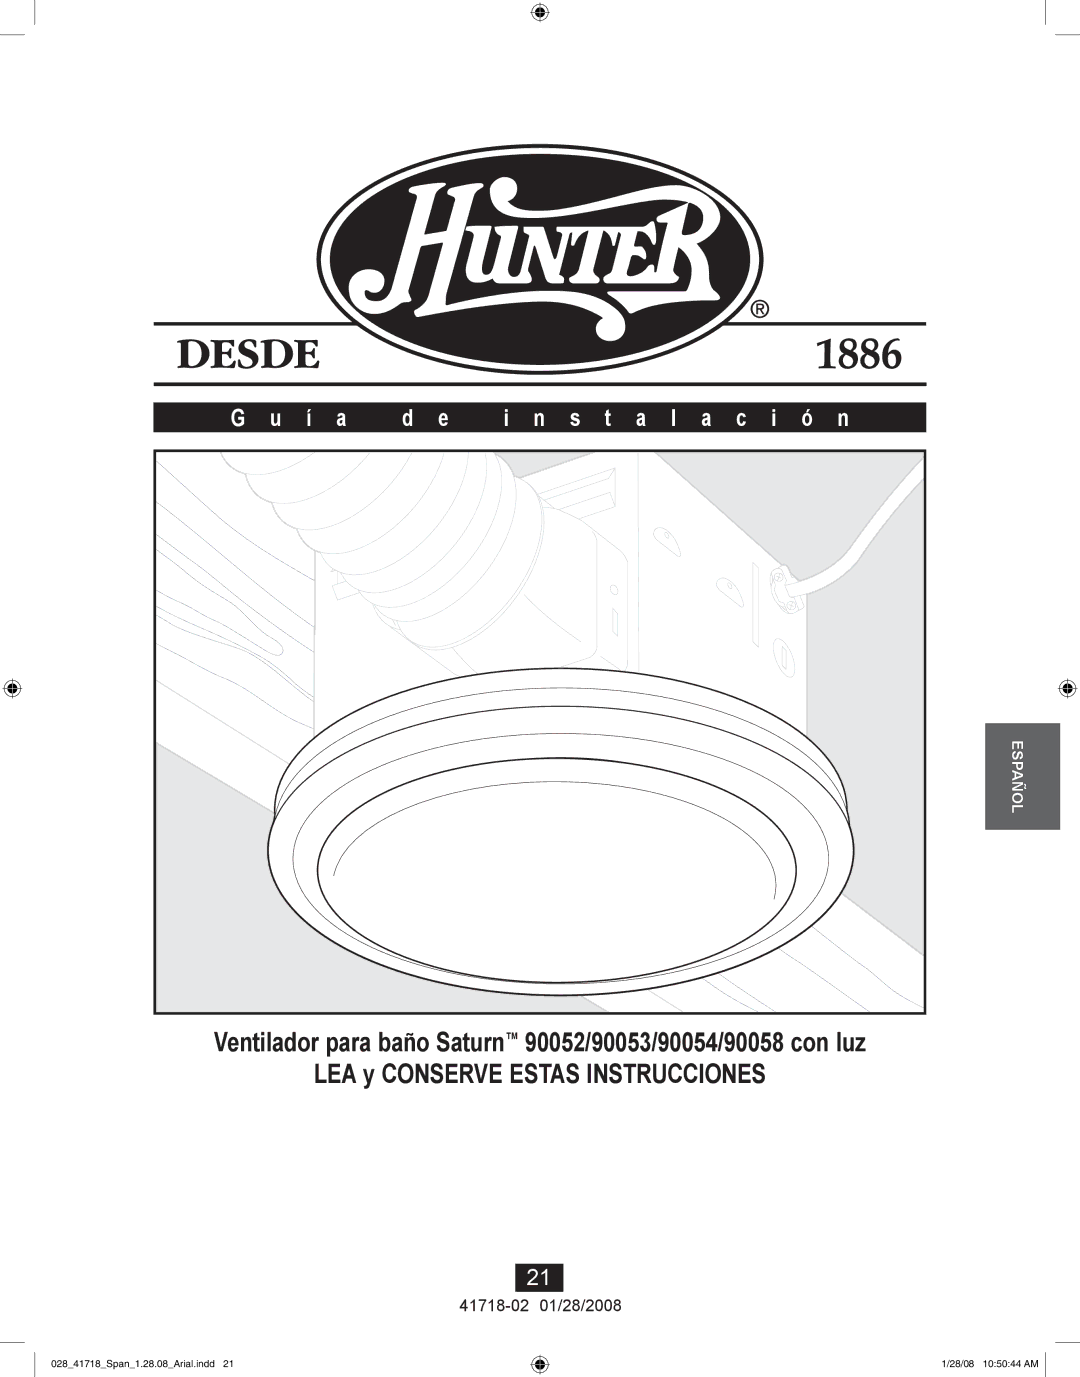
Manuals
/
Hunter Fan
/
Kitchen Appliance
/
Ventilation Hood
Hunter Fan
manual Ventilador para baño Saturn 90052/90053/90054/90058 con luz, G u í a, psEolñ
Models:
90054
90052
90058
1
21
40
40
Download
40 pages
49.31 Kb
18
19
20
21
22
23
24
25
<
>
Troubleshooting
Install
Warranty
Maintenance
Remove the wiring cover screw
Solución de problemas
Turn on the power source
Existing Construction - accessible from above
Attach existing ducting to duct connector. Tape joints
Mark position of screws by using holes as a template
Page 21
Image 21
G u í a
d e
i n s t a l a c i ó n
psEolñ
a
Ventilador para baño Saturn
™
90052/90053/90054/90058 con luz
LEA y CONSERVE ESTAS INSTRUCCIONES
21
41718-02
01/28/2008
028_41718_Span_1.28.08_Arial.indd 21
1/28/08 10:50:44 AM
Page 20
Page 22
Page 21
Image 21
Page 20
Page 22
Contents
90052/90053/90054/90058 Saturn Bath Ventilator with Light
READ and SAVE THESE INSTRUCTIONS
I n s t a l l a t i o n
G u i d e
PREVENTATIVE MAINTENANCE
DISCONNECT ELECTRIC POWER SUPPLY AND LOCK OUT SERVICE PANEL BEFORE
MAINTENANCE
SERVICING UNIT
Before Installation
for replacements
Check all the parts If damaged, call
Remove the wiring cover screw
Remove the motor/blower from the housing
with the side of the housing
Remove the wiring cover
Choose Installation Option
For New Construction - attaching to joist go to step A11, page
New Construction - attaching to joist
A160
Pull wires through the strain relief
Connect wires as shown
on page 17 to attach grille
Go to step
Connect wiring from the motor to the wiring cover plate
Reinstall the motor by inserting the tabs and pushing up into
Mark position of screws by using holes as a template
New Construction - suspended between joists
1/8” Bit
Slide the mounting rails into brackets
Install the wiring cover plate. Make sure all wiring
Connect wires as shown
connections are inside the box or under the wiring cover plate
Tighten screws
Reinstall the motor by inserting the tabs and pushing up into
Connect wiring from the motor to the wiring cover plate
position. Make sure the wires are not pinched
between the motor and the housing
EXISTING FAN
Existing Construction - accessible from above
NO EXISTING FAN
Cut out an opening for the housing
Pull wires through the strain relief
C15C16
1/8” Bit
Drill a hole in the center of each outline
connections are inside the box or under the wiring cover plate
Connect wires as shown
Connect wiring from the motor to the wiring cover plate
Tighten the strain relief screws
Reinstall the motor by inserting the tabs and pushing up
ON OFF
into position. Make sure the wires are not pinched
between the motor and the housing
Pull wires through strain relief
Existing Construction - accessible only from below
Attach existing ducting to duct connector. Tape joints
EXISTING FAN
Connect wires as shown
D19 D20
Install the wiring cover plate. Make sure all wiring
Connect wiring from the motor to the wiring cover plate
Turn on the power source
Attaching the Grille
Connect wiring harness
ON OFF
Remove the strain relief bracket screw
Install 2 Max 60 watt A-15 bulbs Not Included
Position the strain relief bracket under the motor as shown
Slide light fixture over posts
Solution
Trouble Shooting
Solution
Solution
Warranty
LEA y CONSERVE ESTAS INSTRUCCIONES
Ventilador para baño Saturn 90052/90053/90054/90058 con luz
G u í a
i n s t a l a c i ó n
ADVERTENCIA
A D V E R T E N C I A
DESCONECTE LA ALIMENTACIÓN ELÉCTRICA
Mantenimiento preventivo
Verifique todos los
Antes de la instalación
llame al 1-888-830-1326 para obtener un reemplazo
componentes. Si están dañados
Retire el tornillo de la cubierta del cableado
Retire el motor/soplador del alojamiento
Retire las puntas de tornillo precargadas hasta que
estén a nivel con el lado del alojamiento
Construcción nueva - fijación a la viga
Escoja la opción de instalación
Retire el primer tapón metálico de acceso del cableado
Utilice el segundo si es necesario
Tienda los cables a través del manguito de alivio de tensión
A160
Conecte los alambres como se muestra
Negro
fijar la rejilla
Vaya al paso
en la página 37 para
APAGADO
Deslice los rieles de montaje en los soportes
Construcción nueva - suspendido entre vigas
Fije los rieles con los tornillos
broca de
Conecte los alambres como se muestra
Apriete los tornillos
2 clavijas
Verde
fijar la rejilla
Vaya al paso
en la página 37 para
APAGADO
SIN VENTILADOR EXISTENTE
C11 VENTILADOR EXISTENTE
Construcción existente - accesible desde arriba
Recorte una abertura para el alojamiento
broca de 1/8 de pulg
C15C16
Taladre un agujero en el centro de cada perfil
Fije los rieles en los tornillos
Apriete los tornillos
Conecte los alambres como se muestra
Conecte el cableado del motor a la placa de cubierta del cableado
ENCENDIDO APAGADO
en la página 37 para fijar la rejilla
Vaya al paso
Vuelva a instalar el motor introduciendo las pestañas y
Construcción existente - accesible sólo desde abajo
D11 VENTILADOR EXISTENTE
Instale los tornillos precargados en la viga o el marco
Tienda los cables a través del manguito de alivio de tensión
D19 D20
Conecte los alambres como se muestra
Asegure el motor apretando los 2 tornillos
Vaya al paso
Fijación de la rejilla
en la página 37 para fijar la rejilla
ENCENDIDO APAGADO
Coloque el soporte del aliviador de tensiones debajo
Retire el tornillo del soporte del aliviador de tensiones
del motor como se muestra
Alinee los postes A, B, C, y D estampados en la
Solución
Solución de problemas
Solución
Solución
2500 Frisco Avenue, Memphis, Tennessee Impreso en China
Garantía