On-Screen-Display
This section provides instructions for activating the
Activating the On-Screen-Display
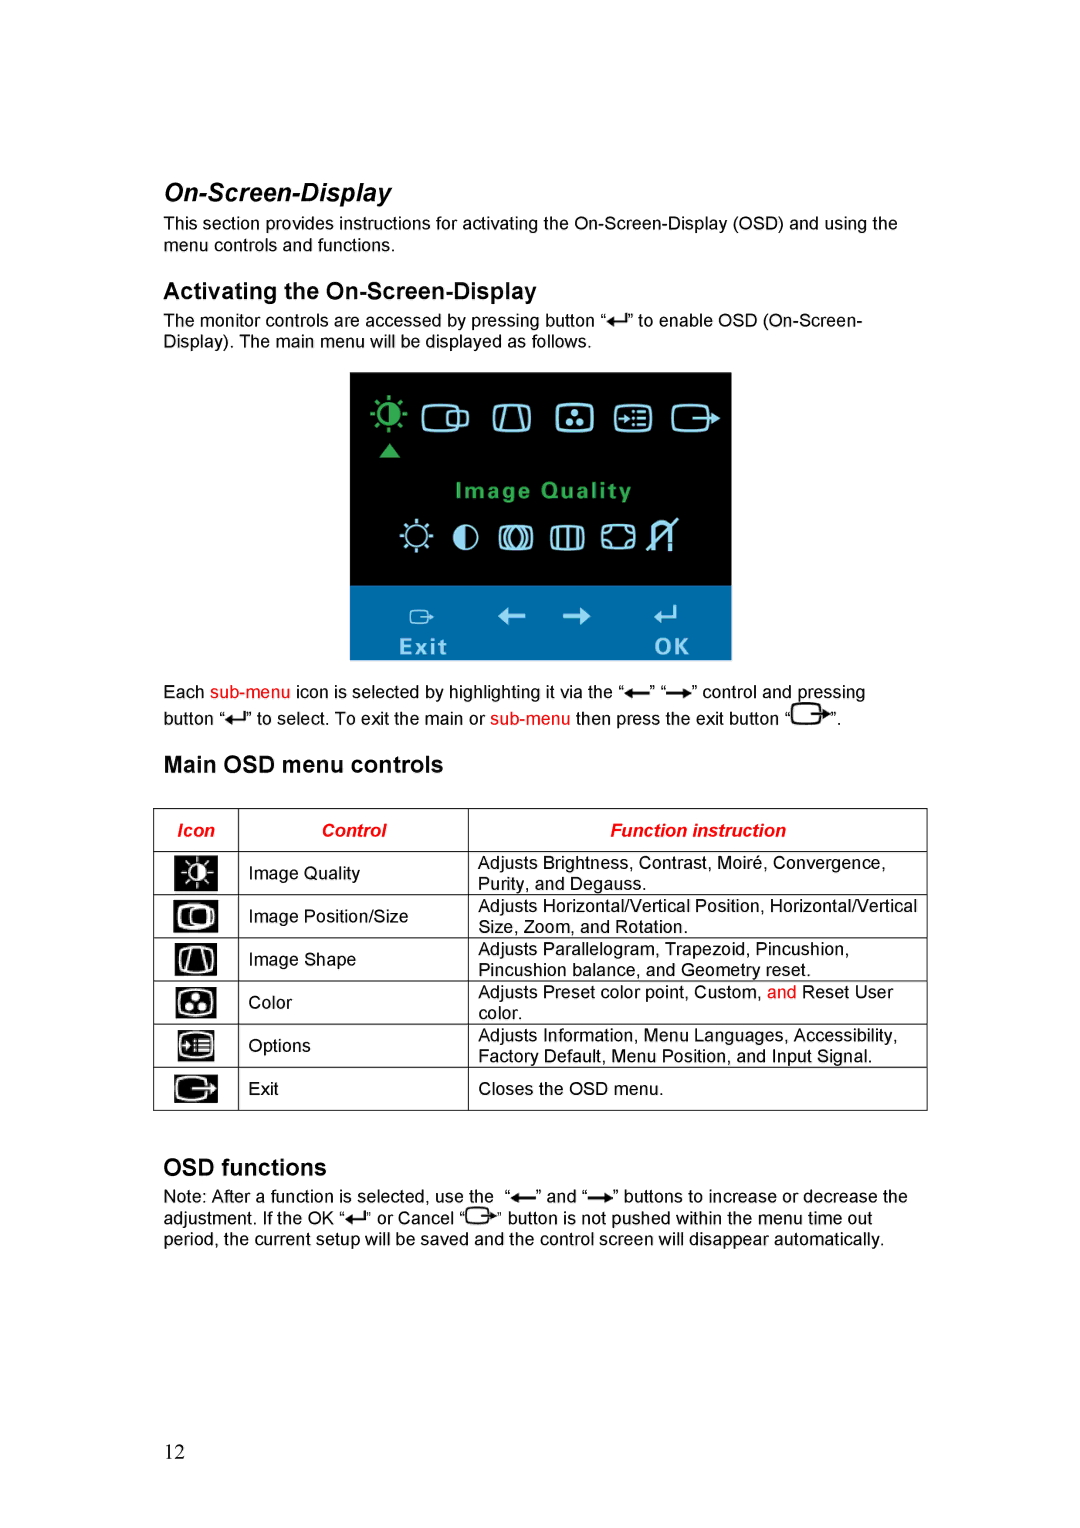
The monitor controls are accessed by pressing button “![]() ” to enable OSD
” to enable OSD
Each ![]() ” “
” “![]() ” control and pressing
” control and pressing
button “![]() ” to select. To exit the main or
” to select. To exit the main or ![]() ”.
”.
Main OSD menu controls
Icon | Control | Function instruction |
|
|
|
| Image Quality | Adjusts Brightness, Contrast, Moiré, Convergence, |
| Purity, and Degauss. | |
|
| |
| Image Position/Size | Adjusts Horizontal/Vertical Position, Horizontal/Vertical |
| Size, Zoom, and Rotation. | |
|
| |
| Image Shape | Adjusts Parallelogram, Trapezoid, Pincushion, |
| Pincushion balance, and Geometry reset. | |
|
| |
| Color | Adjusts Preset color point, Custom, and Reset User |
| color. | |
|
| |
| Options | Adjusts Information, Menu Languages, Accessibility, |
| Factory Default, Menu Position, and Input Signal. | |
|
| |
| Exit | Closes the OSD menu. |
|
|
|
OSD functions
Note: After a function is selected, use the “![]() ” and “
” and “![]() ” buttons to increase or decrease the adjustment. If the OK “
” buttons to increase or decrease the adjustment. If the OK “![]() ” or Cancel “
” or Cancel “![]() ” button is not pushed within the menu time out period, the current setup will be saved and the control screen will disappear automatically.
” button is not pushed within the menu time out period, the current setup will be saved and the control screen will disappear automatically.
12
