4 Put on the heart rate monitor.
The heart rate monitor must be worn when a pulse driven program is used. See HOW TO USE THE HEART RATE MONITOR on page 6. Note: A pulse driven program can be started without a heart rate reading; however, the speed and/or incline of the treadmill will automatically decrease if your heart rate is not detected during the program.
5 Press the START button.
Press the START button to start the program. After a moment, the walking belt will begin to move. Hold the handrails and begin walking.
While the first column of the LED matrix is flashing, the walking belt will move at 1.5 mph. After 90 sec- onds, the second column of the LED matrix will begin to flash. As the program progresses, the speed and/or incline of the treadmill will change at any time to keep your heart rate near the heart rate setting shown in the flashing column. When the twentieth column begins to flash, the walking belt will move at 1.5 mph until no time remains in the TIME display. The walking belt will then slow to a stop and the program will be completed.
If your heart rate is not detected during the program, the letters “PLS” will flash in the PULSE/CALORIES display and the speed and/or incline of the treadmill will automatically decrease. See HEART RATE MONITOR
While the program is in progress, minor adjustments can be made to the speed or incline of the treadmill with the SPEED or INCLINE buttons. However, if you increase the speed, the incline will automatically decrease; if you decrease the speed, the incline will increase. If you increase the incline, the speed will decrease; if you decrease the incline, the speed will increase. The console will always attempt to keep your heart rate near the heart rate setting shown in the flashing column. Note: When the incline reaches the lowest setting, the speed cannot be increased any further. When the incline reaches the highest setting, the speed cannot be decreased any further.
6 Follow your progress with the LED displays.
Refer to step 7 on page 11.
7 Remove the key from the console.
When the program has ended, remove the key from the console. All displays and indicators on the con- sole will darken.
HOW TO CREATE A CUSTOM PROGRAM
1 Insert the key into the console.
See HOW TO TURN ON THE POWER on page 9.
2 Select one of the custom programs.
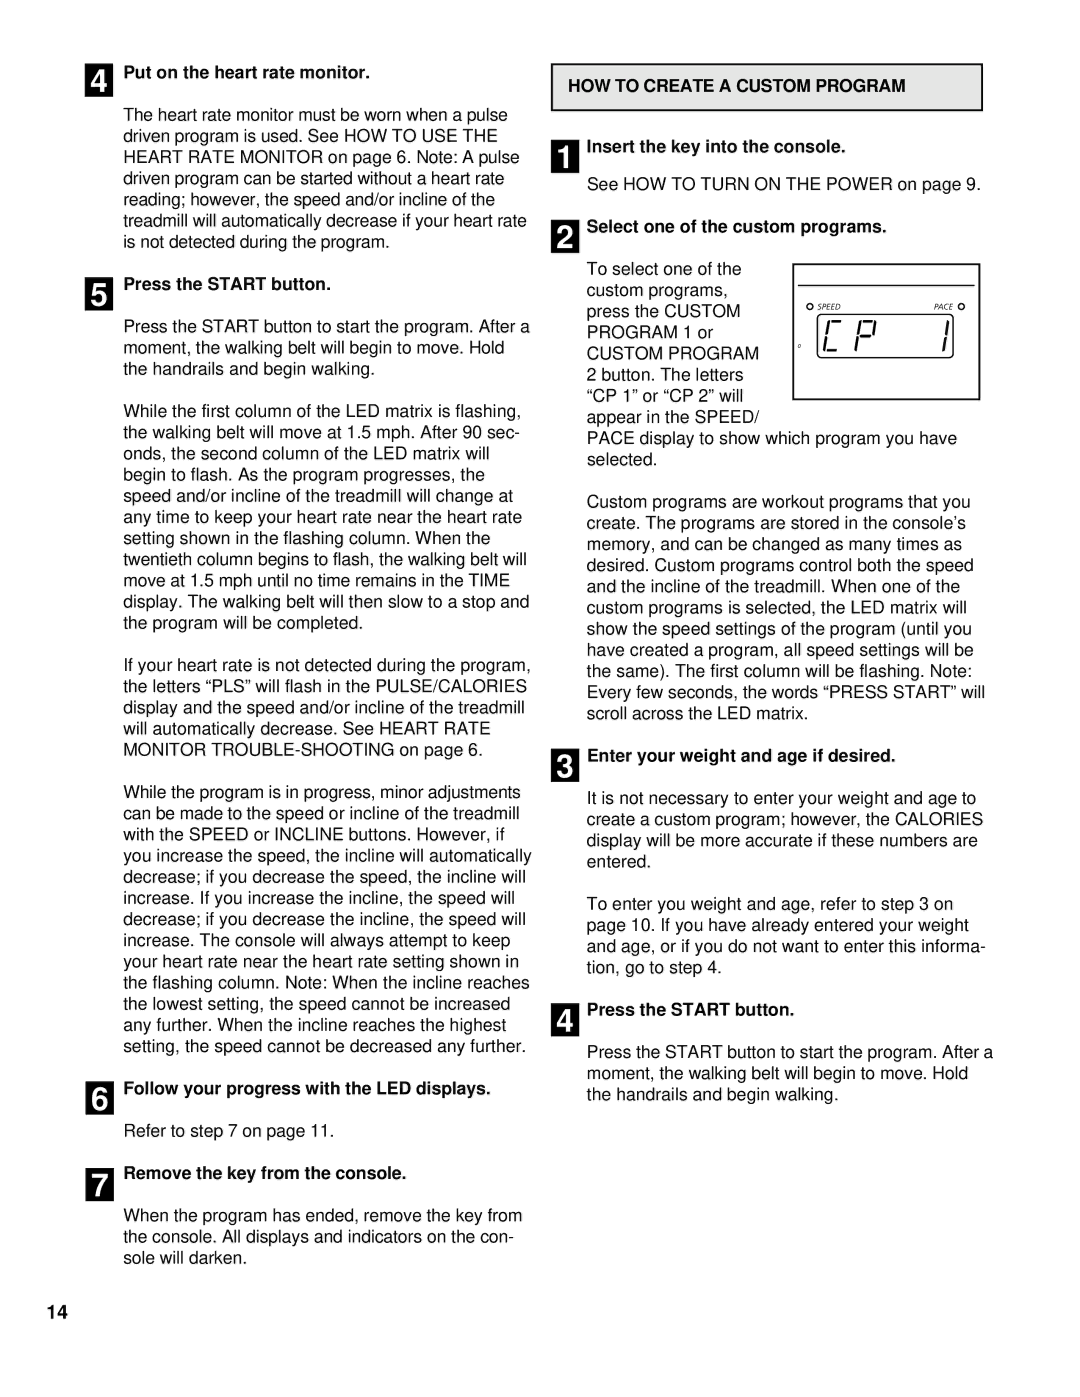
To select one of the custom programs,
press the CUSTOM PROGRAM 1 or
CUSTOM PROGRAM 2 button. The letters
“CP 1” or “CP 2” will appear in the SPEED/
PACE display to show which program you have selected.
Custom programs are workout programs that you create. The programs are stored in the console’s memory, and can be changed as many times as desired. Custom programs control both the speed and the incline of the treadmill. When one of the custom programs is selected, the LED matrix will show the speed settings of the program (until you have created a program, all speed settings will be the same). The first column will be flashing. Note: Every few seconds, the words “PRESS START” will scroll across the LED matrix.
3 Enter your weight and age if desired.
It is not necessary to enter your weight and age to create a custom program; however, the CALORIES display will be more accurate if these numbers are entered.
To enter you weight and age, refer to step 3 on page 10. If you have already entered your weight and age, or if you do not want to enter this informa- tion, go to step 4.
4 Press the START button.
Press the START button to start the program. After a moment, the walking belt will begin to move. Hold the handrails and begin walking.
14
