5 | Press the RECORD button and program the de- |
sired speed and incline settings. | |
| When the RECORD button is pressed, the indicator |
| on the button will light. Speed and incline settings |
| can be programmed only when the indicator on |
| the button is lit. |
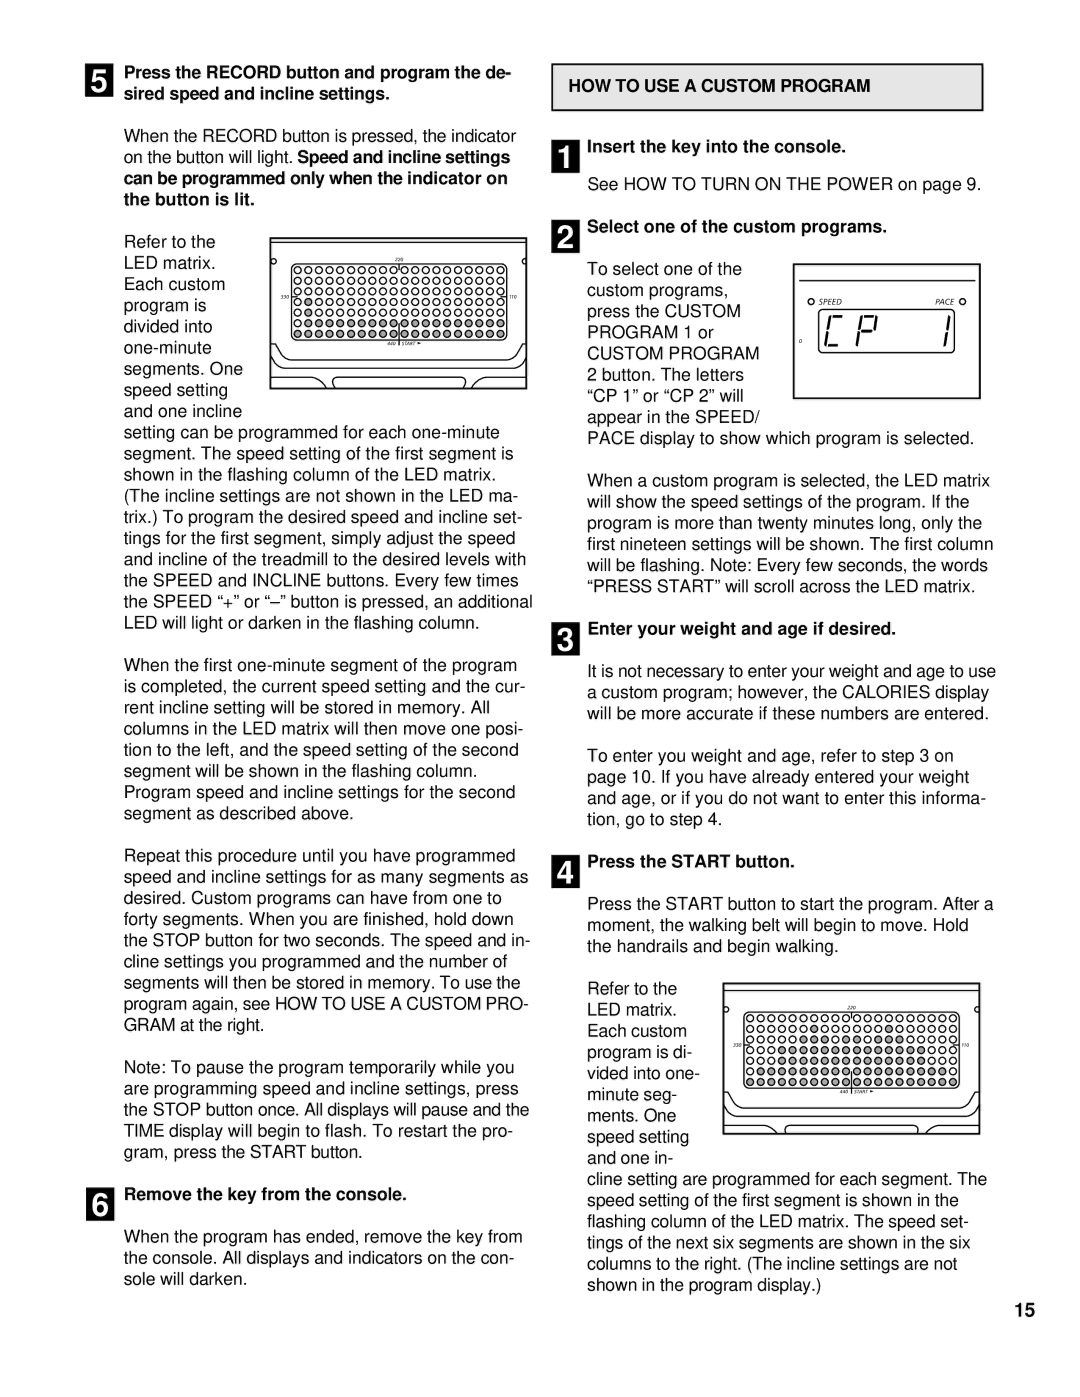
| Refer to the |
| LED matrix. |
| Each custom |
| program is |
| divided into |
| |
| segments. One |
| speed setting |
| and one incline |
| setting can be programmed for each |
| segment. The speed setting of the first segment is |
| shown in the flashing column of the LED matrix. |
| (The incline settings are not shown in the LED ma- |
| trix.) To program the desired speed and incline set- |
| tings for the first segment, simply adjust the speed |
| and incline of the treadmill to the desired levels with |
| the SPEED and INCLINE buttons. Every few times |
| the SPEED “+” or |
| LED will light or darken in the flashing column. |
| When the first |
| is completed, the current speed setting and the cur- |
| rent incline setting will be stored in memory. All |
| columns in the LED matrix will then move one posi- |
| tion to the left, and the speed setting of the second |
| segment will be shown in the flashing column. |
| Program speed and incline settings for the second |
| segment as described above. |
| Repeat this procedure until you have programmed |
| speed and incline settings for as many segments as |
| desired. Custom programs can have from one to |
| forty segments. When you are finished, hold down |
| the STOP button for two seconds. The speed and in- |
| cline settings you programmed and the number of |
| segments will then be stored in memory. To use the |
| program again, see HOW TO USE A CUSTOM PRO- |
| GRAM at the right. |
| Note: To pause the program temporarily while you |
| are programming speed and incline settings, press |
| the STOP button once. All displays will pause and the |
| TIME display will begin to flash. To restart the pro- |
| gram, press the START button. |
6 Remove the key from the console. | |
| When the program has ended, remove the key from |
| the console. All displays and indicators on the con- |
| sole will darken. |
HOW TO USE A CUSTOM PROGRAM
1 Insert the key into the console.
See HOW TO TURN ON THE POWER on page 9.
2 Select one of the custom programs.
To select one of the custom programs,
press the CUSTOM PROGRAM 1 or
CUSTOM PROGRAM 2 button. The letters “CP 1” or “CP 2” will appear in the SPEED/
PACE display to show which program is selected.
When a custom program is selected, the LED matrix will show the speed settings of the program. If the program is more than twenty minutes long, only the first nineteen settings will be shown. The first column will be flashing. Note: Every few seconds, the words “PRESS START” will scroll across the LED matrix.
3 Enter your weight and age if desired.
It is not necessary to enter your weight and age to use a custom program; however, the CALORIES display will be more accurate if these numbers are entered.
To enter you weight and age, refer to step 3 on page 10. If you have already entered your weight and age, or if you do not want to enter this informa- tion, go to step 4.
4 Press the START button.
Press the START button to start the program. After a moment, the walking belt will begin to move. Hold the handrails and begin walking.
Refer to the
LED matrix. Each custom program is di- vided into one- minute seg-
ments. One speed setting and one in-
cline setting are programmed for each segment. The speed setting of the first segment is shown in the flashing column of the LED matrix. The speed set- tings of the next six segments are shown in the six columns to the right. (The incline settings are not shown in the program display.)
15