Manuals
/
Infinity
/
Household Appliance
/
Vacuum Cleaner
Infinity
NV22P, NV22T, NV22C
manual
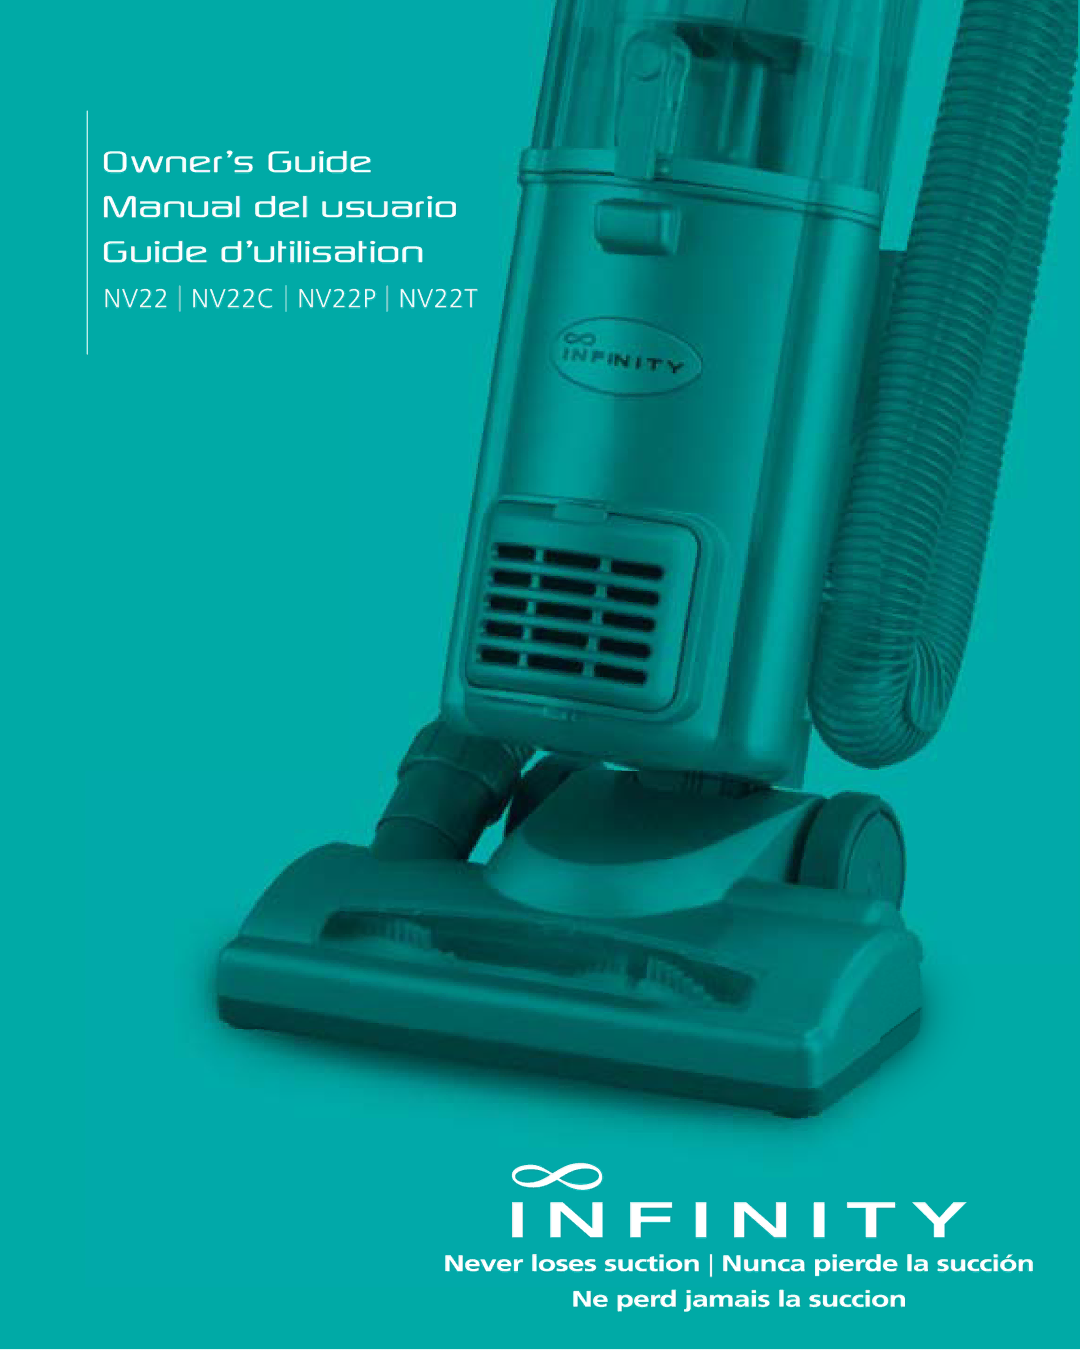
Owner’s Guide Manual del usuario Guide d’utilisation
Models:
NV22
NV22P
NV22T
NV22C
1
1
53
53
Download
53 pages
53.06 Kb
1
2
3
4
5
6
7
8
Maintenance
Problem Suggested Action
Resetting the Motor Thermostat
Vacuum Accessories
Handle Assembly
General Cleaning
Ordering Replacement Parts
Safety
Page 1
Image 1
Owner’s Guide
Manual del usuario
Guide d’utilisation
NV22
NV22C
NV22P
NV22T
Page 1
Page 2
Page 1
Image 1
Page 1
Page 2
Contents
Owner’s Guide Manual del usuario Guide d’utilisation
Thank you for purchasing the Infinity Upright Vacuum
Hose Attachments
General Electrical Safety
General Use
Cyclonic Chamber/Dust Cup/Filters
General Cleaning
Cleaning Wand
Handle Assembly
Your Infinity Upright is easy to assemble
Snug fit
English
Start with the Power Switch in the O Off position
Bare Floors / Tools Off Carpets Indicator Light
Set the Power Switch to desired cleaning setting
When cleaning bare floors
To carry the vacuum
To roll the vacuum
Using the Super Stretch Hose
Vacuum Accessories
Push the selected tool into the hose connector
Do not overextend the hose
Push the selected tool into the end of the Cleaning Wand
Using the Cleaning Wand
Stand vacuum into upright position Turn vacuum off
To empty the Dust Cup Assembly
Debris Snap door in place
Snap the bottom door in place
Washing the Foam and Felt Filters
Component Maintenance Schedule
Power Switch position II Brush Roll on
Problem Suggested Action
Thermostat on
Checking for Blockages on next
Dust Cup Air Duct
Floor Power Nozzle Hose Connector
Intake Opening behind the Brush Roll
Hose
To reset the Motor Thermostat
Resetting the Motor Thermostat
Ordering Replacement Parts
Cleaning the Pet Hair Power Brush
Important do not force it will not open all the way
Part
EURO-PRO Operating LLC
Manufactured by
EURO-PRO Operating LLC Canada EURO-PRO Operating LLC
Canada EURO-PRO Operating LLC
Owner Registration Card
Gracias por comprar la aspiradora vertical Infinity
Llamada SIN Costo
Español
Ajuste la aspiradora en posición vertical
Varilla de limpieza
Su aspiradora vertical Infinity es fácil de ensamblar
Importante
La abrazadera
Para limpiar pisos sin alfombras
Sin alfombra Apagar Con alfombra La luz indicadora
Para limpiar pisos con alfombras
Revisión de obstrucciones en la página
Ajuste la manguera de extra extensión en su lugar
Desconecte la aspiradora
Para deslizar la aspiradora
Accesorios de la aspiradora
No estire la manguera más allá de su alcance
Usando la manguera de extra extensión
Usando la varilla de limpieza
Vacíe el recipiente para polvo después
Para los mejores resultados vacíe el
Para vaciar el recipiente para polvo
Componente Calendario de mantenimiento
Cuidado adecuado de su aspiradora vertical Infinity
Vaciar cada 5 meses, con uso normal
Limpieza del compartimiento ciclónico Opción a Vacío rápido
Problem Acción sugerida
Resolución de problemas
Termostato del motor en la página
Abertura detrás del cepillo giratorio
Conducto de aire del recipiente para polvo
Manguera
Reconfigurar el termostato del motor en la página
Para reconfigurar el termostato del motor
Reconfigurar el termostato del motor
Importante no la fuerce no se abrirá completamente
Limpieza del cepillo motorizado para pelo de mascotas
Ordenar piezas de repuesto Pieza
Para Clientes Canadienses Solamente
Fabricada por
Tarjeta de inscripción del comprador
Merci d’avoir acheté l’aspirateur vertical Infinity
’utiliser que les accessoires recommandés par le fabricant
Accessoires du tuyau flexible
Sécurité électrique de base
Utilisation générale
Nettoyage général
Chambre cyclonique / Réceptacle à poussière / Filtres
NE PAS passer l’aspirateur sur de grands objets
Tube de nettoyage
Manche
Votre aspirateur vertical Infinity est facile à assembler
Français
Utilisation de laspirateur
Planchers / Accessoires Tapis
Arrêt
Pour nettoyer les tapis
Débrancher laspirateur
Transport de laspirateur
Fixer le tuyau flexible super extensible en place
Pour faire rouler laspirateur
Accessoires de laspirateur
Nettoyer avec les accessoires de laspirateur
Pour empêcher
Utilisation du tuyau flexible super extensible
Retirer le tube de nettoyage fixé au tuyau de laspirateur
Utilisation du tube de nettoyage
Jamais Remplir LE Réceptacle AU-DELÀ DE Cette Ligne
Vider le réceptacle à poussière
Composants Programme dentretien
Entretien approprié de votre aspirateur vertical Infinity
Du thermostat du moteur à la
Problème Action suggérée
Présence dobstruction à la page suivante
En marche »
Conduit dair du réceptacle à poussière
Vérifier la présence dobstruction
Ouverture dentrée dair derrière le cylindre brosseur
Connecteur de tuyau du suceur motorisé
Réinitialiser le thermostat du moteur
Entretien
Pour réinitialiser le thermostat du moteur
Placer linterrupteur à la position
Pièce
Pour commander des pièces de remplacement
EURO-PRO Operating LLC
Fabriqué par
Carte d’enregistrement
REV
Top
Page
Image
Contents