Manuals
/
Brands
/
Personal Care
/
Mobility Aid
/
Invacare
/
Personal Care
/
Mobility Aid
Invacare
Auriga10
- page 38
1
38
63
63
Download
63 pages, 268.67 Kb
38
NOTE
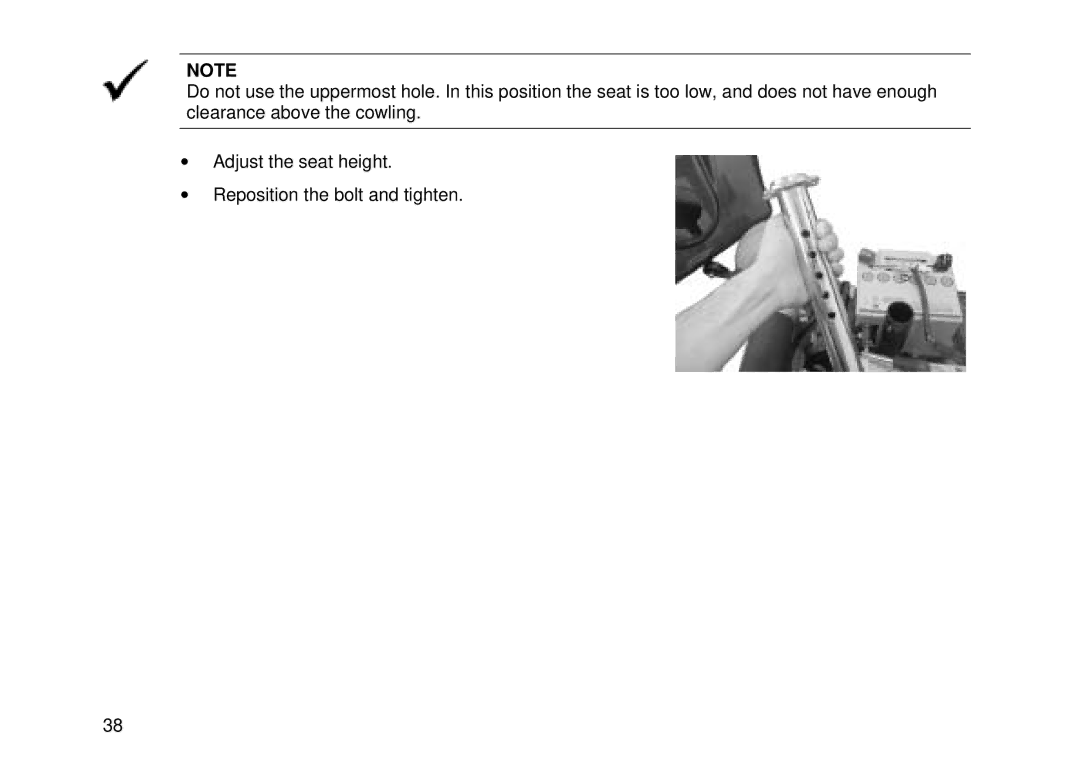
Do not use the uppermost hole. In this posit
ion the seat is too low, and does not have enough
clearance above the cowling.
•
Adjust the seat height.
•
Reposition the bolt and tighten.
Contents
Main
Invacare Auriga & Auriga
Invacare Auriga & Auriga10
How can you get in touch with Invacare?
Page
Table of Contents
1 Introduction 7
2 Safety Notes 11
3 Key features 18 4 Driving 19
5 Pushing the scooter by hand 23
7 Adjustment Options 33
8 Electrical System 39
9 Care and maintenance 48 10 Repair Instructions 50
11 Dismantling the scooter for transport 56
12 Technical Specifications 59 13 Inspections Performed 62
1 Introduction
Page
1.1 Important symbols in this manual
Page
2 Safety Notes
2.1 General Safety Notes
Page
Page
2.2 Safety information with regard to care and maintenance
2.3 Safety Information on Electromagnetic Interference
2.4 Safety Information on Driving and Freewheel Mode
Page
3 Key features
4 Driving
4.1 Before driving for the first time...
4.2 Taking Obstacles
4.3 Driving up and down gradients
4.4 Parking and stationary
4.4.1 Activating and de-activating the parking brake (option)
5 Pushing the scooter by hand
5.1 Disengaging Motors
6 The Control Panel
6.1 Control Panel layout
6.1.1 Seat Lifter Button
6.1.2 Status display
6.1.3 Battery charge display
6.2 Driving the Scooter
6.3 Diagnostics and Trouble Shooting
6.3.1 Diagnosing Faults
6.4 Error Codes and Diagnostic Codes
Page
Page
7 Adjustment Options
7.1 Adjusting the angle of the backrest
7.2 Adjusting the position of the seat from front to back
Page
7.4 Releasing the seat so that it may rotated and/or removed
7.5 Adjusting the height of the seat
Page
8 Electrical System
8.1 Electronics Protection System
8.1.1 The main fuse
8.2 Batteries
8.2.1 What you need to know about batteries
Page
8.2.2 Charging the batteries
Page
Page
8.2.3 Removing and fitting batteries
Page
Page
9 Care and maintenance
Page
10 Repair Instructions
10.1 Repairing a flat tyre
10.1.1 Repairing a flat tyre (pneumatic tyres type 260 x 85)
Page
Page
Page
Page
11 Dismantling the scooter for transport
11.1 Removing the seat
11.2 Removing the batteries and the Drive Unit
11.2.1 Removing the batteries
11.2.2 Removing the Drive Unit
12 Technical Specifications
Page
Page
13 Inspections Performed
English