4. Getting Started
In order to experience the full GOTO capability of GOTONOVA technology it is very important to set up the mount correctly before observation.
4.1. Setup the Mount and Polar Alignment
Assemble your iEQ45 mount according to Section 2.5, steps 1 ~ 7. Mount an OTA and accessories, and carefully balance the mount around the polar axis, as indicated in 2.5, step 8. Connect all cables. Turn the mount power switch on. After the GPS status change to GPS OK when the GPS receiver is connected to satellites, the LCD will display the Pole Star Position chart. Follow Section 2.5, step 10 to do the Polar Alignment. If this has already been done or the mount has not been moved from the previous location, press the BACK button to go to the main menu.
The default position for the mount is the Zero Position, as shown in Figure 17, when the mount is powered on: the counterweight shaft is pointing to ground, telescope is at the highest position with its axis parallel to the polar axis and the telescope is pointing to the North Celestial Pole, if you are located in northern hemisphere.
4.2. Manual Operation of the Mount
You may observe astronomical objects using the arrow keys of a Go2NovaTM hand controller.
Flip the I/O switch on the telescope mount to turn on the mount. Use ►,◄,▼ or ▲ buttons to point the telescope to the desired object. Use the number keys to change the slewing speed. Then press STOP/0 button to start tracking.
4.3. Setting Up the Hand Controller
The iEQ45 is equipped with a GPS receiver, which will receive the local time, longitude and latitude information from satellites after the link is established. A clear sky outside is needed for the GPS to establish its link with the satellites.
4.3.1. Set Up Time and Site
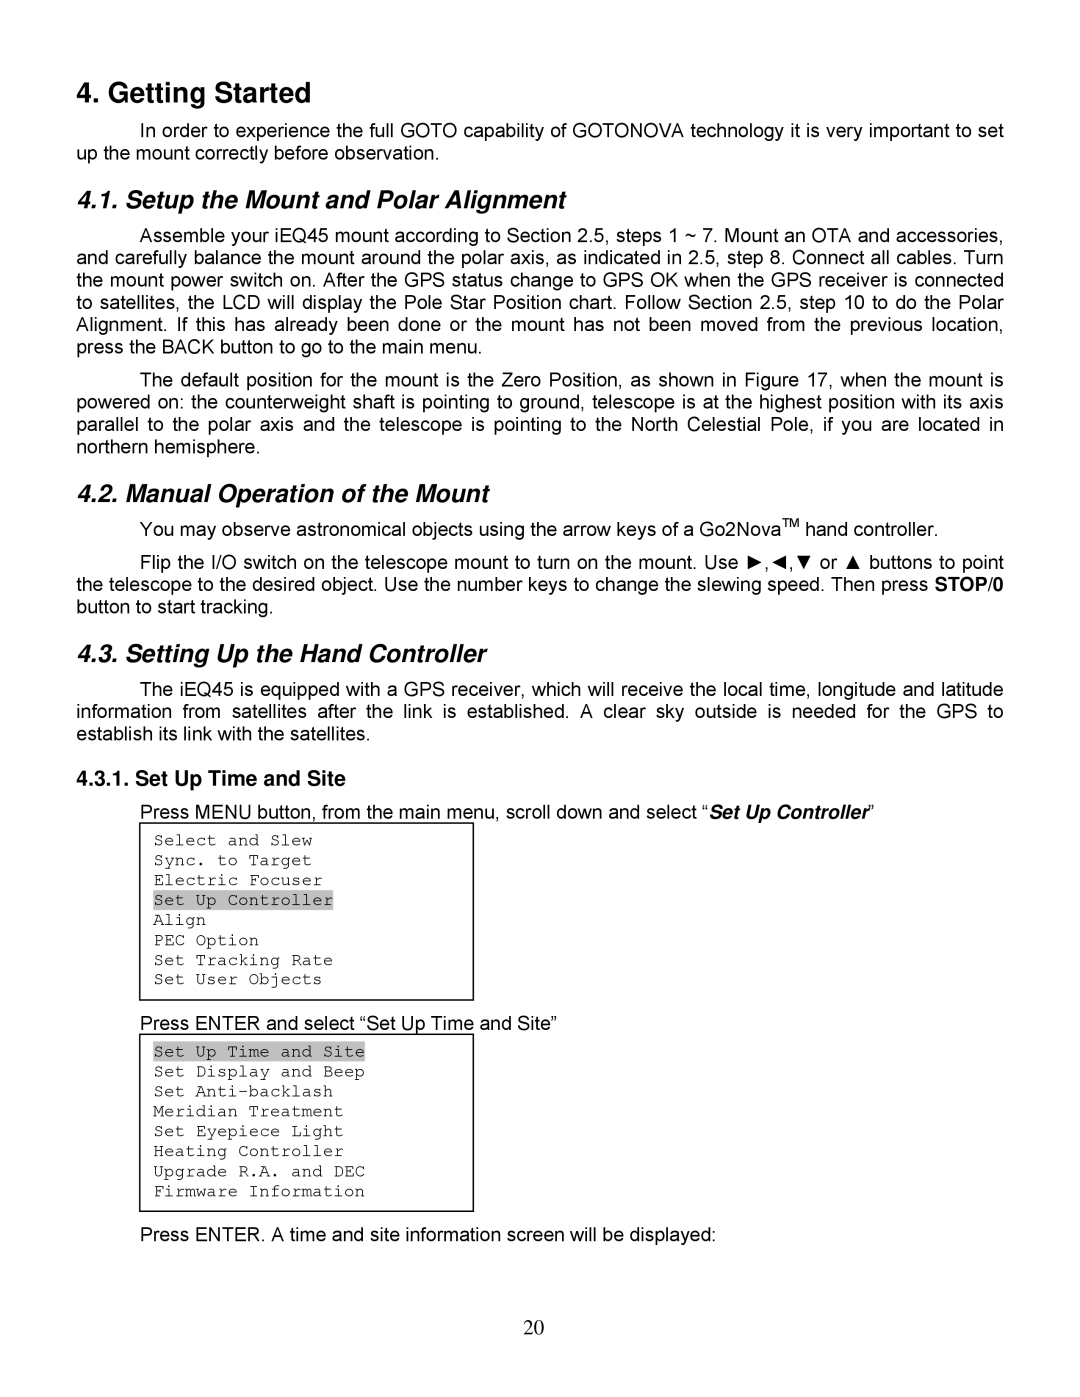
Press MENU button, from the main menu, scroll down and select “Set Up Controller”
Select and Slew
Sync. to Target
Electric Focuser
Set Up Controller
Align
PEC Option
Set Tracking Rate
Set User Objects
Press ENTER and select “Set Up Time and Site”
Set Up Time and Site
Set Display and Beep
Set
Meridian Treatment
Set Eyepiece Light
Heating Controller
Upgrade R.A. and DEC
Firmware Information
Press ENTER. A time and site information screen will be displayed:
20