5.5.3. Three Star Alignment
From the main menu select “Align”. Select “Three Star Align”. Hand controller will then present you with the name of a suggested alignment star. If this star is blocked by a tree or building, press the down arrow to advance through the list in alphabetical order until you find a star that is visible. Press ENTER and the mount will slew to where it thinks the star you have selected lies, beeping once it has finished moving. Most likely, the scope won’t be pointing exactly at the star, so use the up, down, left or right arrows to centre the star — first in the finder, then in the eyepiece. Once you are done, press ENTER and the next alignment star will be selected. Repeat this process until you have selected all three stars. For a better result, select three stars located in the different part of the sky.
5.5.4. Disp R.A Axis Error
This displays the celestial pole pointing error after two star alignment. When the HC shows for example:
Altitude: | 02º30" lower |
Azimuth: | 01º13" east, |
It means the polar axis of the mount is pointing lower and to the east.
5.5.5. Test Backlash
This function is used to test the R.A. and DEC backlash value. The saved numbers will show in “Set
Lower the mount altitude to its lowest position. Release the R.A. clutch to move the telescope to east or west side of the mount. Tighten the R.A. Clutch Screws. Release DEC clutch and put the telescope in horizontal postion.
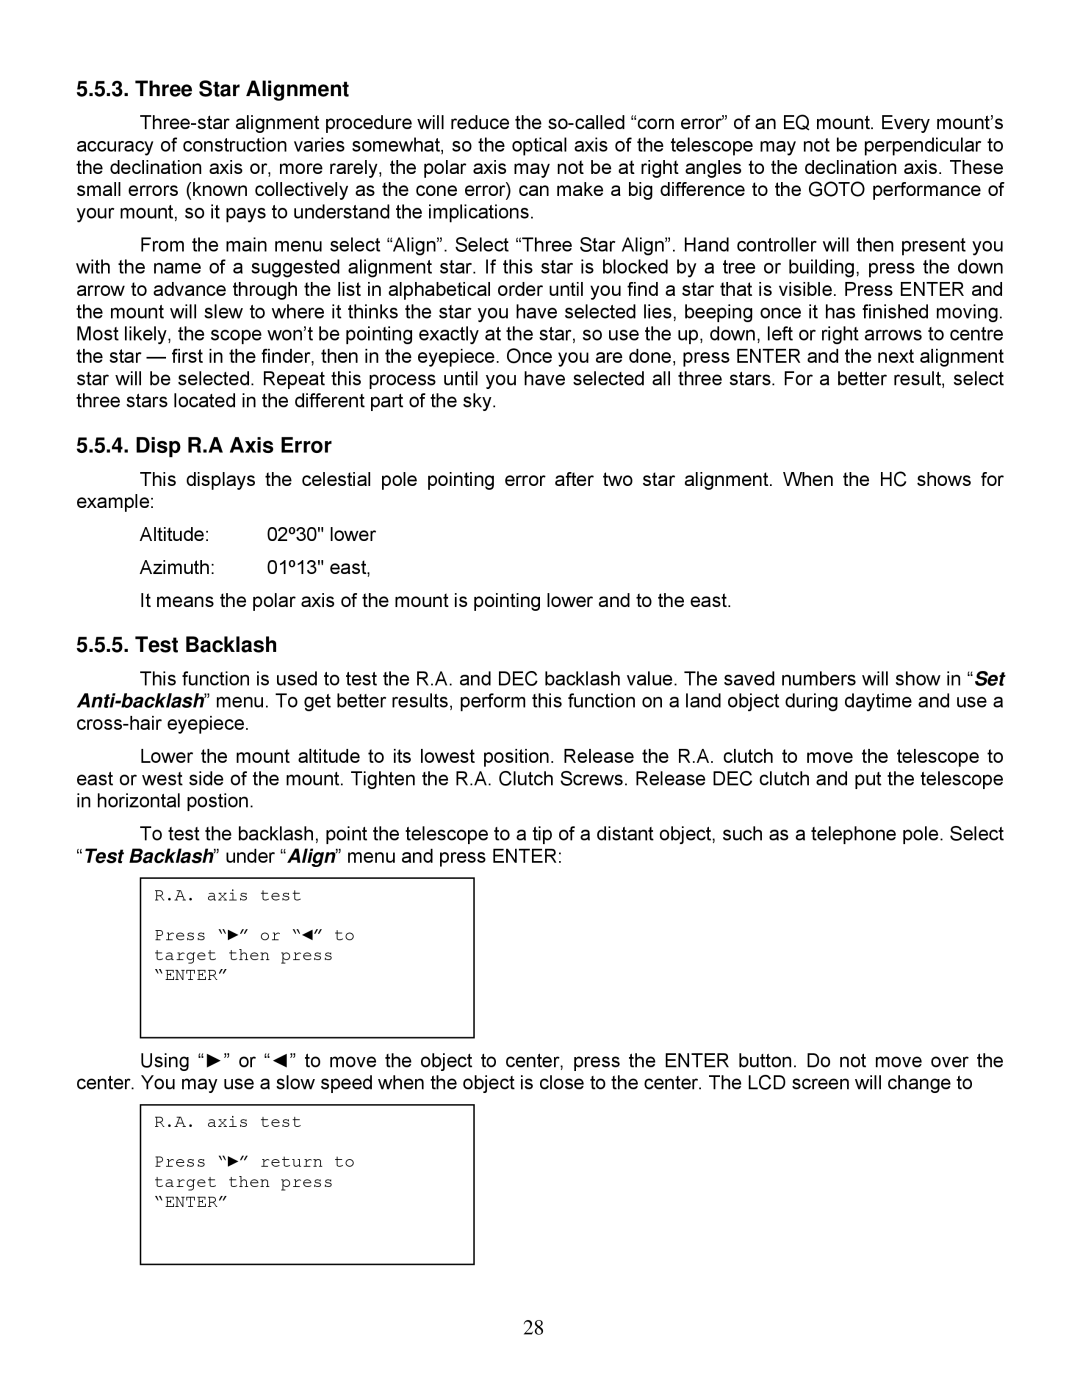
To test the backlash, point the telescope to a tip of a distant object, such as a telephone pole. Select “Test Backlash” under “Align” menu and press ENTER:
R.A. axis test
Press “►” or “◄” to target then press “ENTER”
Using “►” or “◄” to move the object to center, press the ENTER button. Do not move over the center. You may use a slow speed when the object is close to the center. The LCD screen will change to
R.A. axis test
Press “►” return to target then press “ENTER”
28
