Desensamblaje

Reensamblaje

ADVERTENCIA

La tensión peligrosa puede causar electrochoque, quemaduras o la muerte.

LA FALLA DE DESCONECTAR

LA CORRIENTE ELÉCTRICA ANTES DE INTENTAR CUALQUIER MANTENIMIENTO, PUEDE CAUSAR CHOQUES, QUEMADURAS O

LA MUERTE.

Limpie e inspeccione todas las partes antes de reensamblar.

1.Inspeccione el agujero del asiento del sello para ver si está gastado o sucio, límpielo si es necesario.

AVISO: ES NECESARIO REEMPLAZAR EL SELLO MECÁNICO CADA VEZ QUE SE HAYA RETIRADO. SIGA CUIDADOSAMENTE LAS INSTRUCCIONES DEL FABRICANTE DEL SELLO.

1.Quite el perno de la base (10).

2.Quite los pernos de la carcasa (12).

3.Retire el conjunto de desmontaje trasero de la carcasa

(2).

4.Retire el anillo de sello (3) y el diafragma (4) del difusor.

5.Quite los tornillos (5) del adaptador (11) del difusor.

6.Quite el tapón o la cubierta del extremo del motor.

7.Utilice la ranura para destornillador o las secciones planas del eje de 7-16 pulg. accesibles en el extremo del eje del motor para restringir la rotación de dicho eje.

8.Retire el impulsor (7) girando en SENTIDO CONTRARIO A LAS AGUJAS DEL RELOJ.

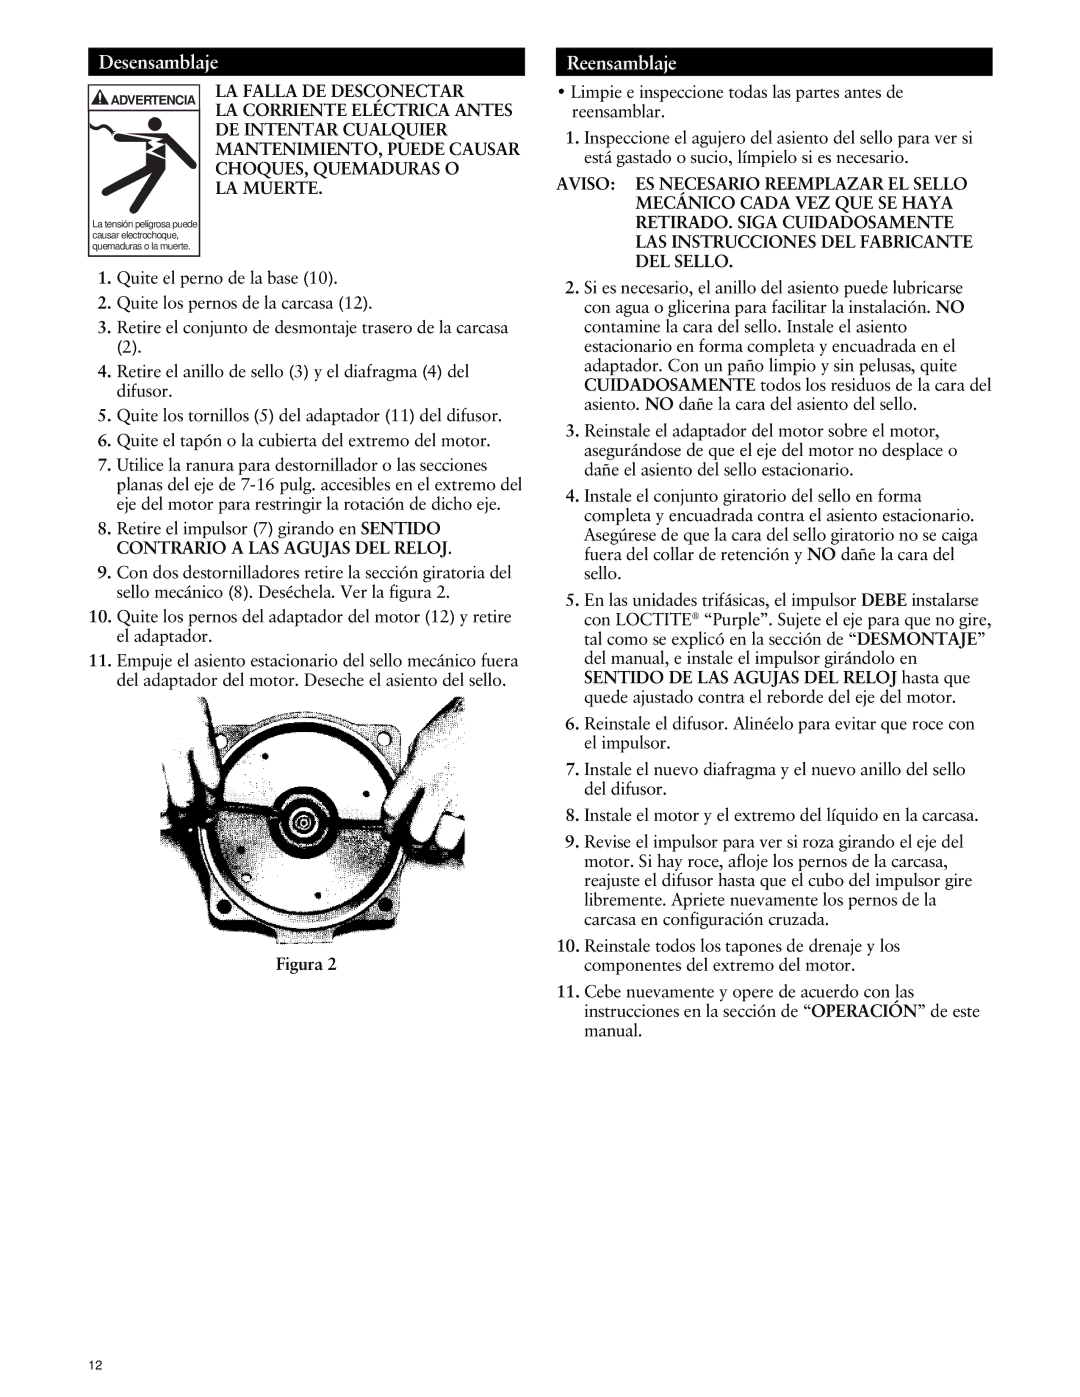
9.Con dos destornilladores retire la sección giratoria del sello mecánico (8). Deséchela. Ver la figura 2.

10.Quite los pernos del adaptador del motor (12) y retire el adaptador.

11.Empuje el asiento estacionario del sello mecánico fuera del adaptador del motor. Deseche el asiento del sello.

Figura 2

2.Si es necesario, el anillo del asiento puede lubricarse con agua o glicerina para facilitar la instalación. NO contamine la cara del sello. Instale el asiento estacionario en forma completa y encuadrada en el adaptador. Con un paño limpio y sin pelusas, quite CUIDADOSAMENTE todos los residuos de la cara del asiento. NO dañe la cara del asiento del sello.

3.Reinstale el adaptador del motor sobre el motor, asegurándose de que el eje del motor no desplace o dañe el asiento del sello estacionario.

4.Instale el conjunto giratorio del sello en forma completa y encuadrada contra el asiento estacionario. Asegúrese de que la cara del sello giratorio no se caiga fuera del collar de retención y NO dañe la cara del sello.

5.En las unidades trifásicas, el impulsor DEBE instalarse con LOCTITE® “Purple”. Sujete el eje para que no gire, tal como se explicó en la sección de “DESMONTAJE” del manual, e instale el impulsor girándolo en SENTIDO DE LAS AGUJAS DEL RELOJ hasta que quede ajustado contra el reborde del eje del motor.

6.Reinstale el difusor. Alinéelo para evitar que roce con el impulsor.

7.Instale el nuevo diafragma y el nuevo anillo del sello del difusor.

8.Instale el motor y el extremo del líquido en la carcasa.

9.Revise el impulsor para ver si roza girando el eje del motor. Si hay roce, afloje los pernos de la carcasa, reajuste el difusor hasta que el cubo del impulsor gire libremente. Apriete nuevamente los pernos de la carcasa en configuración cruzada.

10.Reinstale todos los tapones de drenaje y los componentes del extremo del motor.

11.Cebe nuevamente y opere de acuerdo con las instrucciones en la sección de “OPERACIÓN” de este manual.

12

Page 12
Image 12
ITT GT15, GT10, GT30, GT20, GT07 specifications Desensamblaje Reensamblaje

GT07, GT15, GT10, GT20, GT30 specifications

The ITT GT series, comprising models GT30, GT20, GT10, GT15, and GT07, is renowned for its advanced engineering and superior performance in the realm of industrial and commercial applications. Each model in the GT series represents a unique blend of technology and design aimed at meeting diverse operational requirements.

The ITT GT30 is one of the flagship models of the series, recognized for its robust performance and reliability. It features a high-capacity design, capable of delivering significant power while maintaining energy efficiency. Key technologies integrated into the GT30 include advanced cooling systems and precision engineering of components, which help minimize wear and tear, thus extending the lifespan of the unit.

The GT20 model stands as a versatile option, striking a balance between power and compact design. With its flexible configuration and modular design, the GT20 can adapt to various settings, making it ideal for applications where space is a constraint. The inclusion of smart technology allows for real-time monitoring, ensuring optimal performance and minimal downtime.

The GT10 model is tailored for those who prioritize efficiency without compromising on output. This model emphasizes energy-saving features, thus making it an excellent choice for eco-conscious businesses. The GT10 is equipped with state-of-the-art power management systems that optimize energy use while delivering consistent performance across multiple applications.

The GT15 combines the strengths of both the GT20 and GT10, offering a balanced solution for mid-range applications. Its design focuses on ease of installation and maintenance, which operators will find advantageous as it reduces operational disruptions. The GT15 also supports advanced connectivity options, providing users with greater control and oversight.

Lastly, the GT07 serves as the entry-level model in the ITT GT series. Despite its smaller size, the GT07 does not compromise on performance. It is engineered for user-friendly operation and reliability, making it suitable for smaller operations or as a supplemental unit in larger systems. The advancements in digital technology embedded within the GT07 ensure that it meets modern standards for performance and safety.

Overall, the ITT GT series epitomizes innovation and quality, with each model designed to cater to specific needs in an ever-evolving industrial landscape. Whether it’s for heavy-duty applications or more compact needs, the GT series delivers an impressive array of features and specifications that underline ITT's commitment to excellence in engineering.