JP760 specifications
The Janome JP760 is a versatile sewing machine designed for both beginners and experienced sewists alike. Combining robustness with advanced technology, the JP760 offers a wide variety of features that make it a popular choice among sewing enthusiasts.One of the standout features of the Janome JP760 is its range of built-in stitch patterns. With over 60 different stitch options, users can choose from utility, decorative, and quilting stitches to suit any project they have in mind. This diversity allows for creativity and personalization in sewing, empowering users to craft unique items.
The machine comes equipped with a top-loading bobbin system, which simplifies thread loading and ensures consistent tension while sewing. This system also allows for easy monitoring of bobbin thread levels, reducing interruptions during projects. The JP760 includes an automatic needle threader, which saves time and effort, making the setup process smoother even for novice users.
Another noteworthy characteristic is the machine's adjustable presser foot pressure. This feature enables sewists to adjust the pressure according to the fabric type, ensuring optimal fabric feeding for a clean and professional finish. Whether working with lightweight materials or thick fabrics, the JP760 provides adaptability to various sewing needs.
The sewing machine also features a generous sewing area, which is particularly beneficial for quilting and larger projects. The built-in extension table adds extra workspace, accommodating larger items with ease. Additionally, the adjustable speed control allows users to sew at their preferred pace, enhancing comfort and precision.
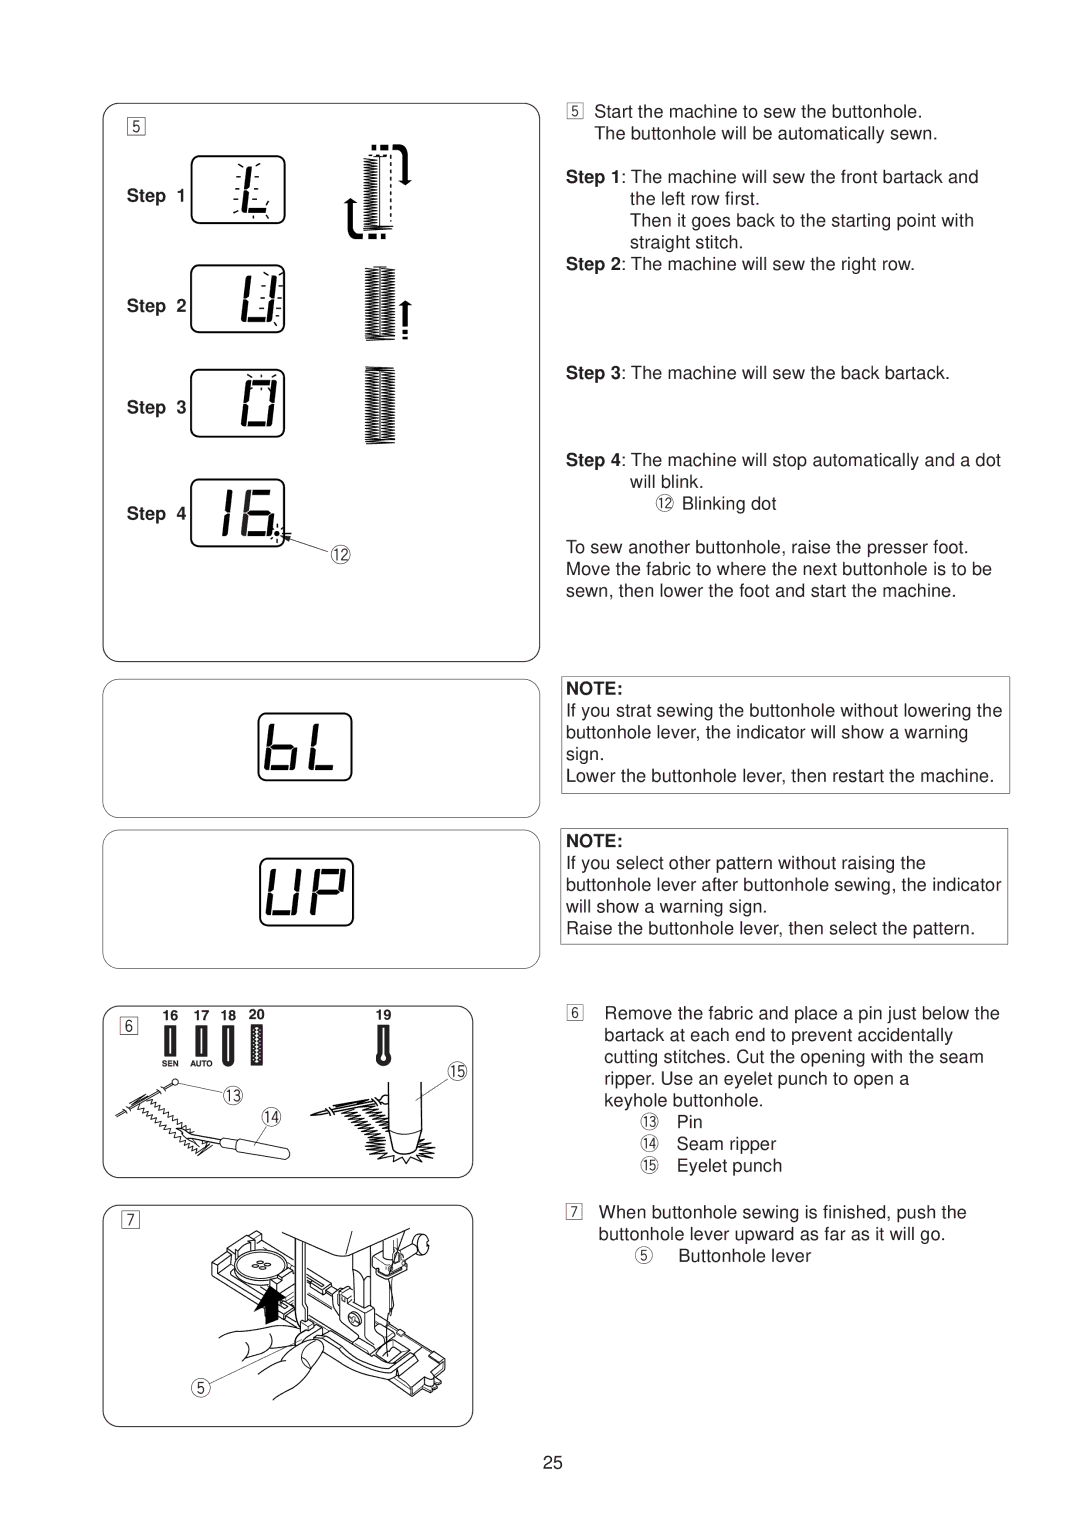
The Janome JP760 is also designed with user convenience in mind. Its intuitive LCD screen displays essential information, including stitch selection and settings, while the straightforward control panel makes adjustments easy. The machine's lightweight design and built-in carry handle increase portability, allowing users to take it to classes or sewing groups without hassle.
In terms of durability, the Janome JP760 is constructed with high-quality materials, ensuring longevity and reliability. Its strong motor and robust design can handle a variety of sewing tasks, making it a solid investment for anyone looking to explore the world of sewing.
Overall, the Janome JP760 is a well-rounded sewing machine that marries technology with functionality. Its diverse features, user-friendly design, and robust performance make it an attractive option for sewers at any skill level, ensuring countless successful sewing experiences for its users.

